One light stand is as good as the next – they’re all the same right? Well try putting a 5K fresnel onto lightweight stand and you’ll quickly realise that having the right tools for the job is essential.
Like with a lot of this kit there is a fair amount of crossover, so that there are often many different stands that could achieve a certain goal – but as usual, each have their strengths and weaknesses.
Before we dive into the main content, I thought it would be good to go over a few “best practises” to think about when rigging light stands, that will put you in the good books of Gaffers and rental houses alike:
- A lot things come down to common sense about where (not) to leave things to prevent hazards, but its a good idea to pay extra attention when rigging in darker environments – especially if your stands are black! Always have some white/yellow tape on hand to mark the legs of stands that may be in the path of passing crew.
- Make sure the weight of any sandbag is on the frame of the stand, not resting on the floor. If you can, try to put sandbags on a stand before putting any lights on it, especially if you’re going to leave it unattended (I say try, because this is all but impossible when moving things around, but just do your best)
- When raising a stand, always use the top section first – otherwise you won’t be able to reach the nut to raise the stand any higher.
- When packing down if you need to invert a stand, first make sure all the screws are tight… then don’t dump the head on the ground where water, mud and sand will get all over it. Instead, gently rest it on your boot, which should hopefully be a little cleaner.
- You can never have enough sandbags… especially when working outdoors. Large diffusion frames are basically giant sails and the wind will blow them over – If there is enough crew, an extra 70-100Kg human can do quite a lot to keep things on the ground, as long as they stay put!
Bearing these things in mind, lets get straight on with the what you came here for…
1) Master / Lightweight
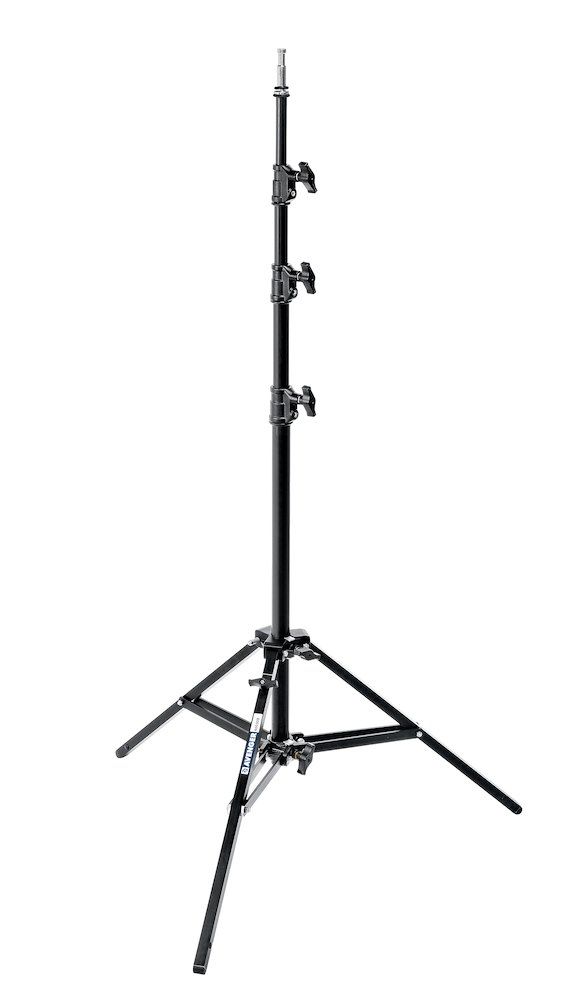
The simplest and lightest option with a baby spigot (and often with a 1/4” thread on the tip), these black aluminium stands are very quick to set up and fold away. Though first on this list, they are probably one of the last stands I would reach for as their inherently lightweight nature and rather wide stance makes them a little prone to people tripping on them causing them to topple over (Even if weighted down) I see them used more commonly in photography applications where the flash based lights are often much smaller, with no cabling etc.
2) C-Stand (C is for Century)
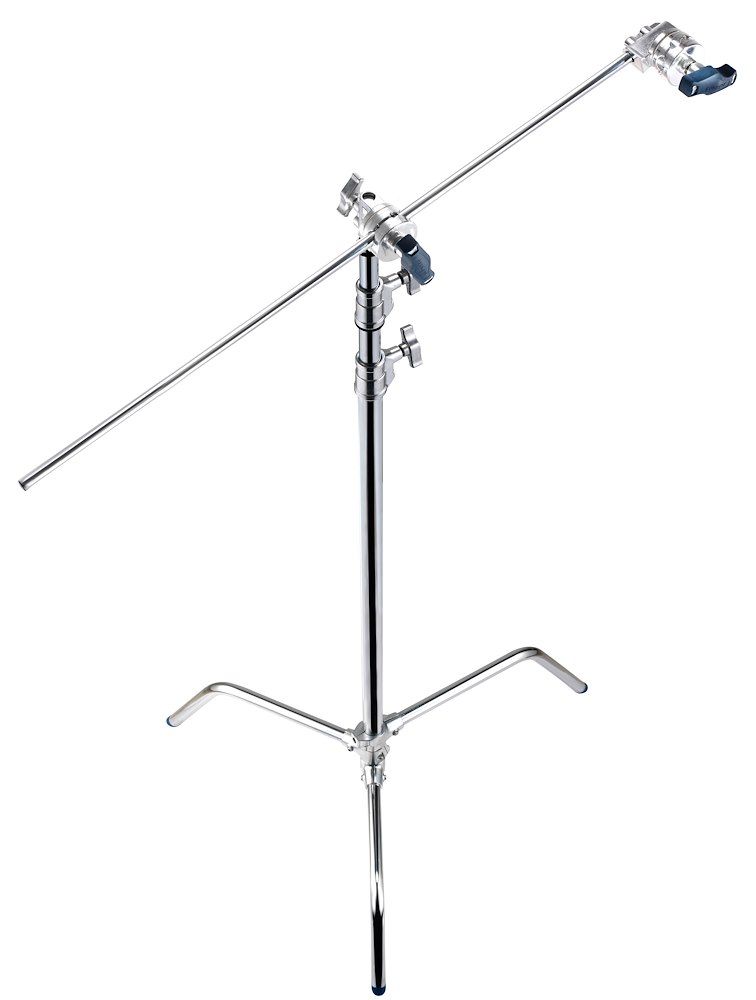
The mainstay of the entire industry, the humble c-stand is useful in so, so many ways. A heavy duty stand with 3 independent curved legs at the bottom that can be rotated to fold them away. (Often onto a trolley/cart which stores at least 10 stands) Each leg is at a different height, which means once erected, the stand columns can be pushed directly next to each other, either for compact storage or to minimise the floorspace used when rigging. A particularly useful variant of the design is one where the top leg can be slid up and down the column, allowing them to be safely placed upright onto stairs and other uneven surfaces
Virtually, but not literally, inseparable from its accompanying arm & knuckle (aka. flag arm & griphead), the combination of the two allows full 360 degrees of freedom in all 3 axes, whether mounting, lights, flags, nets, diffusion frames… the list goes on.
Top Tips: Firstly, always make sure that an unused stand is never left with the arm sticking out – tight schedules mean people constantly rush around on set and it can be tricky to spot things before they end up right in your face! If it does end up rigged like this, then a piece of white (or better hi-vis yellow) tape goes a long way to highlighting these potential hazards to unsuspecting crew members. And secondly, when rigging a grip arm, ensure that the arm is above the pivot of the grip head and that any weight placed on it is rotating the head so that the motion will tighten it.
3) Turtle
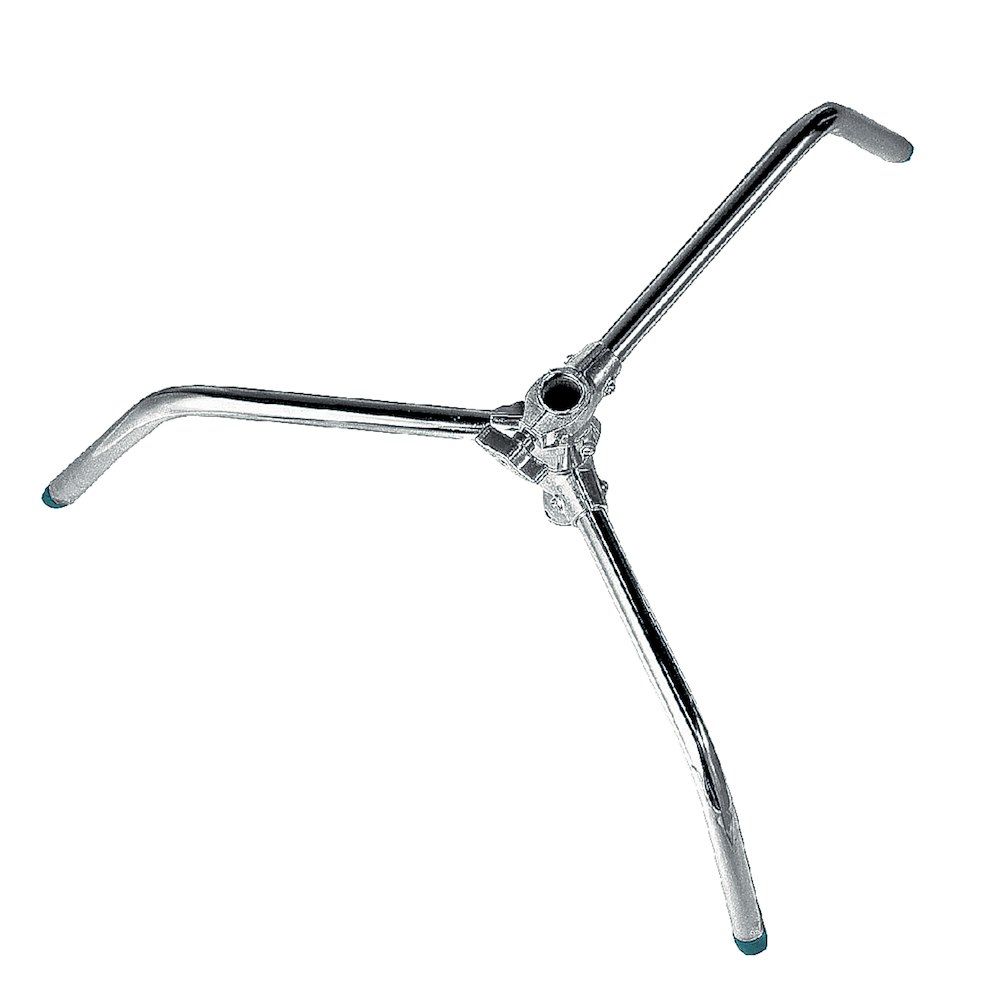
Arguably a variant of the c-stand but with the main column removed, leaving just the base section with the 3 folding legs and a Junior (28mm) spigot receiver. Ideal for placing medium sized lights (e.g. 5K Fresnel / 2.5K HMI) very close to ground level. Good for uplighting exteriors of buildings, interiors of churches, or when bouncing light off ceilings to save the effort of hoisting big lights onto taller stands. (The Gaffer and Sparks will definitely thank you)
4) Crow’s Feet / Spiders
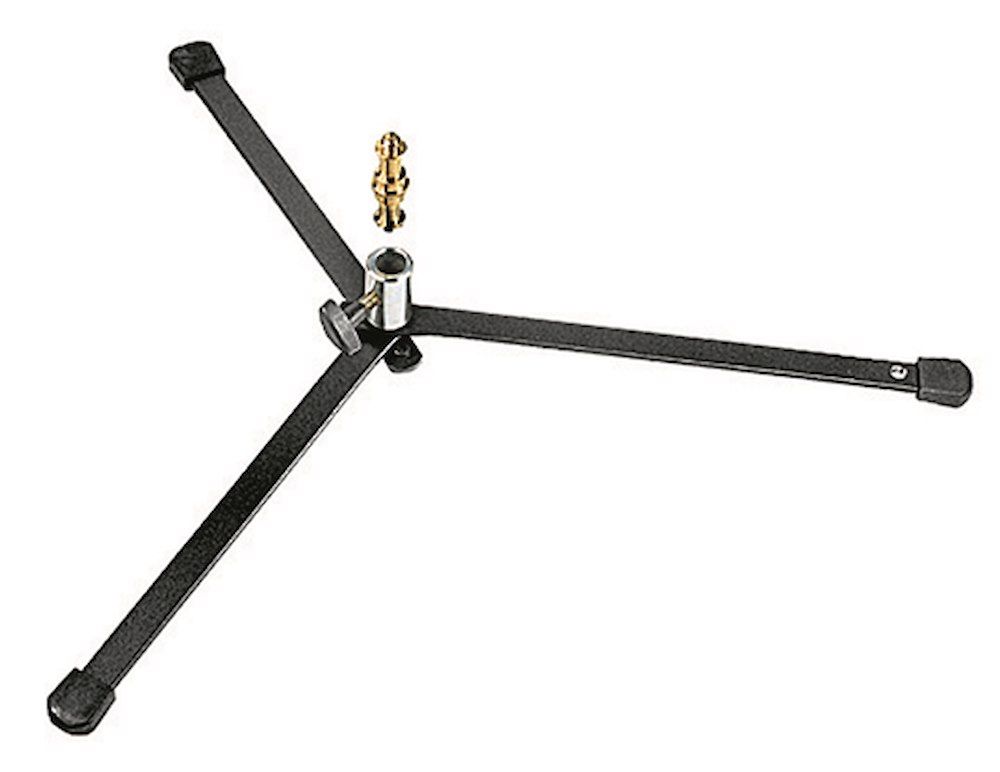
Similar to the Turtle in use, these compact devices also have three folding legs and allow placing of lights at ground level. However this time they have a baby spigot on them. I find they are very useful for keeping very small hot lights (e.g. Dedo) just off the ground. The low profile can be pretty useful for tucking them underneath tables etc. Just be mindful of rising heat… so make sure there’s a decent air gap.
5) Combo / American
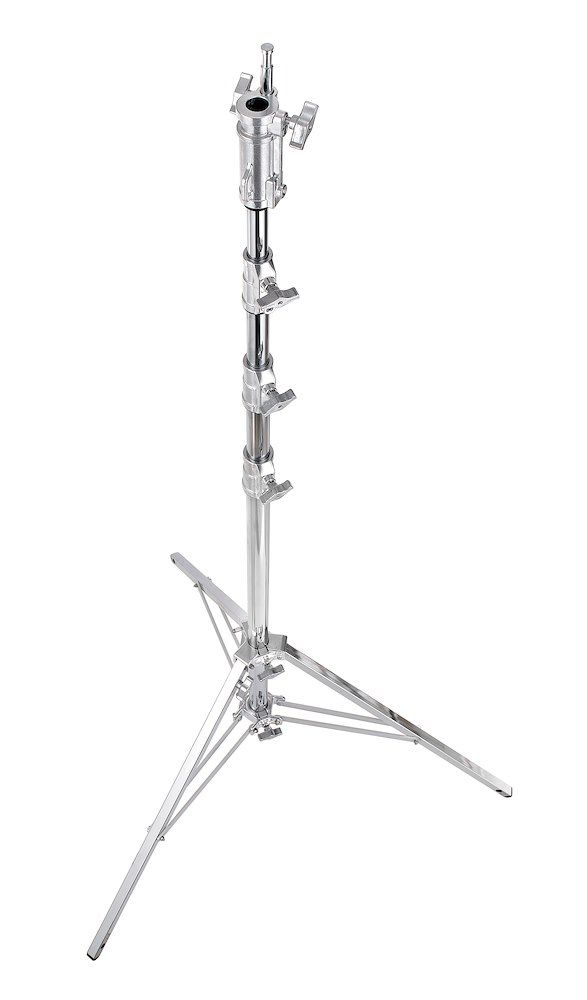
Back to the more conventional design of double-braced folding legs, these heavier stands obviously become essential when using heavier lights with Junior spigots already attached to the yoke. They do most often also have a “Combo” spigot option where there is both a “Junior” 28mm receiver hole, and a baby (16mm) spigot that can be retracted when not in use. This means they can be used for anything from a Dedolight DLH4 (even if it is overkill) …all the way up to something like a 5K Fresnel or M40 HMI. The different height options are denoted by the number of sections, e.g. Double, Triple riser etc.
Top Tip: One of the three legs also can be lengthened to compensate for uneven ground and keep the main column vertical – this is called the “Lazy Leg” – just remember to shorten it again when packing down, otherwise it won’t fold away properly and you’ll be scratching your head as to why.
6) Low-Boy (and even shorter, Eiffel tower)
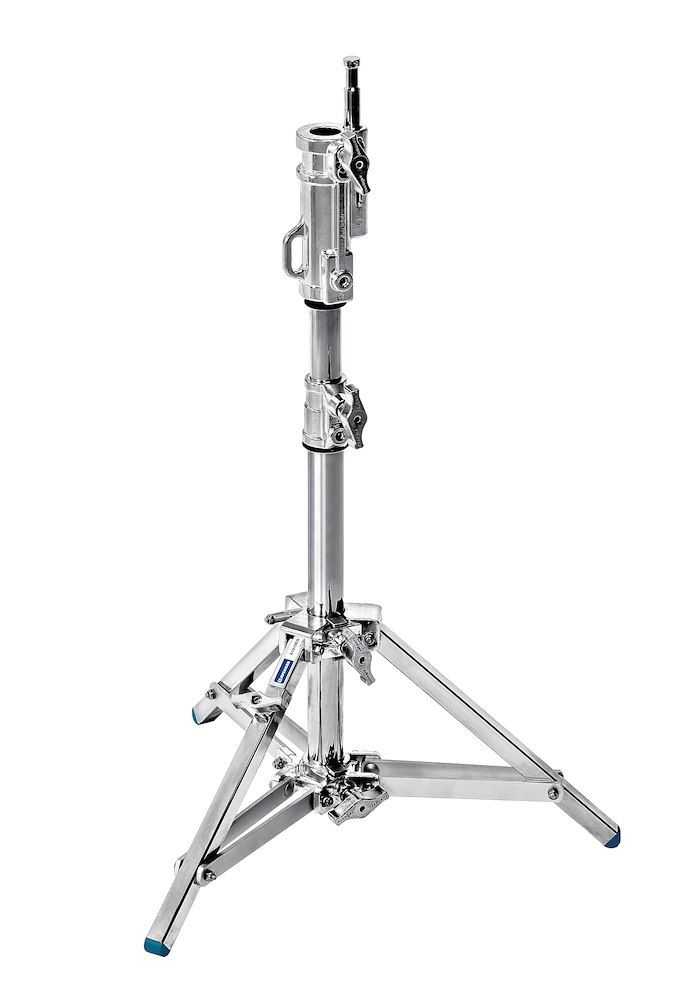
Basically a shorter version of the above, these occupy a particular space between ground level and the min 5’ height of a standard Combo. This means they are the perfect height range for itms to be accessed and viewed by human beings when both seated and standing… i.e. The camera team will inevitably “take possession” of them for sticking a monitor on when setting up a video village. (So remember to always order at least 2 when sorting out any kit rentals) They also come in a variant with wheels, which can be pretty useful for moving the monitor around quickly between setups.
7) Roller – Medium & High
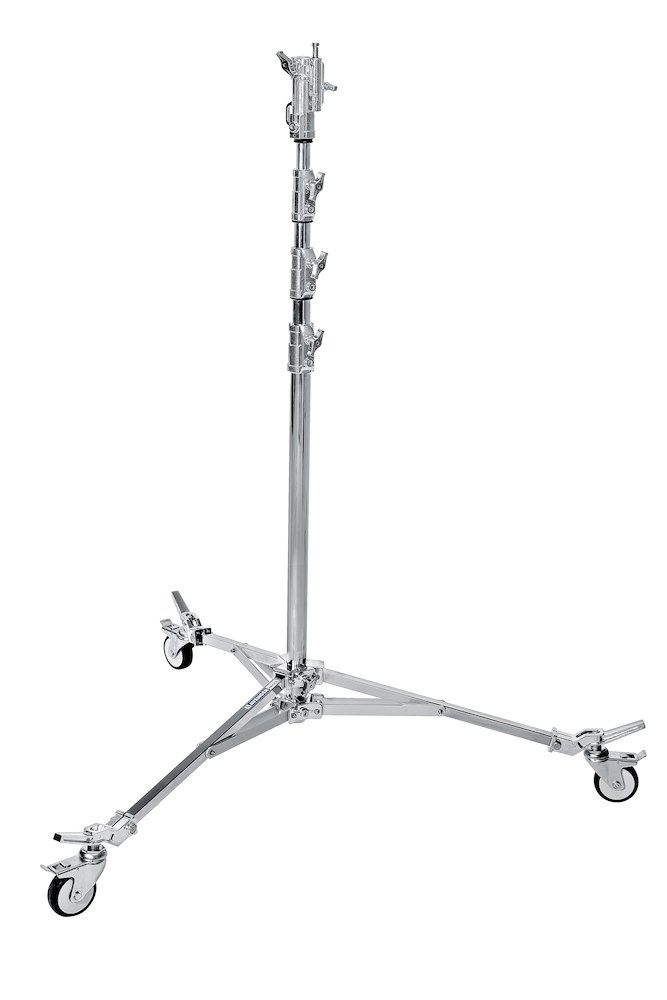
The next step up adds significant flexibility to what will now be a very heavy setup through the addition of lockable wheels! Usually supplied with a junior 4.5” Griphead, these are most often used in pairs to mount larger 8×8’ and 12×12’ frames – the frame’s mounting brackets are a perfect match and the extremely wide footprint provides great stability. Just remember to have two people on standby to move these setups around – the end of the legs have little extension ears which allow the them to stand up when folded… but are brilliant at catching peoples ankles when on the move.
8) Wind-Up – Single & Double
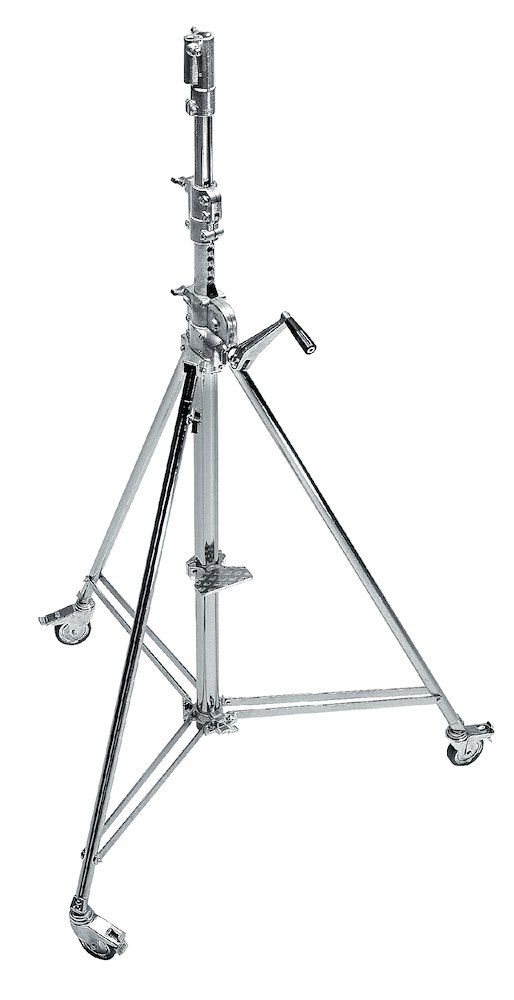
Though a combo/roller stand can take the weight of bigger lights… it becomes the limitation of how strong your sparks are to actually lift such a narrow column with all that weight on it. This gives rise to mechanical assistance in the form of wind-up stands. A cable and crank system built into the column allows two people to lift the light onto the stand, but then only one is required to turn the handle to raise the light into position… up to 8’ (single) and 12’ (double) at full extension.
With the light now so high off the ground, you might think adjustemnt will be a pain, but the stand comes with a very solid footrest on the central column which you can mount and reach up to make any small changes required. Just remember to flip the handle and tighten the collar-nut to lock its position when climbing up, or leaving the stand unattended – otherwise the weight on top could cause it to descend, spinning the handle violently.
Top Tip: These stands are often used in pairs (with Big Ben clamps) to support a scaffolding pole passed through a roll of paper to create a backdrop (colorama). To ensure the pole is level and the stands are the same height, just count the visible holes on the column of the stand and adjust accordingly.
9) Megaboom / Superboom

Though not strictly speaking a stand in their own right, their weight and rigidity make them the perfect partner for the Combo and wind-up stands if you need to fly a light in directly above somewhere with no alternative mountings. The telescopic Megaboom has internal gearing that allows fine adjustment of the length, tilt, and angle of the combo head in 3 axes, via crank handles towards the back end. It can be a little tricky to remember which handle does which, but its very easy to wind back the other way if you make a mistake. To counterbalance the arm is a large saddle-type sandbag that is strapped over the back end.
It’s younger cousin the superzoom is a little smaller, with a fixed length and only 2 axes of adjustment at the back end for the baby spigot up front. They are typically supplied with a solid metal weight (painted orange) that is screwed to pole at the back end. I find these to be used considerably less often than the larger, more flexible megaboom.
10) EasyLift
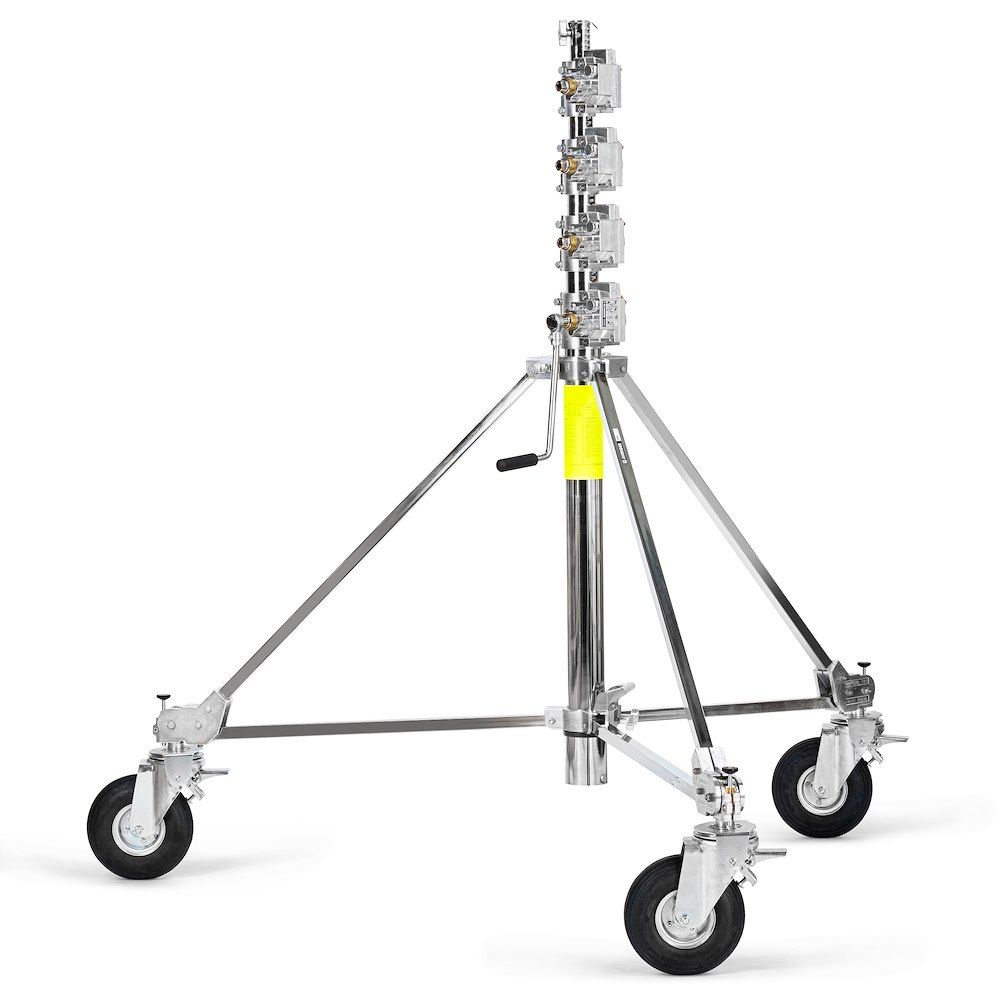
Now we’re getting into some seriously hefty stuff. With multiple sections allowing for heights up to 20’(4-Riser)these are for use outdoors lighting large exteriors, recreating sunlight/moonlight, UFO tractor beams etc. Basically where anything taller would require hiring a large vehicle eg. Cherry-Picker or Telehandler.
To erect them is at least a 2 person job (depending on the number of sections) and is done by laying them on their side, folding out and locking the legs and then lifting up to vertical position while resting on two of the wheels – just remember to lock them first. They once again have a telescopic crank system, however each section has their own with the addition of a safety ratchet to prevent the light descending under its own weight. (The handle is also removable…just in case)
Once up, to bring them down again, you’ll need to over crank slightly to release the two-way ratchet, then hold in the release button before you can start to wind them down – this means if you let go of either the handle or the release, the stand will stop dead – With such big equipment it’s no surprise the designers made sure to include a failsafe like this. (Even if it makes them a bit fiddly to operate)
Bonus: AutoPole / Polecat

Though this manages to fall somewhere in the gap between what is strictly a clamp (for more info on these, check out this article) and a stand… I think it is worth mentioning here. In simple terms these are a very lightweight extending scaffold pole. They are used to span between two flat surfaces, often in stairwells, where it would be awkward to place a stand and there is nothing to clamp onto. Rubber feet at either end both serve to protect the underlying surface and increase friction. You just open the locking arm, extend the pole in place to touch both surfaces… and then the action of closing the locking arm extends the pole slightly and locks the length set. The main limitation of these devices is their load capacity – Personally i wouldn’t be comfortable mounting anything heavier that a 1K Fresnel or a bare KinoFlo (without a ballast attached)
(Product images courtesy of Vitec Imaging Solutions)
