Now this might not seem like the most exciting topic, but there is actually quite a lot to take in, especially as there can be a few different names for the same item…
So you get your first gig as a spark, arrive on set ready to make a good impression, and someone asks you to urgently pop back to the grip box and grab a Honker-Bonker, two Peli’s and a Card?
Without knowing all the tools, you’re in danger of looking like you’re greener than fresh spring leaves… but even worse, you might be slowing down a production where every second is costing serious cash.
So here’s a quick guide to the 10 items you are most likely to come across in the grip box of any lighting rental package… and they all have their different strengths and weaknesses…
Note: Always remember that we have a duty of care to those around us – some of this equipment can be pretty dangerous if used incorrectly. Ensure that any hot lights are far enough away from surrounding surfaces that they won’t cause damage… or worse start a fire! If you’re unsure about any rigging taking the weight it is best to err on the side of caution, as the last thing you want is for something to fall on anyone’s head!
1) Spring / A – Clamp
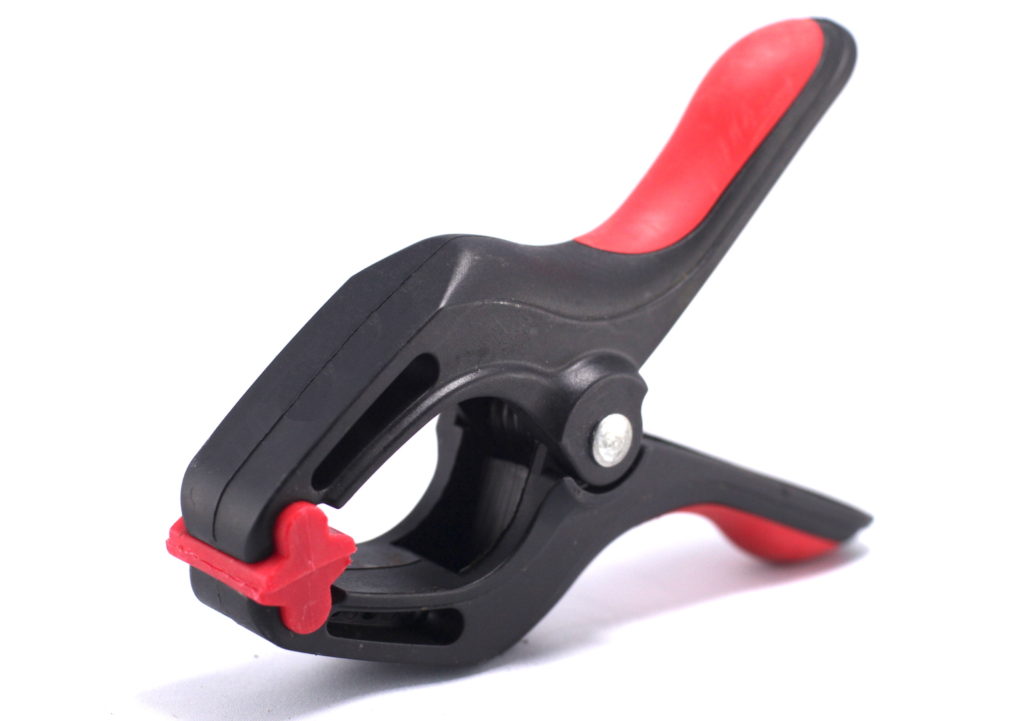
The simplest, spring loaded clamp. Comes in both metal and, more recently, plastic variations. The metal type often have plastic-dipped jaws, but this rubs off very quickly during the first use… The plastic ones have clip-in jaws, which often get lost, so neither is perfect! They also have an annoying tendency to ping off what they are attached to. especially if it is a scaffolding bar with some black fabric you just spent 30mins rigging up. Their limited strength means they are best used for light-duty tasks, such as attaching blackout fabric to itself… or preventing Colorama backdrop rolls from spinning on their scaffolding bars.
2) Gaffer / Alligator Clamp
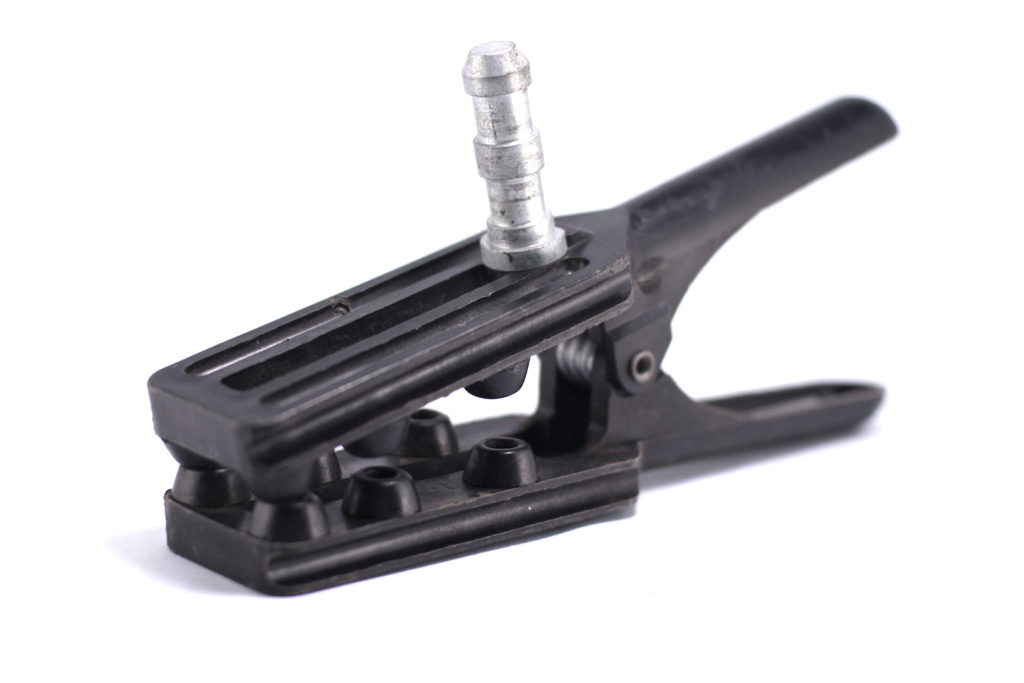
This little fellow’s jaws are loaded with a pretty stiff spring, so while they are quite secure, there is no control over the pressure they deliver to the decor. Imagine you’re on location in someones house and you clamp onto a fragile plaster moulding that immediately crumbles… you’re not going to be very popular. However, they do have little rubber pads that look like teeth, so my experience has been that they are fine for attaching to wood, even painted, if you are careful. The fact that they have a “Baby” (16mm) spigot means you can technically mount any compatible light, but seeing as they are sprung, this means they have limited weight holding capacity, so I wouldn’t recommend going bigger than something like a 650W fresnel.
3) Super / K – Clamp
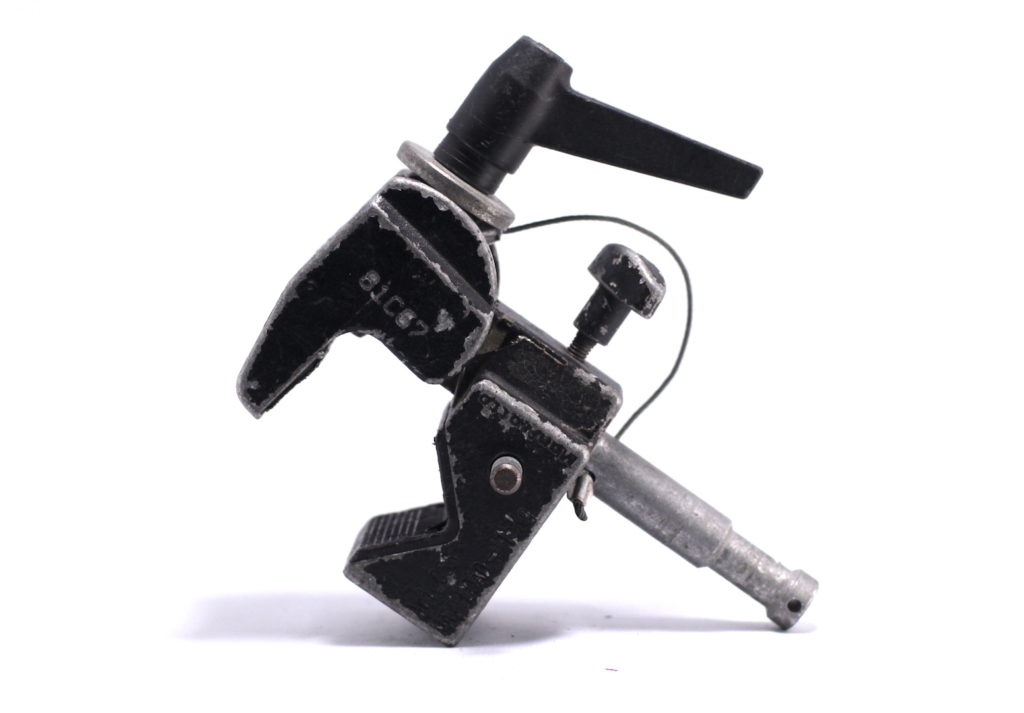
One of the smallest clamps available makes these ideal for tight spaces. While the combination of both straight and angled jaws mean they can be attached to almost anything, round or square. They usually have a removable Baby spigot (on a safety cable) which means you can rig lights with either a spigot or receiver. They also have a safety pin, which can make de-rigging a lot safer, as the spigot doesn’t drop out of the clamp if loosened by mistake. Two clamps can also be joined to each other, or put on top of a stand allowing more creative rigging using scaffolding bars. (Or if someone forgot to put the barrel clamps on the rental list) The cam system for tightening also means they can be made extremely secure, so feel free to rig anything that fits… just be careful not to damage what you’re attaching it to!
4) Pelican / Italian Clamp
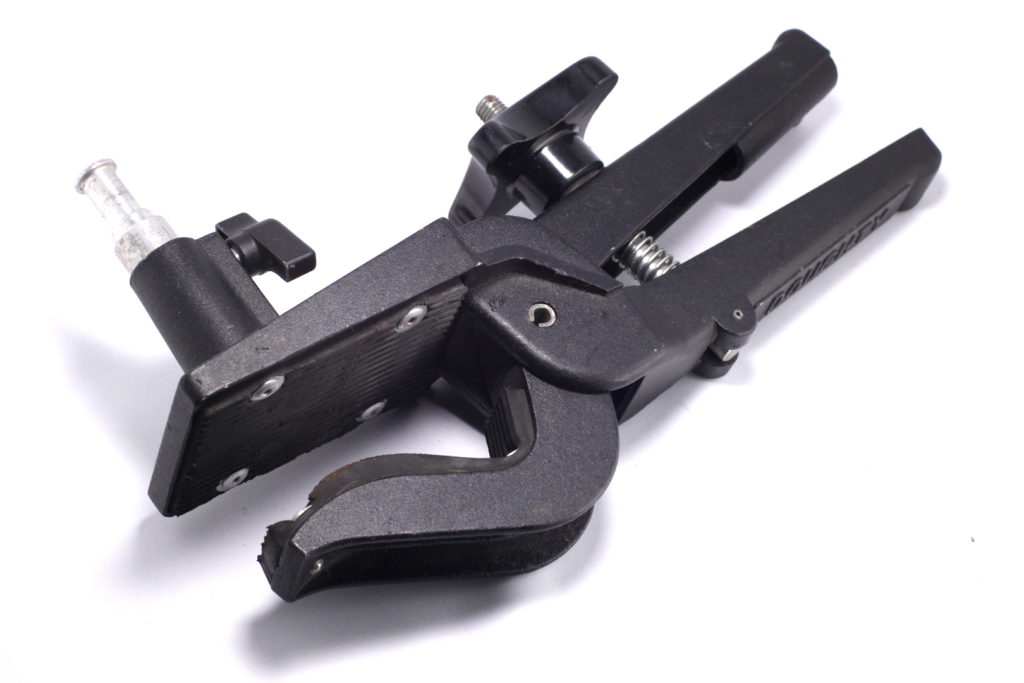
One of the strangest looking clamps in the box, these are surprisingly versatile. The jaws are sprung outwards, so you just place them onto what you need, hold them closed and spin the tightening wheel – this makes for some super-speedy rigging, with full control over how much pressure you apply. The wide jaw on one side can spread the load, so they are better for more fragile surface, while the curved jaw allows them to hook onto round bars etc. There are typically holes for spigots in both the side and in the end of the handle giving you both horizontal and vertical mounting options.
5) Barrel Clamp
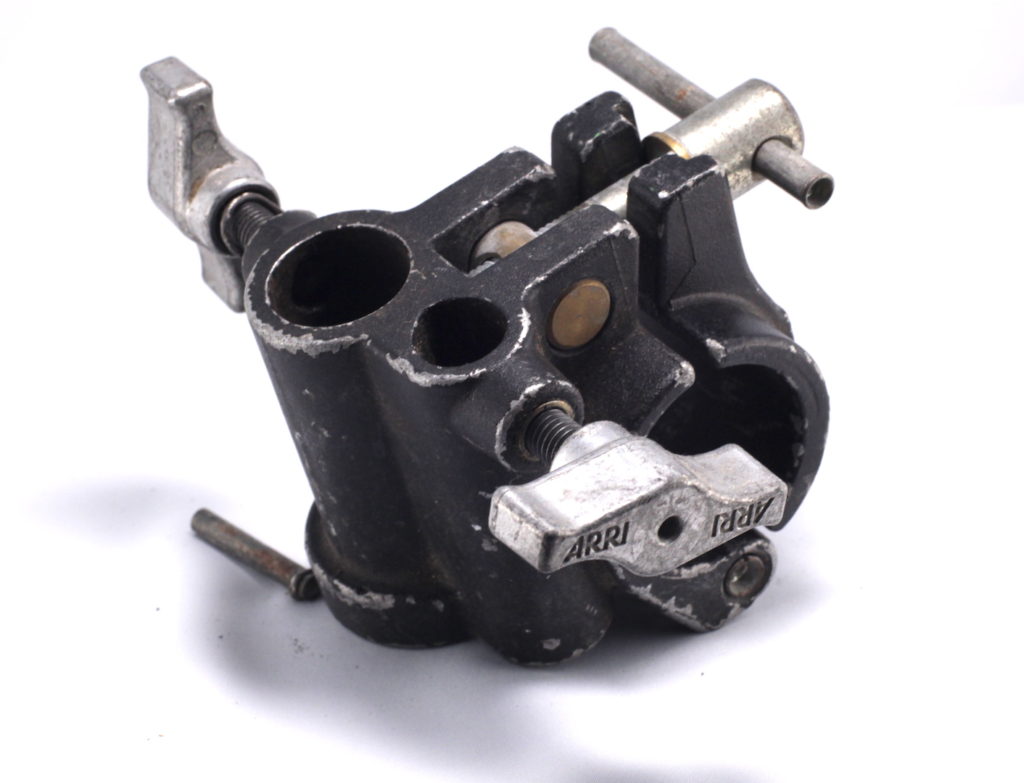
Now this is some heavy duty gear for attaching bigger lights directly to scaffolding bars or rigging truss. You could attach to a polecat (telescopic scaffold pole) however these are not really for heavy loads themselves, so I wouldn’t recommend this combination myself. They also often have a “Combo” spigot option where there is both a “Junior” (28mm) receiver hole, and a baby (16mm) spigot that can be retracted when not in use. This means they can be used for anything from a Dedolight DLH4 … all the way up to something like a 5K Fresnel or M40 HMI.
6) Cardillini
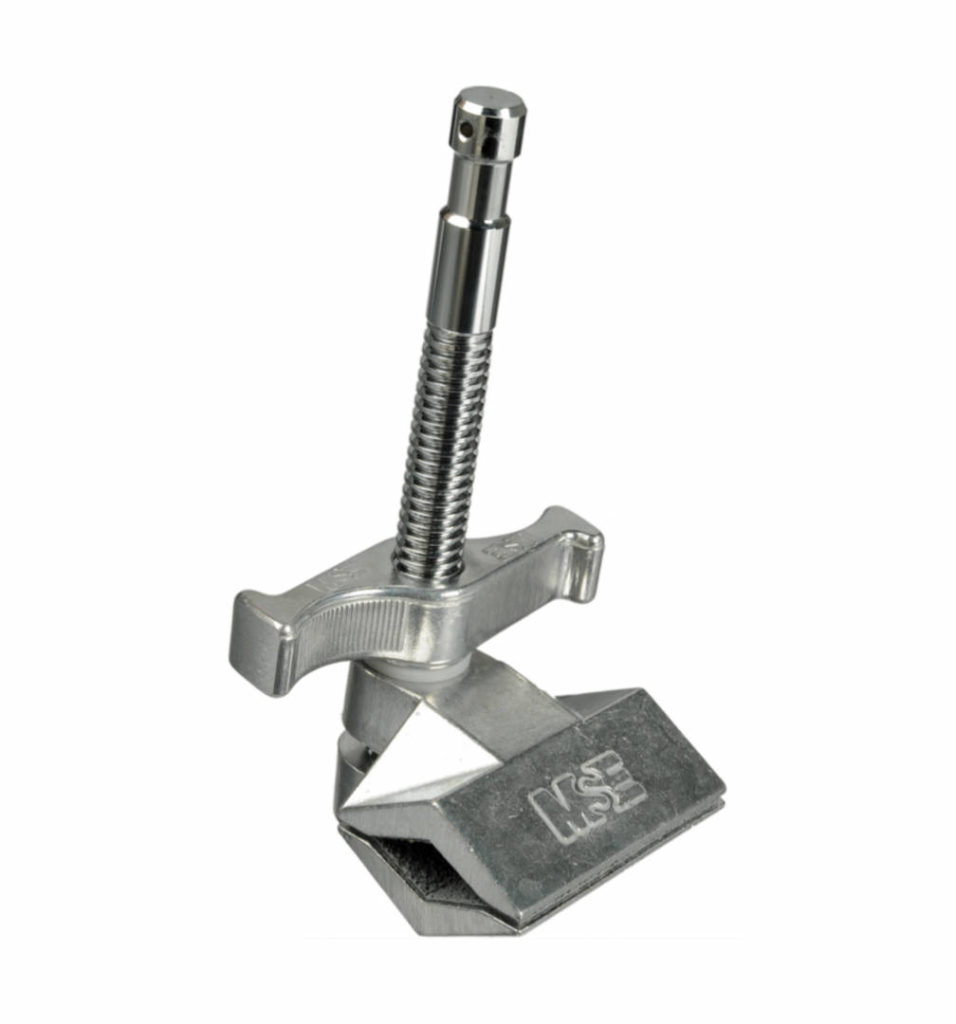
Now if there was one clamp that can really save you in a pinch it is the cardillini. With two very slender jaws, it can slip into tight cracks and creases where no other clamp dares to go… even attaching to a either side of a brick in a sheer face of a wall. (limited load with this type of rig though) The sliding second jaw also makes them super quick to rig, like a Pelican clamp. The angle of the jaws and the large capacity also means they can be attached to circular or square bars, rolled steel joists etc. Lastly, the clamp shaft itself is a baby spigot – beautiful simplicity, super versatile.
7) Wall Plate
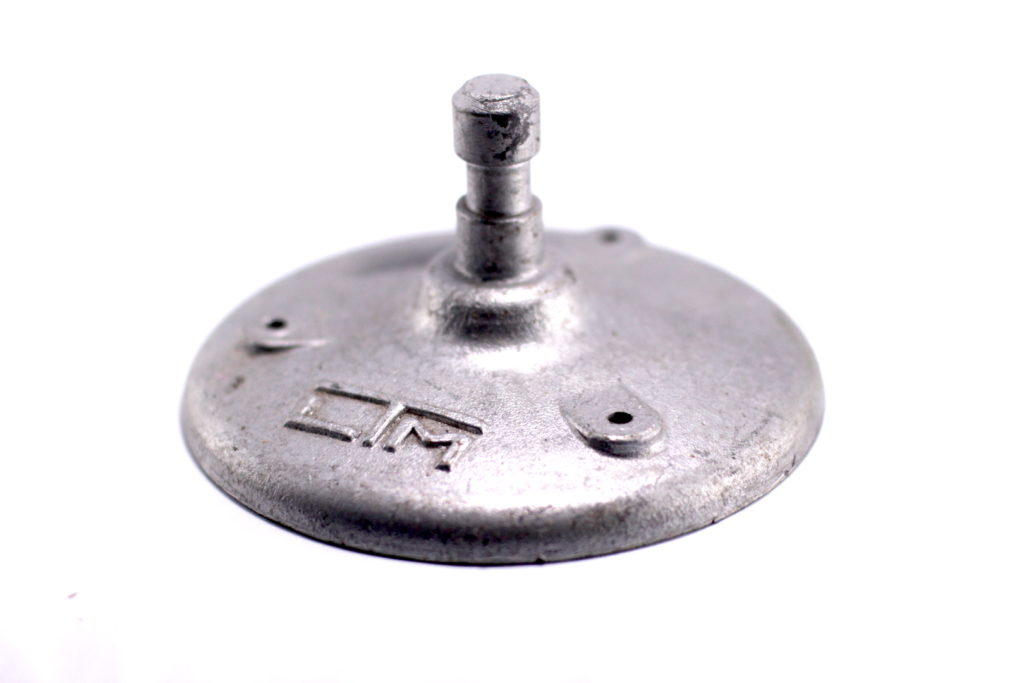
Sometimes you find yourself in a situation where there is just nothing to clamp to… The DoP says he need a light mounted to the ceiling in the centre of a set that has a smooth flat ceiling… What do you you? Here’s where the wall plate comes in… 3 screws into a suitable wooden joist or backboard and voila! there is a baby spigot sticking out of the ceiling. Note: Obviously get permission from the location or set builder before putting holes in anything! Now all you have to worry about is how to get power to it!
8) Swan Neck (aka. Offset Arm)
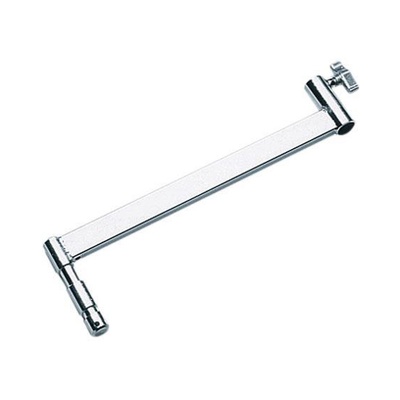
“Can you just move that light a foot to the left?” is pretty much what you are guaranteed to hear when there is absolutely no way you can move a stand any further… whether it be a wall, a pillar, a giant hole or ravine, sometimes your environment is just against you. However, with one of these L-shaped (or is it Z?) brackets you can squeeze everything you can out of it. As the light will now be offset from the top of the stand, it is always a good idea to add a few more sandbags to the base, just to be sure.
9) Spigot Adapter (aka. B*tt-Pl*gs)
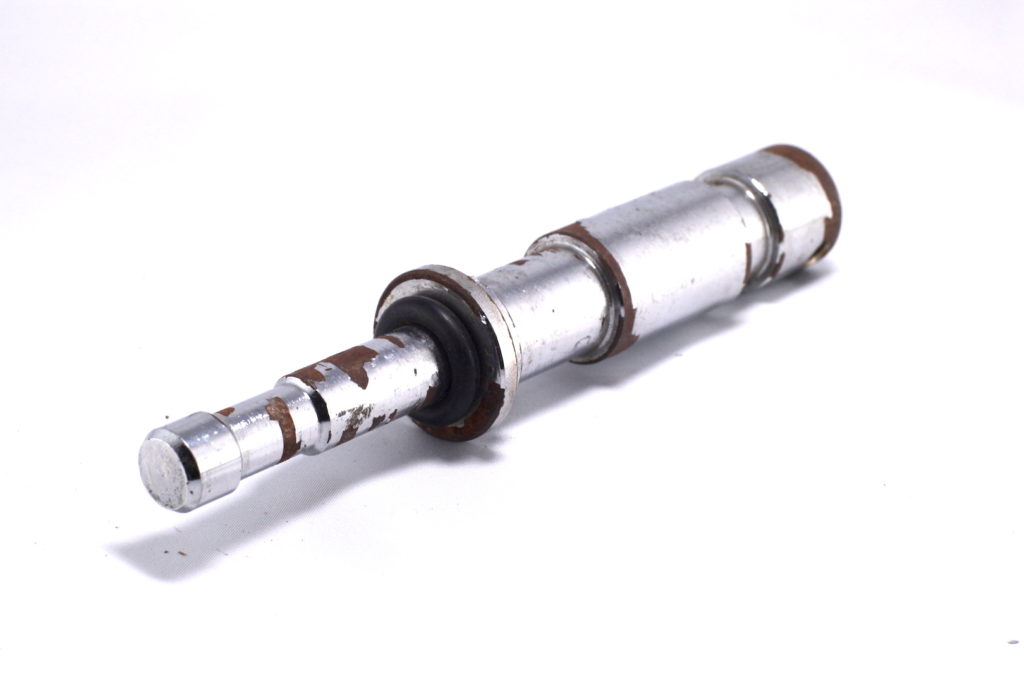
Sometimes you just don’t have the right stand! Now it would certainly be a bad idea to put a bigger light on a smaller stand, but there is absolutely no problem doing the reverse. If you are unlucky enough to have some American stands or LowBoys that don’t have “Combo” spigots… or perhaps are damaged (pretty common with older rental gear), you can just pop a Junior to Baby (28mm – 16mm) spigot adapter in the stand and you can stick any smaller fixture on there you like. I’ll let your imagination work out how they got their rather unsavoury nickname.
10) Knuckle (aka. Grip Head)
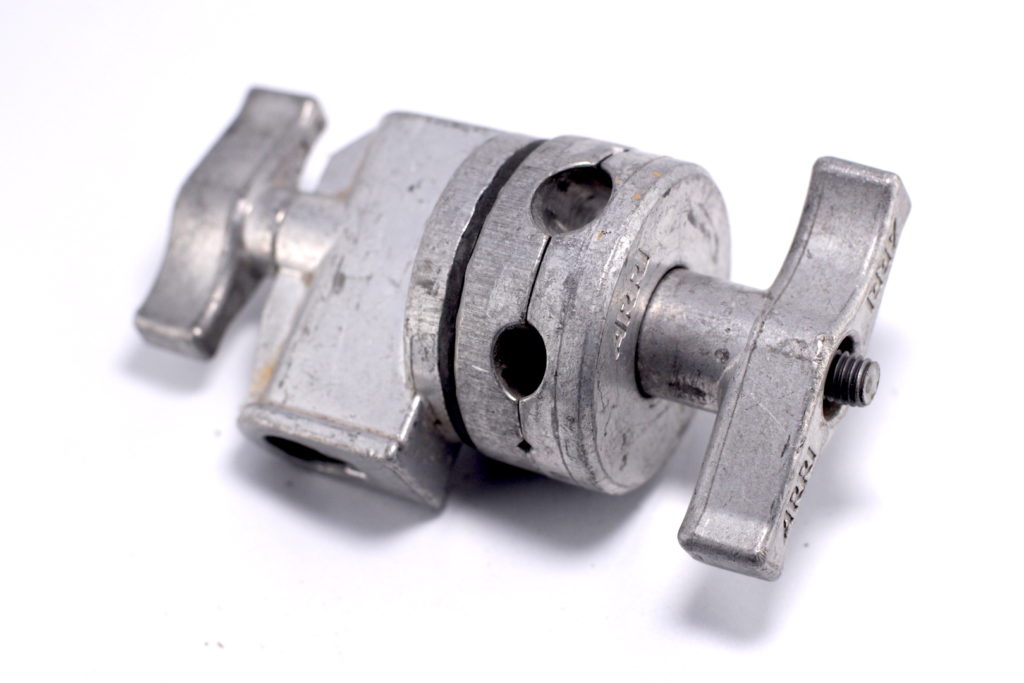
Almost always found accompanying C-Stands, but worth mentioning here as some rental houses like to “helpfully” supply them separately. (While i can understand it might make their stock control easier… it certainly can save a bunch of time on set if they are already on the stands) …anyway, you will probably interact with these more often than any other pice of lighting grip and it’s worth mentioning good practise here. When rigging, always ensure that any loads placed on the arm or clamp are above the central shaft and will cause it to tighten – this is a safety precaution and will inevitably save your b*tt at some point.
