Whether on set or at a location, one of the best ways to increase the believability of your actors’ environment, and potentially add contrast to the background of any scene, is to make use of “Practical” lights.
Now undoubtedly there will be some argument over the exact definition of what counts as a practical light, but for me it has always referred to any light source that exists within the story world environment… (Except daylight, which is typically referred to as “Available” or “Natural” light) I guess if you are outside and there are streetlights/floodlights, that could be a grey area as to whether these count as “available” or “practical” light but anyway, best not to get too caught up in that. This obviously rules out most of the lighting we normally use for filming e.g. a 1K fresnel with a soft box placed behind the camera in someone’s living room, as this clearly wouldn’t be there if we weren’t filming. Check out some of the related articles for more info on the most common lighting fixtures used in film. However, take a look at the options for adding a little interest to your scenes…
1) Fluorescent / Neon – watch out for colour casts
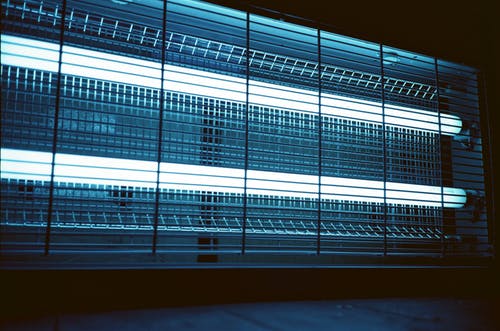
At one point it would have been virtually impossible to film in any office / commercial location without coming across the most ubiquitous light source of the late 20th century – the fluorescent tube. While they are increasingly being replaced by LED fixtures, they still are very common.
Unfortunately the strict colour requirements of filming don’t transfer into manufacturing commercial fixtures, where light output vs cost are more important, so they tend to have a slightly green cast to the light produced. This can unfortunately give skin tones a rather sickly look, but this can be compensated for using “minus green” colour correction gel. (That looks like a pale magenta)
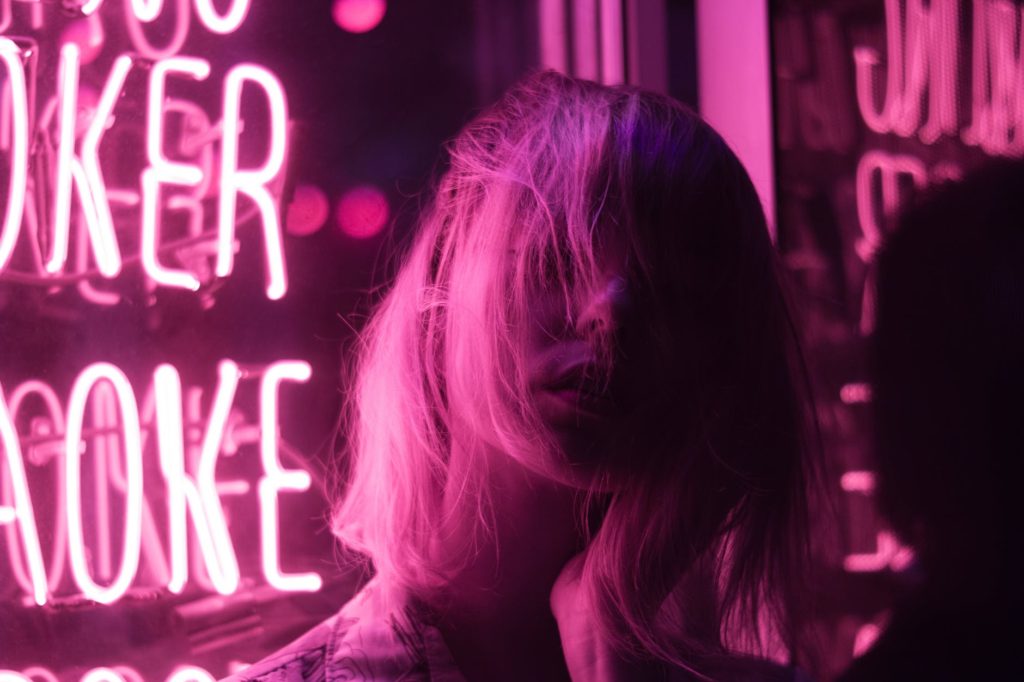
A common choice for both Classic and Neo-Noir films is a variation on the gas-discharge bulb – the Neon sign. With such highly saturated colours and the ability to be made into virtually any shape, these also help to create really rich and interesting environments for the right type of stylised world.
2) Lamps (Table/Floor) – Check for Tungsten bulbs!
“The private detective enters his office, sits down at his desk, reaches over and turns on the table lamp – the deep lines in his face betray a world weariness beyond his years. He sits back and contemplates what just happened at the club… but more importantly who was casting that shadow in the hallway!”
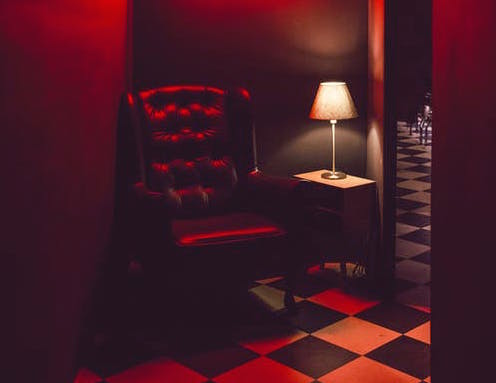
This is a pretty obvious one, but one of the most useful aspects of a lamp is that it is also a prop, so the characters can interact with the lights to drive the story forward- whether it be by switching them on/off or picking them up to shine on specific areas.
Top Tip: Though many lamps in a domestic environment will have had CFL bulbs fitted in recent years, It’s a good idea (ie. basically essential) to ensure they are replaced with tungsten halogen bulbs while filming so that they produce top-quality light that can easily be dimmed.
3) In-Set – Beware dimming LED strips!
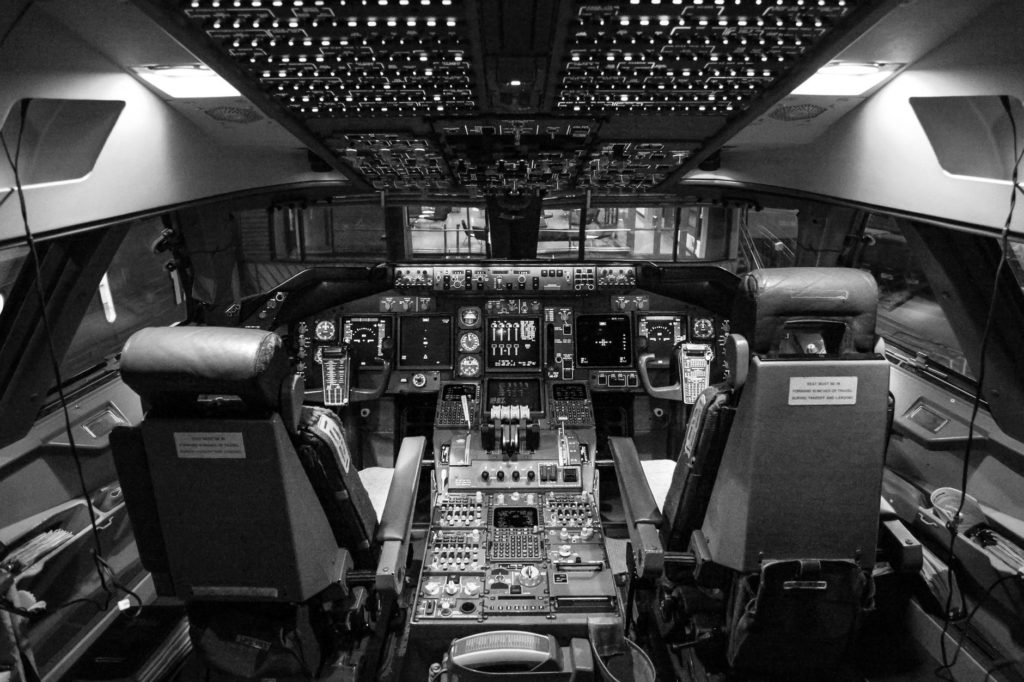
In space no-one can hear you… bang your head on everything when the lights go out! Artificial gravity and life-support systems aside, one of the main things any good spacecraft (or space station, underground bunker, command hub, submarine, futuristic prison cell etc.) needs is lighting… so when designing the set for your sci-fi epic, integrating lighting into the set is an absolute must. A good trick is to change the colour of this lighting during certain events… e.g. Red alert status plunges the crew into a deep ruby wash… and immediately shows the audience that danger is at hand.
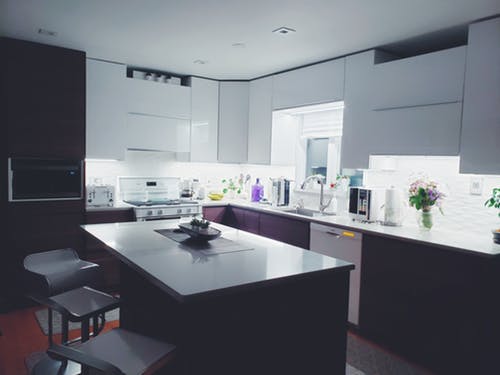
One of the best (and cheapest) solutions for adding coloured lighting in long strips, to recesses, soffits, podiums, signs etc. is the now common (and cheap) RGB LED strip. These typically run on 12V, so can potentially also be battery powered if needed. This is all fine, if you’re running them at full brightness, but becomes an issue when you want to dim them.
In short, the way you dim an LED is to turn it on and off so fast that the eye doesn’t notice (Using a process called Pulse width modulation – more info on that in an upcoming article)… However, the camera does notice if you’re using the cheap 100Hz dimmer units that are available for these strips, and the result is that they will create noticeable flicker onscreen, which will ruin your film. I have yet to find a cheap multi-channel high-frequency (100Khz) dimmer for these LED strips… but watch this space for updates! Right now, your best option is to use Neutral Density (ND) filter gel to reduce the brightness without inducing flicker or changing the colour.
4) Appliances – Is it just me, or is it cold in here?
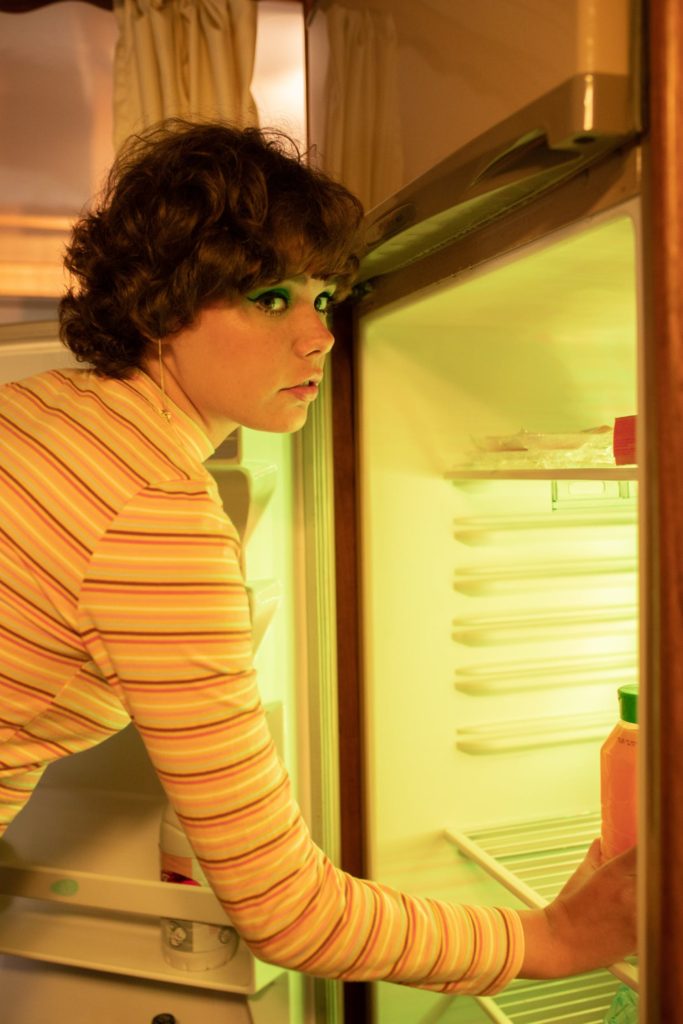
Now i’m not sure how many of you will have seen the infamous 9 1/2 weeks, but there is a rather raunchy scene involving a young Kim Basinger sat on the kitchen floor being fed various food items which is entirely lit by… you guessed it… a refrigerator. It’s a lot more sexy than i make it sound… i’m not sure i’ve ever looked at strawberries in quite the same way!
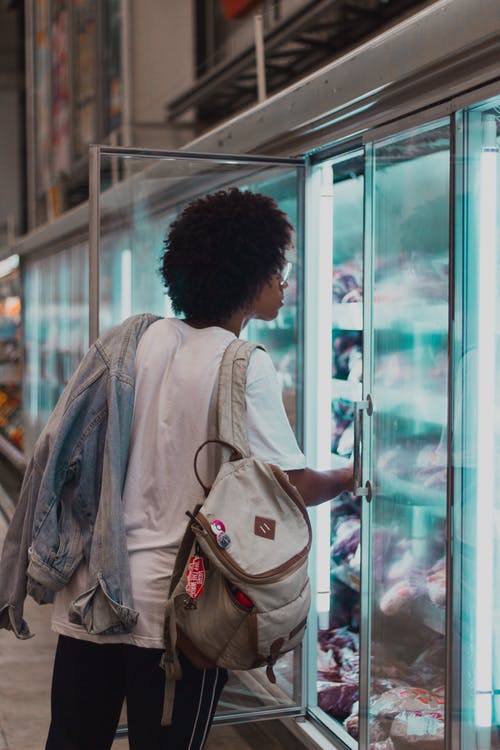
Anyway, it’s an ingenious use of the soft backlight to create effective flattering wrap-around lighting for this intimate scene. Another great example of this is in John Carpenter’s “The Fog”, where the chillers in a convenience store are the sole illumination as the fog enters the town.
Top Tip: Any appliance is probably going to hum/buzz which will drive your sound recordist crazy, so make sure to carefully plan any dialogue around this.
5) & 6) Fire & Flares / Fireworks – Danger Will Robinson!
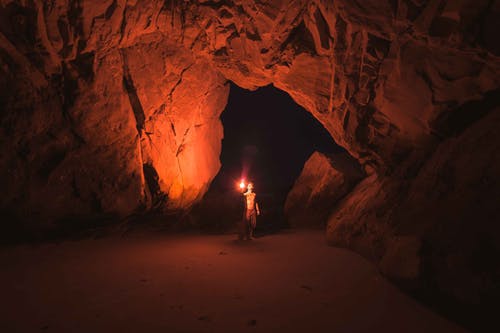
A beautiful and hypnotic window into the past, there is something very primal about the light given off by fire as it dances around, throwing restless highlights and shadows throughout its surrounding. There is however one drawback to it… Safety.
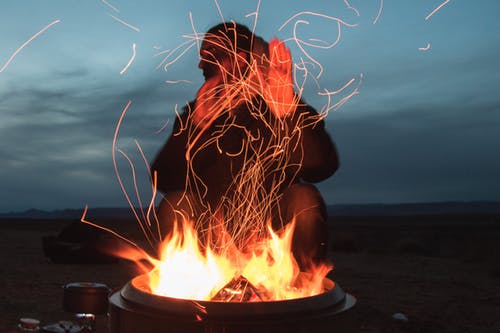
Fire is dangerous and so therefore choosing to use it in a film (Even if it’s just candles) adds an extra level of complexity, all the way from, asking permission from locations, to increased Insurance costs, to employing trained fire marshals and providing extinguishers on set. Basically its a big pain in the a$$ for any production… However as film makers, we can often find ways to recreate something with significantly less effort and risk…
If you don’t actually see the fire itself, only what it illuminates, then you just need to vary the brightness/ dispersion of the light to imitate various different flame effects, Camp fire, lanterns, candles etc.
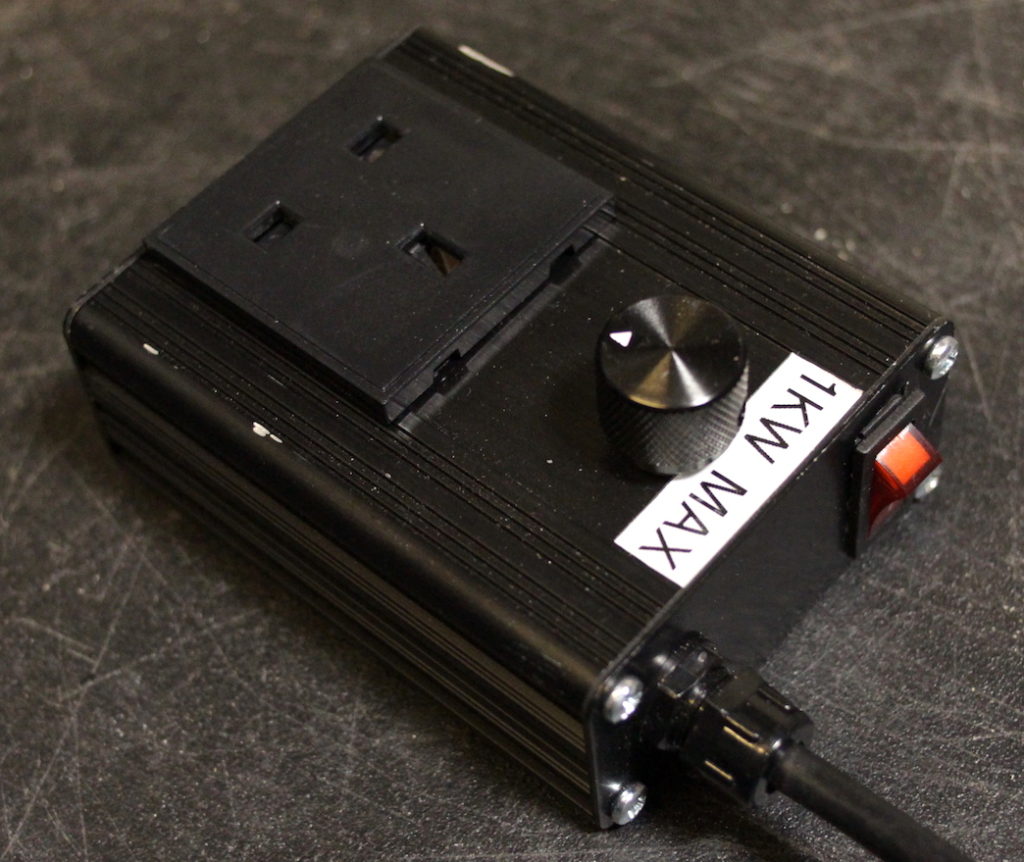
Dimmable lights – You can connect a “Flicker box” which has fully adjustable circuitry (with intuitive analogue knobs) to recreate many fire effects on both a small and big scale. Each box will have a maximum power throughput eg. 2KW, 5KW etc. So, just use several of them for larger installations. Alternatively it can be done manually by an unsuspecting member of the lighting team with some deft knob-twisting skills.
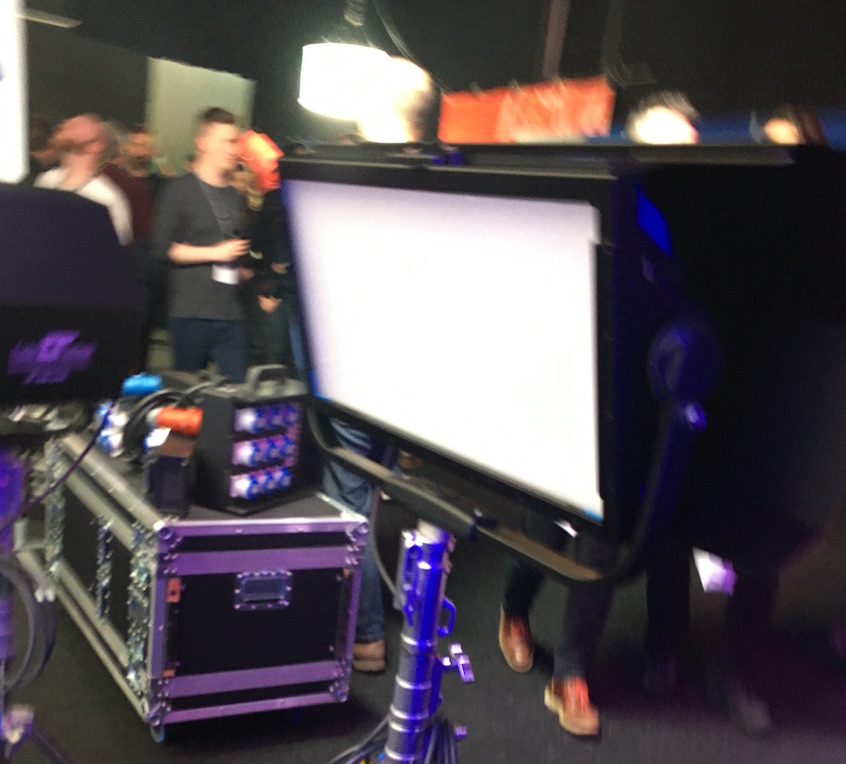
LED lights – Many higher end options (Eg. Arri Skypanel) have an animation engine with pre-programmed fire effects. The only drawback of a panel is that the output is too uniform, so no dancing shadows… some of the RGB LED Tube options (e.g.. Digital Sputnik) may be better for this as they have a defined row of LEDs that can be animated in pre-programmes sequences.
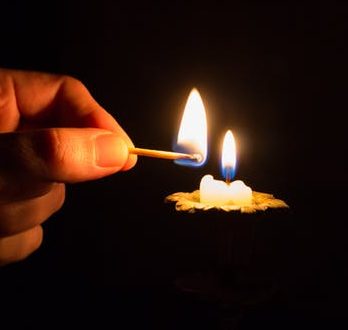
Candles – There are many battery powered candles on the market now, many of which have a slight flicker built in. (IKEA tea lights are a favourite of mine – they will automatically turn off after 6 hours to save battery life too). These have very low output, so only good for use in shot to create contrast in backgrounds etc.
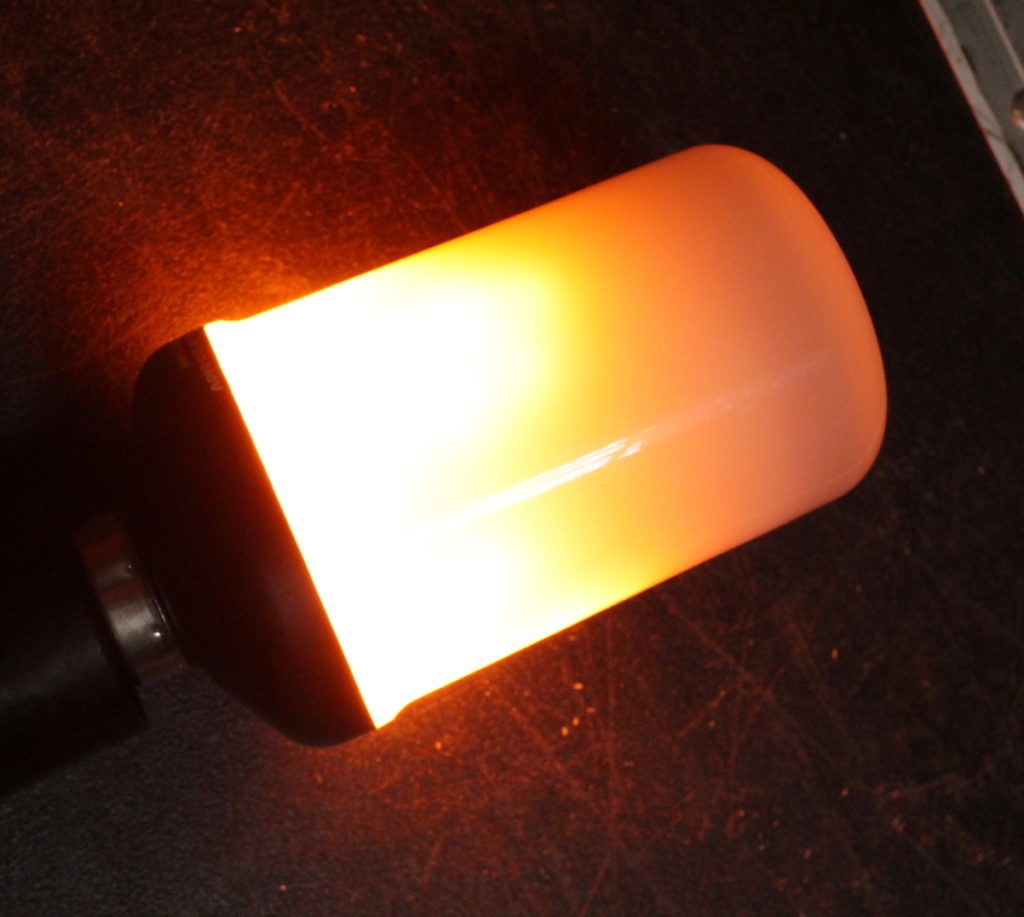
Flaming Torch Bulb – These appeared quite recently… they have an array of LEDs inside that play back a sequence to imitate a flaming torch. The output on them is good enough for close-ups of someone sitting near a fire and they do cast dancing shadows. They are also very affordable, with the only drawback being that the animation pattern repeats at a constant interval – a keen observer may pick up on this though it is unlikely. Let’s hope the next generation of these bulbs will integrate a random pattern generator.
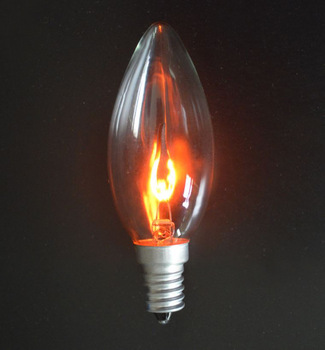
Flicker-Flame Bulb – A favourite of haunted house attractions, these mini neon bulbs have two flame-shaped electrodes that create a glowing effect around them. They don’t really output enough light to illuminate anything, but can look cool in shot – might be a bit too cheesy for some though.
Budget Option – Shine a light source onto a crumpled aluminium foil / space blanket reflector and then have a unsuspecting crew member stand there and wobble/deform it during the shot. Though this sounds like a ghetto solution, with a bit of practise it can actually produce some great results, as the shape and direction of light is constantly changing, just like real fire.
7) TV / Phone / Computer – Enhance 36 to 42…
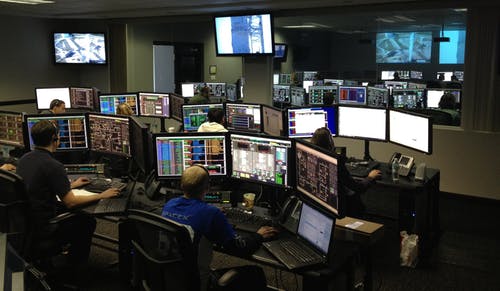
Perhaps not the first thing you think about using, but certainly a useful tool. All screens, whether CRT, LCD, OLED etc. all give off a certain amount of light. The larger the screen the softer the source. The main advantage is that this is a source that can be varied constantly by playing back a video on it… if being used to illuminate an actor’s face, this will really sell the effect to the audience.
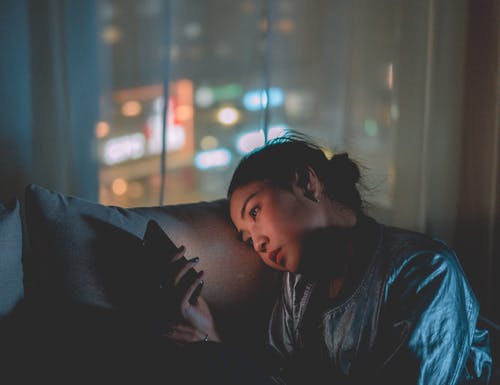
Think of the TV playing static in the 1982 classic “Poltergeist.” However, you have to be careful about refresh rates to make sure you don’t end up with flicker… or rolling – this is especially important for CRT screens that have a very quick response time. Check out our related articles for more info on how to film video screens.
8) Torch / Flashlight – This could be a case for M…
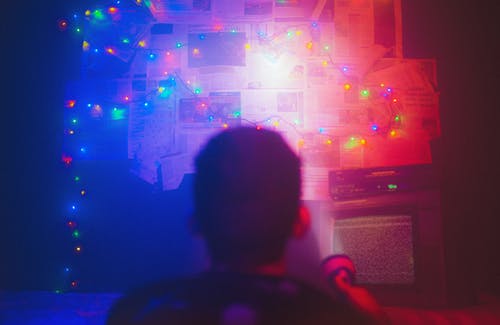
This one is an absolute classic, constantly used in Crime, Horror and Sci-Fi films among many others. Simply create a dark environment, add some haze and it places the audience right there in the story by making them experience events as the characters do… Really great for building tension… and (if you must) setting up for jump scares.
Like with the lamps, the light source is also a prop for the actors to interact and focus attention with… and as it is constantly moving, instantly adds visual dynamism to any scene. Plus the potential for cool lens flares is also pretty high… if you like that sort of thing. Try to find torches with a high output and a narrow focussed beam, otherwise they’ll just illuminate the whole space you’re shooting.
9) Projector – great with haze, or directly onto performers…
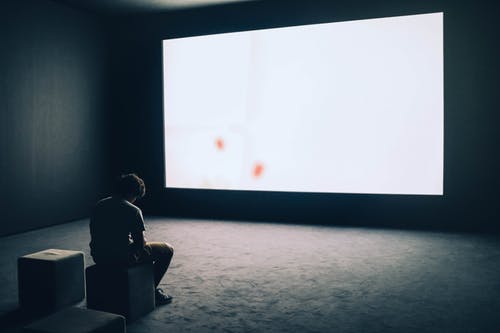
So this is pretty much a hybrid of the torch and video screen options. You can choose to shine beams of hard light through haze… alternatively you can project images directly onto your performers to create some very stunning, even surreal effects. Think of Deckard’s spinner projecting the text from its onboard screens onto his face while he flies along. If you have access to a video projector, you have the most freedom as you can change the video as you go… scrolling text, dancing fire, churning waves, the possibilities are endless. Like with the video screens, just be careful about your refresh rates to ensure you don’t cause any flicker.
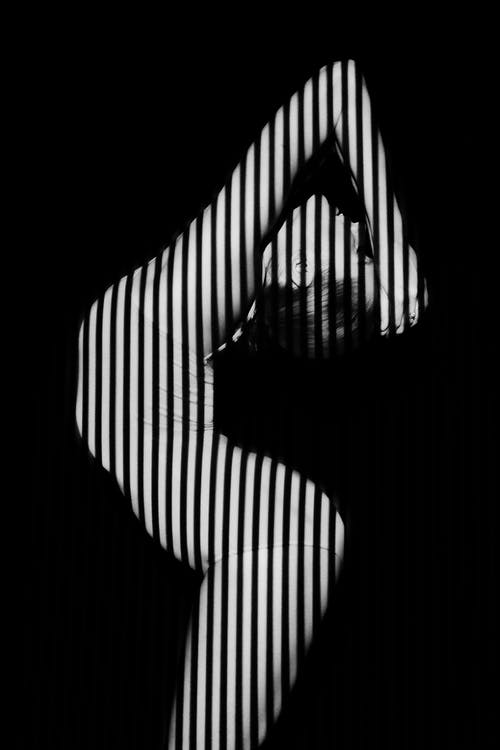
However, if you’re on a tighter budget, now that schools are upgrading to interactive whiteboards, you may well be able to find a 2nd hand OHP (Overhead Projector) which shines up through acetate, onto a mirror… or perhaps an old slide projector for a good price on eBay etc. the limit here is that the images will be more static. (Top Tip – If you can find a slide projector with a carousel, they can often be remote controlled or advance through the slides automatically, for a more interesting result)
10) Cars / Vehicles – Watch out for flat batteries…
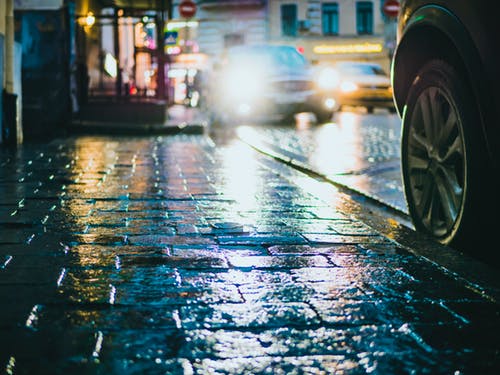
…And lastly we have the humble automobile – a fully portable, self-contained, self-powered pair of floodlights on wheels! Whether it be to see ominous lights approaching from the distance, or to backlight a questionable exchange in a dark rainy alley, or to slowly reveal the abandoned house/factory looming over you as you approach up the driveway – a car’s headlights are great for all these tasks. The majority of headlights still use tungsten halogen bulbs so their colour rendition is also fantastic. (Unfortunately more modern cars are integrating LED lights, especially at the rear, which are plagued by the same PWM flicker issues that affect LED strips… just something to be aware of)
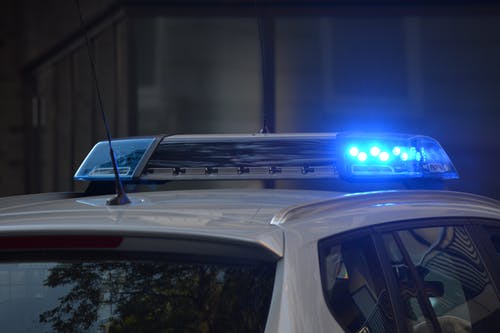
It’s also a good idea to think about any additional lights more specialist vehicles might have eg. floodlights on off-roader bull-bars & roll cages, or perhaps even flashing lights for breakdown and emergency services. Just don’t get yourself into trouble for impersonating any police officers… it’s always a good idea to check this with the local forces ahead of time, just in case.
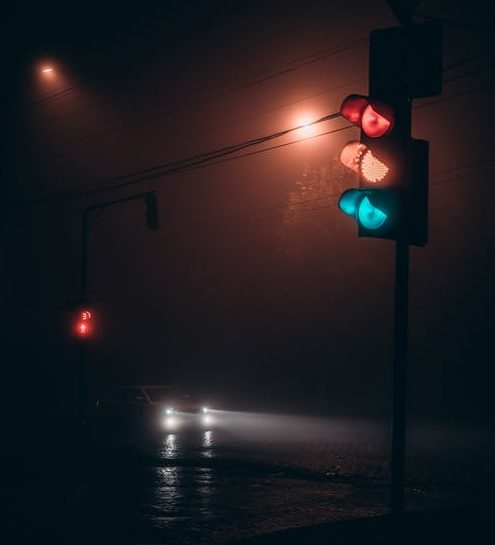
One last thing to remember is that most vehicles are designed to have the engine running to support the power requirements of the lights. Without it, you’ll drain your battery very fast… (speaking from personal experience here…oops) so just be extra careful, especially if the vehicle is also your ride home from a remote shooting location!
Conclusion
Hopefully this has given you some great ideas on how to spice up your next film, and to work with any existing lighting to compliment what you have available in your kit, without always needing to invest in additional rental gear or splash out on new toys… fun as that can be. For more info on more traditional lighting fixtures for film, check out some of our related articles.
*images courtesy of Pexels.com
