Lights, Camera, Action… its that simple right? But what sort of light do we want, or rather what will best tell the story… where do we put it? …what colour is it? …what shape will create the right mood and serve the needs of the shot we are trying to accomplish? Other than just achieving correct exposure by having enough light, you need to be able to put light where you want it… and remove it where you don’t. There are infinite combinations of how to shape and control light – that is what makes it so fun! All of the most common lighting fixtures for film (article coming soon) can become extremely versatile in exciting ways using light modifiers…
1) 5-in-1 Reflector – Lastolight / Neewer
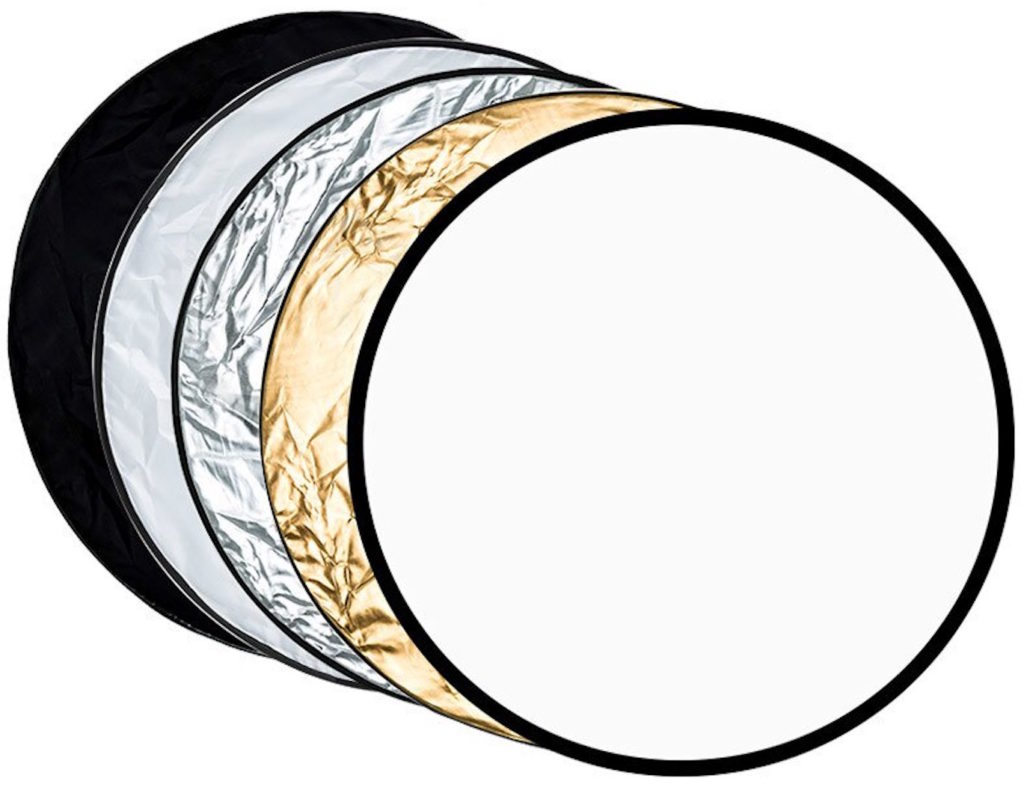
A super simple, versatile multi use tool, the 5-in-1 reflector is a circular (sometimes oval if larger) shaped piece of fabric with sprung metal edge that allows it to be “folded” down for storage in its fabric pouch. (It’s more of a “fold, twist and swear a lot” kind of operation the first couple of times, but easy once you get the hang of it)
The centre piece is a translucent white allowing it to be used as diffusion to soften a light source. This can also be zipped up inside a reversible outer cover that has another 4 surface options – Black, White, Silver and Gold. These can be used to increase or decrease the amount of light being reflected onto something.
It is very common when shooting outside, to use the white side to bounce some daylight upwards onto your actors face, to fill in any shadows, especially if they are sitting with the sun behind them. (The silver and gold sides can be used in a similar way, but will give a much harder light than the white surface) The biggest advantages of this solution is that it doesn’t require any power and is small and light enough to pack into a backpack for guerilla-style shooting on the move.
2) SoftBox – Chimera
As a small point-source, a classic fresnel or open face fixture will produce a very hard light, with very defined shadows – it will show every minute detail and imperfection on a surface – this is not a particularly flattering look when it shines on an actors face, so possibly not a very desirable option, depending on the style of film. (and the vanity of your actors… just kidding!)
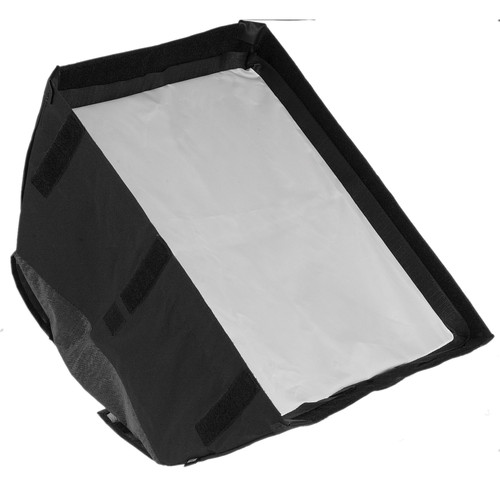
We can use a soft box to increase the area that the light is coming from and soften these highlights and shadows. The way softer light falls across a curved surface like skin is often called “wraparound” and is very desirable when shooting for beauty and fashion work – as it makes people look more attractive. They come in lots of different sizes, but the basic soft box is like an igloo tent – it has a black fabric outer (silvered on the inside), which is held up by flexible poles that slot into pockets down the edges, and are held in place by a metal “speedring” in the centre. The speedring has metal lip that slots onto the front of the fresnel in place of the barn door assembly – where it is locked in place.
NB: It is important to make sure that you don’t use a soft box designed for cool lights on hot lights, as the fabrics will not be designed to withstand the higher temperatures. The mounting options will hopefully prevent this from being an issue. Eg. Smaller, lower power options often use a Bowen’s style bayonet attachment, that is more common in stills photography using only flash… Whereas the speedrings are typically rated by the wattage of the fresnel 1K, 2K, 5K etc)
Top Tip: If the light is to be mounted up high above people’s heads, a safety cable should be attached through the speedring and the yoke of the lamp head, just in case the securing latch fails.
3) Skirting – Gem-Ball / Lantern / Rifa
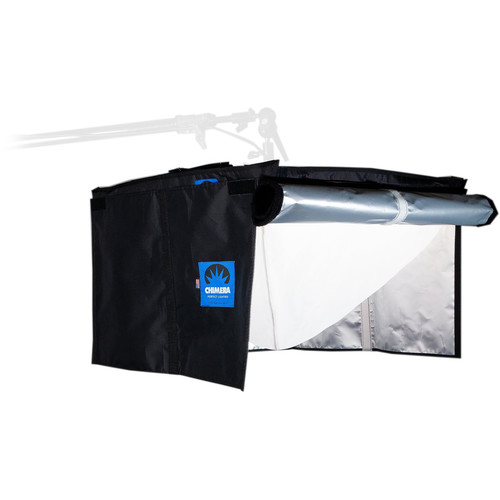
There is a category of lighting that has an integrated bulb inside some sort of diffuser – These all produce very soft light, however to shape this light it is often useful to make use of skirts – aka. black fabric placed around the perimeter of a fixture to block off light. Some more unusually shaped fixtures like the gem-ball come with dedicated skirts in the package that can be attached to the fixture using velcro… in this case the supplied skirt can cover up to 50% of the surface. A great use of skirts is to control the spill onto walls when using these fixtures a used for a soft toplight – Using them this way can create a lot of contrast in a scene eg. A group of gangsters sat round a table playing cards.
4) Diffusion Frames – Trace / Ghetto
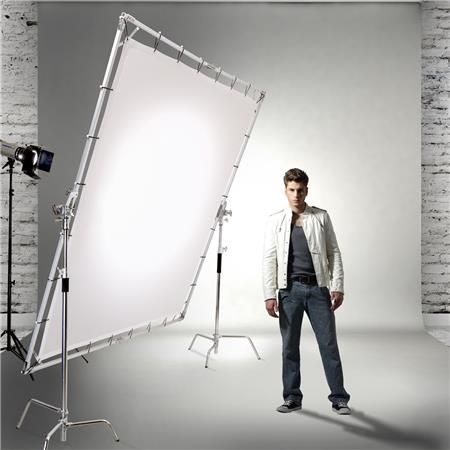
Though using dedicated soft boxes to create softer sources is a good solution, it can be limiting for a few reasons – mainly because they can only be used with one light source – what if you need more output… or a larger source than will fit onto the light you have? In these situations where you need a bit more flexibility, independent diffusion frames are your best option.
The most common is a standard “trace frame” this is a 4’ x 4’ bare aluminium frame with a 16mm spigot on one edge so that it can be mounted directly into the knuckle or grip arm of a C-stand (more info on stands here) The size is no coincidence as it matches the commonly available 4’ rolls of diffusion gels, meaning you can tape/clip the loose end on, roll out how much you need and make a single cut – easy eh? Just don’t use too much tape… a small piece at each corner and in the centre of each side will be plenty. It will make your life much easier if you need to swap the gel later.
Top Tip: Use a lighter grade of diffusion than you think you want, but cut off an 8’ length, then roll-up and croc-clip the extra 4’ to the frame – this gives you the ability to double-up really quickly if you need to, without swapping frames, or cutting more gels.
The next step up from this are dedicated snap-together sectional frames. Usually supplied as pieces of black 4’ aluminium box section, with steel corner brackets and mounting ears, you can determine the size by how many sections you use to make 4×4, 8×8, 12×12 etc frames, depending on what fabrics you have. The fabrics also come in different types as well eg. silk, grid cloth, ultra-bounce (opaque white on one side, black on the other) for whatever setup you are intending to do.
At the high-end enormous frames can be suspended from lighting / roof truss above whole studios using various clamping options – a common use for this in a commercial setting would be to create a long wide smooth highlight that runs the length of a car to show off its paint job… or for narrative it can provide soft even lighting across a whole set which allows actors to move around more freely – ideal for Television series using the same sets for multiple different shots/scenes over long periods of time.
And lastly, if you’ve used all your frames, or are in a big hurry, you can easily pop a roll of diffusion onto a c-stand arm, extended horizontally, and unfurl whatever length you need. It’s probably advisable to keep this setup for indoor use as the wind will gladly come along and ruin a setup like this, so remember to weight the bottom edge down if you find yourself using it outside.
5) Egg-Crate – Snapgrid, KinoFlo
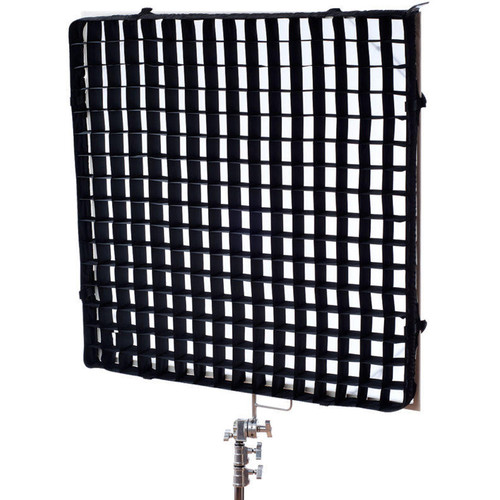
So you’ve created a large soft source to make your actors look great… but now the light is hitting the actors, the wall behind them, the ceiling… everything – it is bouncing around filling the whole scene and everything looks flat and dull – what do you do? This is where egg-crate comes in! (Sometimes rather ambiguously referred to as “grids” which can also refer to types of diffusion material) Composed of an array of fabric (sometimes plastic) pockets, egg crate controls the angle at which light is dispersed from a large soft source. If you stand off-axis, the light hits the side of the pocket… but if you stand right in front of the source it doesn’t.
Imagine putting a light inside a tube… the light will only hit you if you look down the tube… now imagine if there are hundreds of tubes stacked together with their own light inside. The length of the tube controls the angle that the light will be dispersed at – the most common grids are set at 40 degrees (but others are available if needed) Smaller fabric grids for soft boxes (and the solid one supplied with a KinoFol) attach using velcro round the perimeter, whereas larger ones for frames (e.g. 12×12) are tied on with ribbons or elastic.
6) Flags, Fabric & Blackwrap
So far we’ve mostly talked about softening and directing light, but what if you need to remove or reduce it? Especially important on location where you will very likely have windows, and practical lighting to deal with, you’ll need the right tools to cover these to cast shadows and increase the perceived contrast of your scenes.
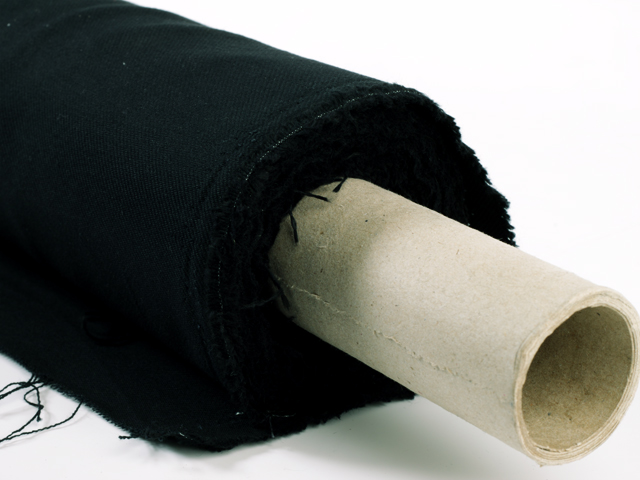
Bolton / Duvetyn – These are both twill fabrics with a very close weave that are excellent at blocking light. Duvetyn is a thick material with a velvet-like surface on one side that makes it very matte, so is also excellent for absorbing reflections. Bolton is lighter-weight cotton that can easily be taped round windows/doors etc – it’s also a fair bit cheaper, so is sometimes considered a consumable, so can be cut to size if needed. (Best to check with production first though) If bought from reputable theatre/stage/film suppliers, both of these fabrics should have been treated with fire-retardant chemicals (probably a dilute borax solution) – however if you are planning on keeping your own, you’ll need to retreat them at regular intervals. e.g. annually (depending on how often you use them)
Floppy Flags – “Hey mate, can you just cover that window… yeah that tall one, half way up those stairs. A ladder? …no we don’t have one.”
All you need is a huge piece of fabric on a giant stick… luckily that is exactly what a floppy flag is. Though similar to a 4’x4’ trace frame with black Duvetyn fabric on it, a quick tug on the additional 4’x4’ flap releases the velcro and suddenly you have a semi-rigid, fully opaque 8’x4’ curtain. As this is attached to a frame, it can be mounted into the grip-head of a c-stand and, with a little forward planning, raised up to cover all manner of unwanted light sources… even on stairs! You quite often see them used to create a mini tent, to keep light (and rain) off the director staring intently at the monitor in the video village.
For controlling spill and creating negative fill in tighter spaces, other sizes come in a pouch/bag grouped as flag kits where the largest is usually a 3’x 2’ …with a few other sizes stepping down (e.g. 3×1, 2×1.5, 2×1, 1.5×1… you get the idea)
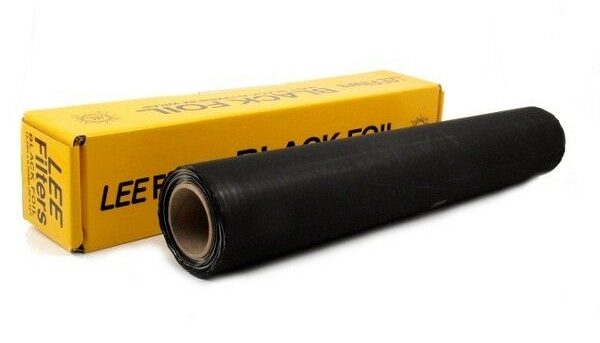
Blackwrap (aka CineFoil) – Though fabric is useful in many situations, it is best for covering large areas where temperature is not a concern. But what if you need to block light from something that is likely to get hot? Many light fixtures can throw stray beams out the top, back and sides… if there’s a gap, light will find it. Blackwrap is a heavy-duty aluminium foil (much thicker than you would use in the kitchen) with a high-temperature matte black paint on it. It can be shaped to conform round any object and will, for the most part, hold this shape so it doesn’t require the use of tape. (which is not temperature resistant) One drawback is that it’s quite expensive (check prices) …however, if looked after, by carefully folding after use, it can be reused many times.
7) Nets / Scrims
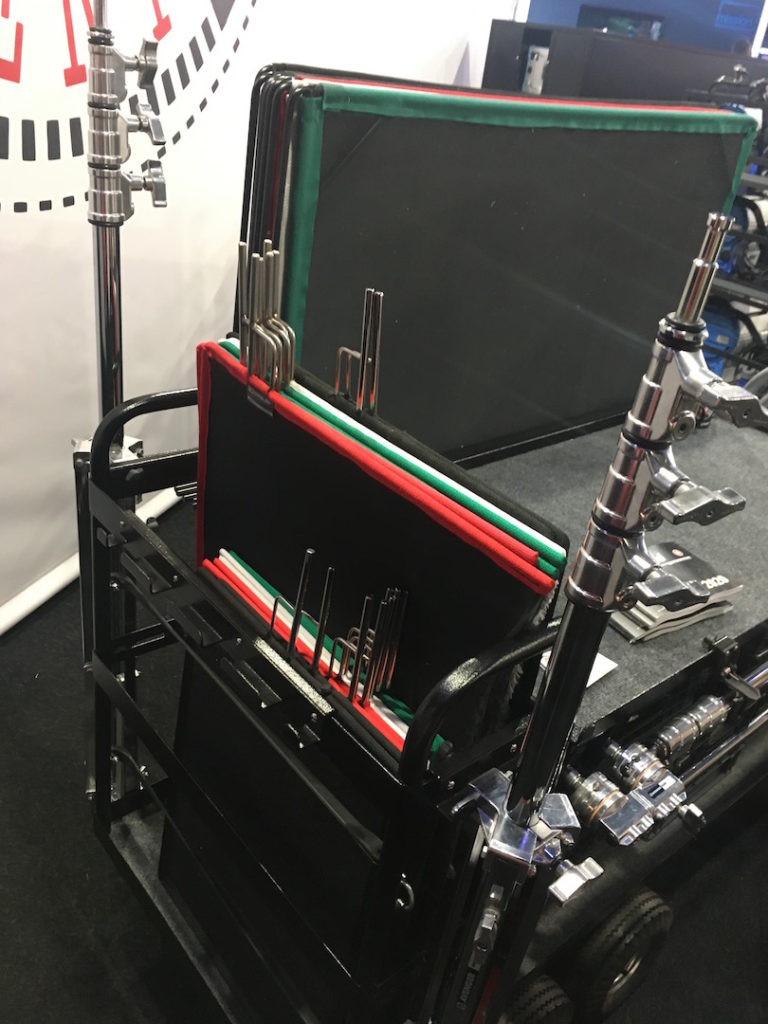
A close cousin of the “Flag kit” is the “Net kit” – also usually appearing in standard 3×2’ , 2×1.5’ and 1.5×1’ form factors. These are used to reduce the amount of light hitting something, without blocking it entirely. Round the edge of the net will be a coloured border that tells you the amount of light they block – Green is 1 stop, Red is 2 stops. (1 stop reduces brightness by 50%) A long edge of each net has no border which allows you to cast a shadow with a soft edge – much more subtle if visible in shot, but also pretty handy if you find yourself holding one in place, just to get the shot.
Another way to achieve almost the same result on certain lights is using metal scrims – these should be supplied with a par/fresnel fixture in a small pouch. They are circular pieces of metal mesh that slide in-between the lens and the barn doors. They are also marked with a green/red rim to show their strength and come in both “full” and “half moon” variations (where half the circle is left open) The advantage is that they don’t need a separate stand, but are limited to use on the light they came with (due to size) – they also get very hot, so definitely wear gloves when swapping them over.
8) Poly – (styrene)
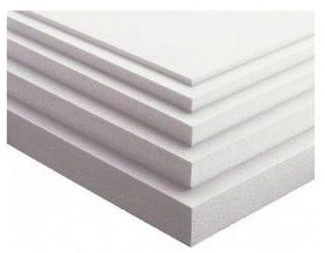
A staple of studios for both light reflection and absorbtion, these lightweight panels can be extremely useful, even as walls for temporary changing rooms! The most common size is a 8’x4’ , then 4’x4’ but they can easily be cut to any size with a craft knife. (Just remember to tape the edges after cutting to prevent damage and reduce the amount of shedding) The rough white surface creates a very pleasing soft light when used as a bounce – hence their popularity for placing at an angle underneath peoples chins for filling in shadows, or combined with diffusion to create a super soft ‘booklight” setup.
The reverse is painted black which allows them to be used like self supporting black flag, requiring a much smaller poly stand than a floppy flag would need.
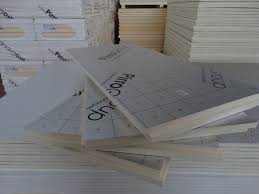
Another variation is a silver poly (basically a piece of Polyisocyanurate insulation material with a foil covering aka. Celotex) that can be used to create a much harder reflection.
The typical polystyrene options are unfortunately made from petrochemicals and therefore not particularly environmentally friendly, however there are now plant-based alternatives appearing on the market like BioFoam® …so there is hope for the planet yet!
9) Gels – Colour temperature / correction
The light bulb is one of the greatest inventions of the 19th century, and still to this day is second only to the Sun in terms of producing the best full-spectrum light for great colour reproduction. There is one issue though… the balance of colour from each source is not the same.
An incandescent tungsten light bulb produces a spectrum that is heavily skewed to the red whereas sunlight has comparatively a lot more blue in it… and when mixed it is clear that the two don’t look the same. To level this out we use colour correction gel – a thin plastic film placed in front of a light to alter the “white balance” aka “colour temperature” (measured in Kelvin) – the downside is that this is a reductive process, meaning that it will reduce the brightness of the output.
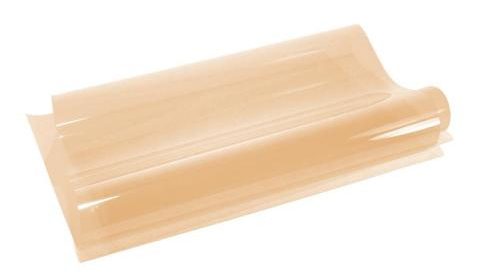
Full CTO Gel 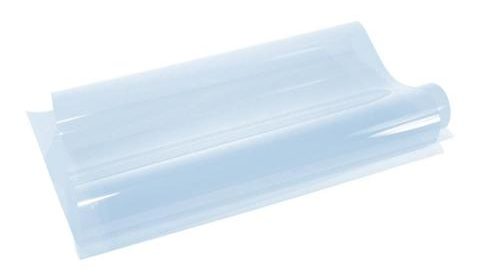
Full CTB Gel
- To make a tungsten light lamp (3200K) look like daylight (5600K), we use full CTB gel (Colour Temperature Blue) – this will reduce the light by almost 2 stops (~75% reduction in output)
- To make a daylight light lamp (5600K) look like tungsten (3200K), we use full CTO gel (Colour Temperature Orange) – this will reduce the light by 2/3 stop (~30% reduction in output)
- To reduce the light output without affecting the colour temperature at all we would use ND gel (Neutral Density) – 0.3 ND will reduce the light by 50% or “1 stop” (0.6 = 2 stops, 0.9 = 3 stops etc.)
As you can see, it is more efficient to go from daylight to tungsten, so be mindful of this when planning which lamps to use for a specific setup – and what power requirements you need. Check out our related articles for more info on this.
Another type of gel that is commonly used to match light sources is “Colour Correction” …aka “Plus & Minus Green” – Fluorescent tubes found in offices and commercial environments often output a lot more green light than those mentioned above – which can make skin look strange. We use “Minus Green” gel to correct for this.
Beyond this you are getting into gels for specific colours and effects – and there is a full spectrum of gels in all colours, tints, hues etc… from all the main manufacturers (LEE, ROSCO etc)
As more lighting is moving towards using LED technology, there is increased use of “dual colour temperature” (tuneable between 3200K and 5600K) and “Full RGB” fixtures (with gels programmed into their memory)… which reduce the need for gels and potentially make for faster setups etc. But it’s still important to know the old-school tactics if and when the need arises.
10) Smoke / Haze
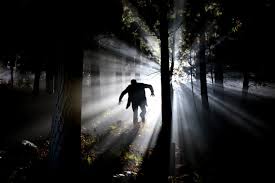
If there was one purchase that has made the biggest difference to the look and feel of some of my films… it wasn’t the hundreds, even thousands spent on lights, cameras or even the lenses… it was a cheeky £100 eBay purchase of a 2nd hand haze machine (designed for use in a nightclub). Best used in conjunction with a strong backlight, they create “atmosphere” in a room by gently dispersing the light, creating visible beams – heavily used when creating the well known cyber-punk / tech-noir look e.g. Blade Runner.
So just to clear up any confusion… a smoke machine is a small device that fires a very thick plume out of a small nozzle for a short period of time (e.g. 15 seconds, depending on the duty cycle)… it disperses quite quickly and so isn’t terribly useful for filming as you will often find it has almost completely disappeared by the time the cameras roll.
A haze machine, on the other hand, is designed to create a much thinner cloud of smoke that spreads throughout a room and hangs in the air. It can be topped up by running the machine intermittently between takes. (Nightclub/disco models often have timers built in and wired remote control units)
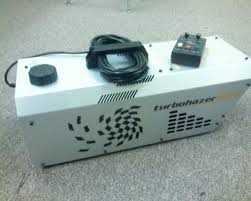
There are a couple of different technologies too – a water-based haze machine (aka. phaser/phazer/fazer) works in a similar way to a smoke machine. It has a heating element that vaporises a dilute water/glycol mixture, but runs at a lower intensity for longer periods and includes a fan to disperse the haze. Just be aware they will require routine maintenance as the tubes will become blocked over time.
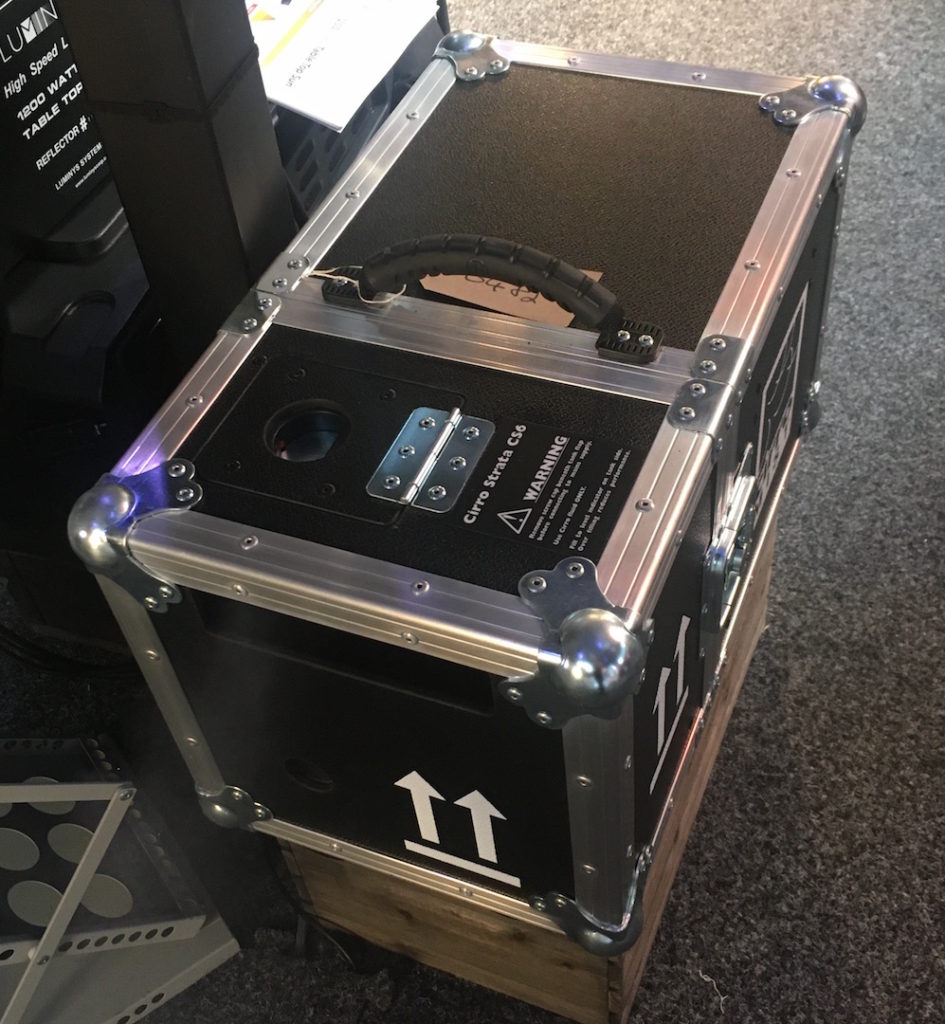
An oil-based machine has a vibrator (no snickering!) that cracks the oil into very tiny particles which are then blown around the room by its internal fan – these are the machines that come in heavy flight cases from rental houses and can produce much thicker haze that hangs around even longer.
Conclusion
Hopefully this has given you a good insight into the main ways to shape and control light… and the infinite combinations that can be created by putting various modifiers together. If you’d like to delve even deeper into how to break up light and create more realism, check out our <upcoming> article on transmissive light modifiers.
And lastly, one thing we didn’t delve into in much depth was how to control the level of light for correct exposure, and more specifically what happens to light when using dimmers – check out our <upcoming> articles on power distribution and light sources for more info on these.
