Starting on my journey in filmmaking I always had Cinema as the goal, not really corporate work, commercials or TV, so I set about learning how to achieve a look that viewers would immediately associate with big-screen films – and that brought me firmly into the realms of anamorphic cinematography.
Why Anamorphic?
(I should point out now that this is not a history of cinema, and the info here is merely to give an overview as background to the gear decisions I have made)
I started researching how all my favourite films that i grew up watching had been shot. I found that the particular look I was after was created almost accidentally as a byproduct of how cinema evolved to compete with TV.
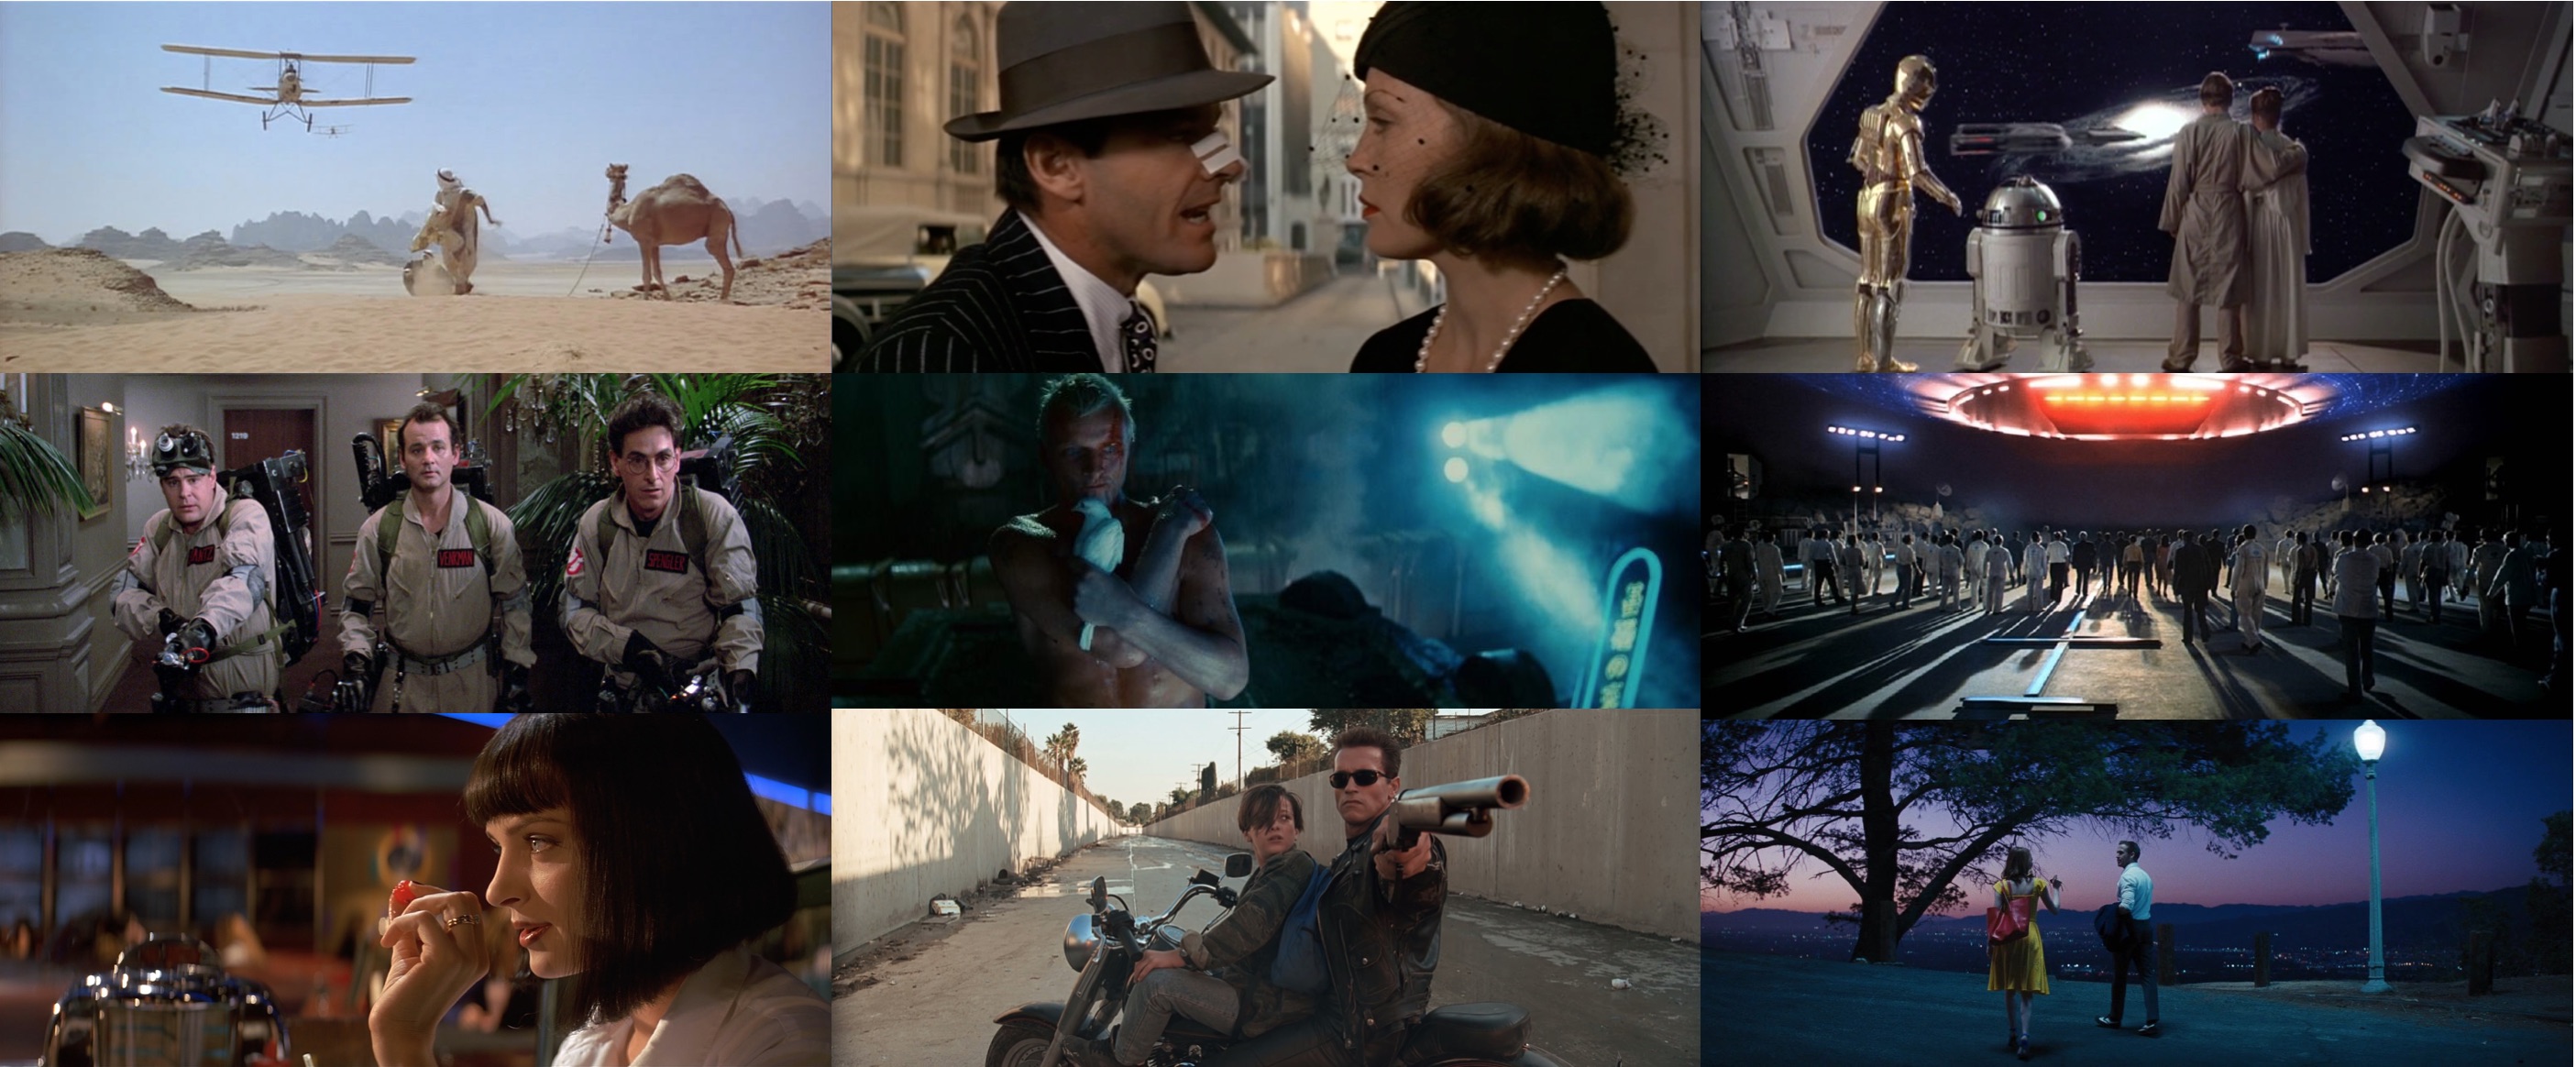
Ghostbusters, Blade Runner, Close Encounters of the Third Kind,
Pulp Fiction, Terminator 2 – Judgement Day, La La Land
Basically, cinemas needed a new experience to give to the audience without investing a huge amount of money into new projection systems… This eventually lead to the creation of a super-widescreen format called “Cinemascope” that used special lenses on the camera to squeeze a wider field of view onto the film… and a special lens on the projector to de-squeeze the projected image onto the screen.
Though not without their limitations, these lenses introduced a few special characteristics, which have now become rather desirable; shallower depth of field for a given field of view, vertically-stretched oval bokeh and horizontal lens flares.
Later developments (Mainly the Super35 format) lead to greatly reduced demand for this system, but so many great movies were (and still are) shot this way that viewers still subconsciously associate the unique visual characteristics of anamorphic footage with true cinema.
…And that brought me to where I am now and the choices of equipment I have made.
Requirements…
Camera with an Anamorphic Mode
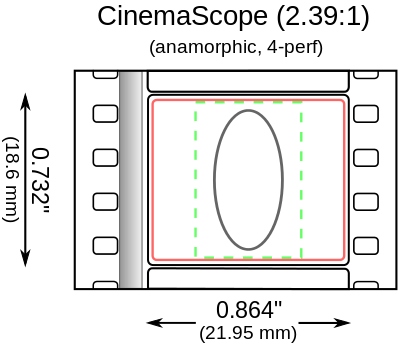
Traditional movie cameras using film would shoot an image in an aspect ratio (width x height) close to the old SD 4:3 (1.33:1) format (depending on how much space was used for the audio track down the side). So that when a 2x anamorphic lens was added, the final image produced would be 2.39:1 (We’ll be using 2.4:1 to make the maths a little easier later on)

Most digital cameras for video these days are designed to shoot in the current (1080p or 4K) high-definition widescreen TV aspect ratio of 16×9 (1.78:1). So when you add a 2x anamorphic lens, the image becomes 32×9 (3.56:1) which is way wider than we are looking for. You could of course crop this back down to 2.4:1 but all that extra information (and hard drive space) would be wasted.

Helpfully some camera manufacturers have added “Anamorphic modes” to their models that allow us to capture in the correct aspect ratio without losing (much) vertical sensor height. These include Arri, Red, Blackmagic, Pansonic, Z-Cam, KineFinity and Canon(+MagicLantern Firmware) to name a few.
Note: Ideally we would be looking for a sensor that could capture an area of 21.96×18.6mm to get the same field of view for a given focal length as the original cinemascope setup.
Now as an independent self-shooter I don’t have access to the tens of thousands of pounds required for Arri or Red Cameras, not to mention the additional rigging gear etc… And had previously lost patience very quickly with the labourious workflow of using the MagicLantern firmware hack on a Canon DSLR camera.
So my searches originally led me to the humble, yet powerful, Panasonic GH4. Now this camera certainly has a lot going for it (Affordable, easy to use, great battery life, reasonable codecs) but as i progressed, I found a few things that held it back from being what I needed (or wanted… it can be a bit difficult to tell sometimes) and so you’ll see below what came out as my preferred options for different scenarios.
Affordable Lenses
If you ask any cinematographer what the best camera is, they will (or should) tell you that the camera plays a much smaller roll in the image than many people think – successfully telling the story is a much higher priority. But on the gear side of things, where a digital camera body may become outdated in just a couple of years, investing in decent glass could last you for decades. Unfortunately true cinema lenses, like the camera bodies, are way out of the price range of the average consumer (and are typically only rented out by bigger productions)… and modern plastic-body stills lenses, with autofocus motors and no hard end-stops aren’t exactly the best option either.
There is however a huge selection of vintage lenses from old stills cameras – Some of these have really great glass in them and can be very fast. eg. Canon FD, Olympus Zuiko OM 50mm f1.4, The build quality is excellent (lasted over thirty years already), they are totally manually operated… like true cinema lenses, and can be found at very reasonable prices on the second hand market.
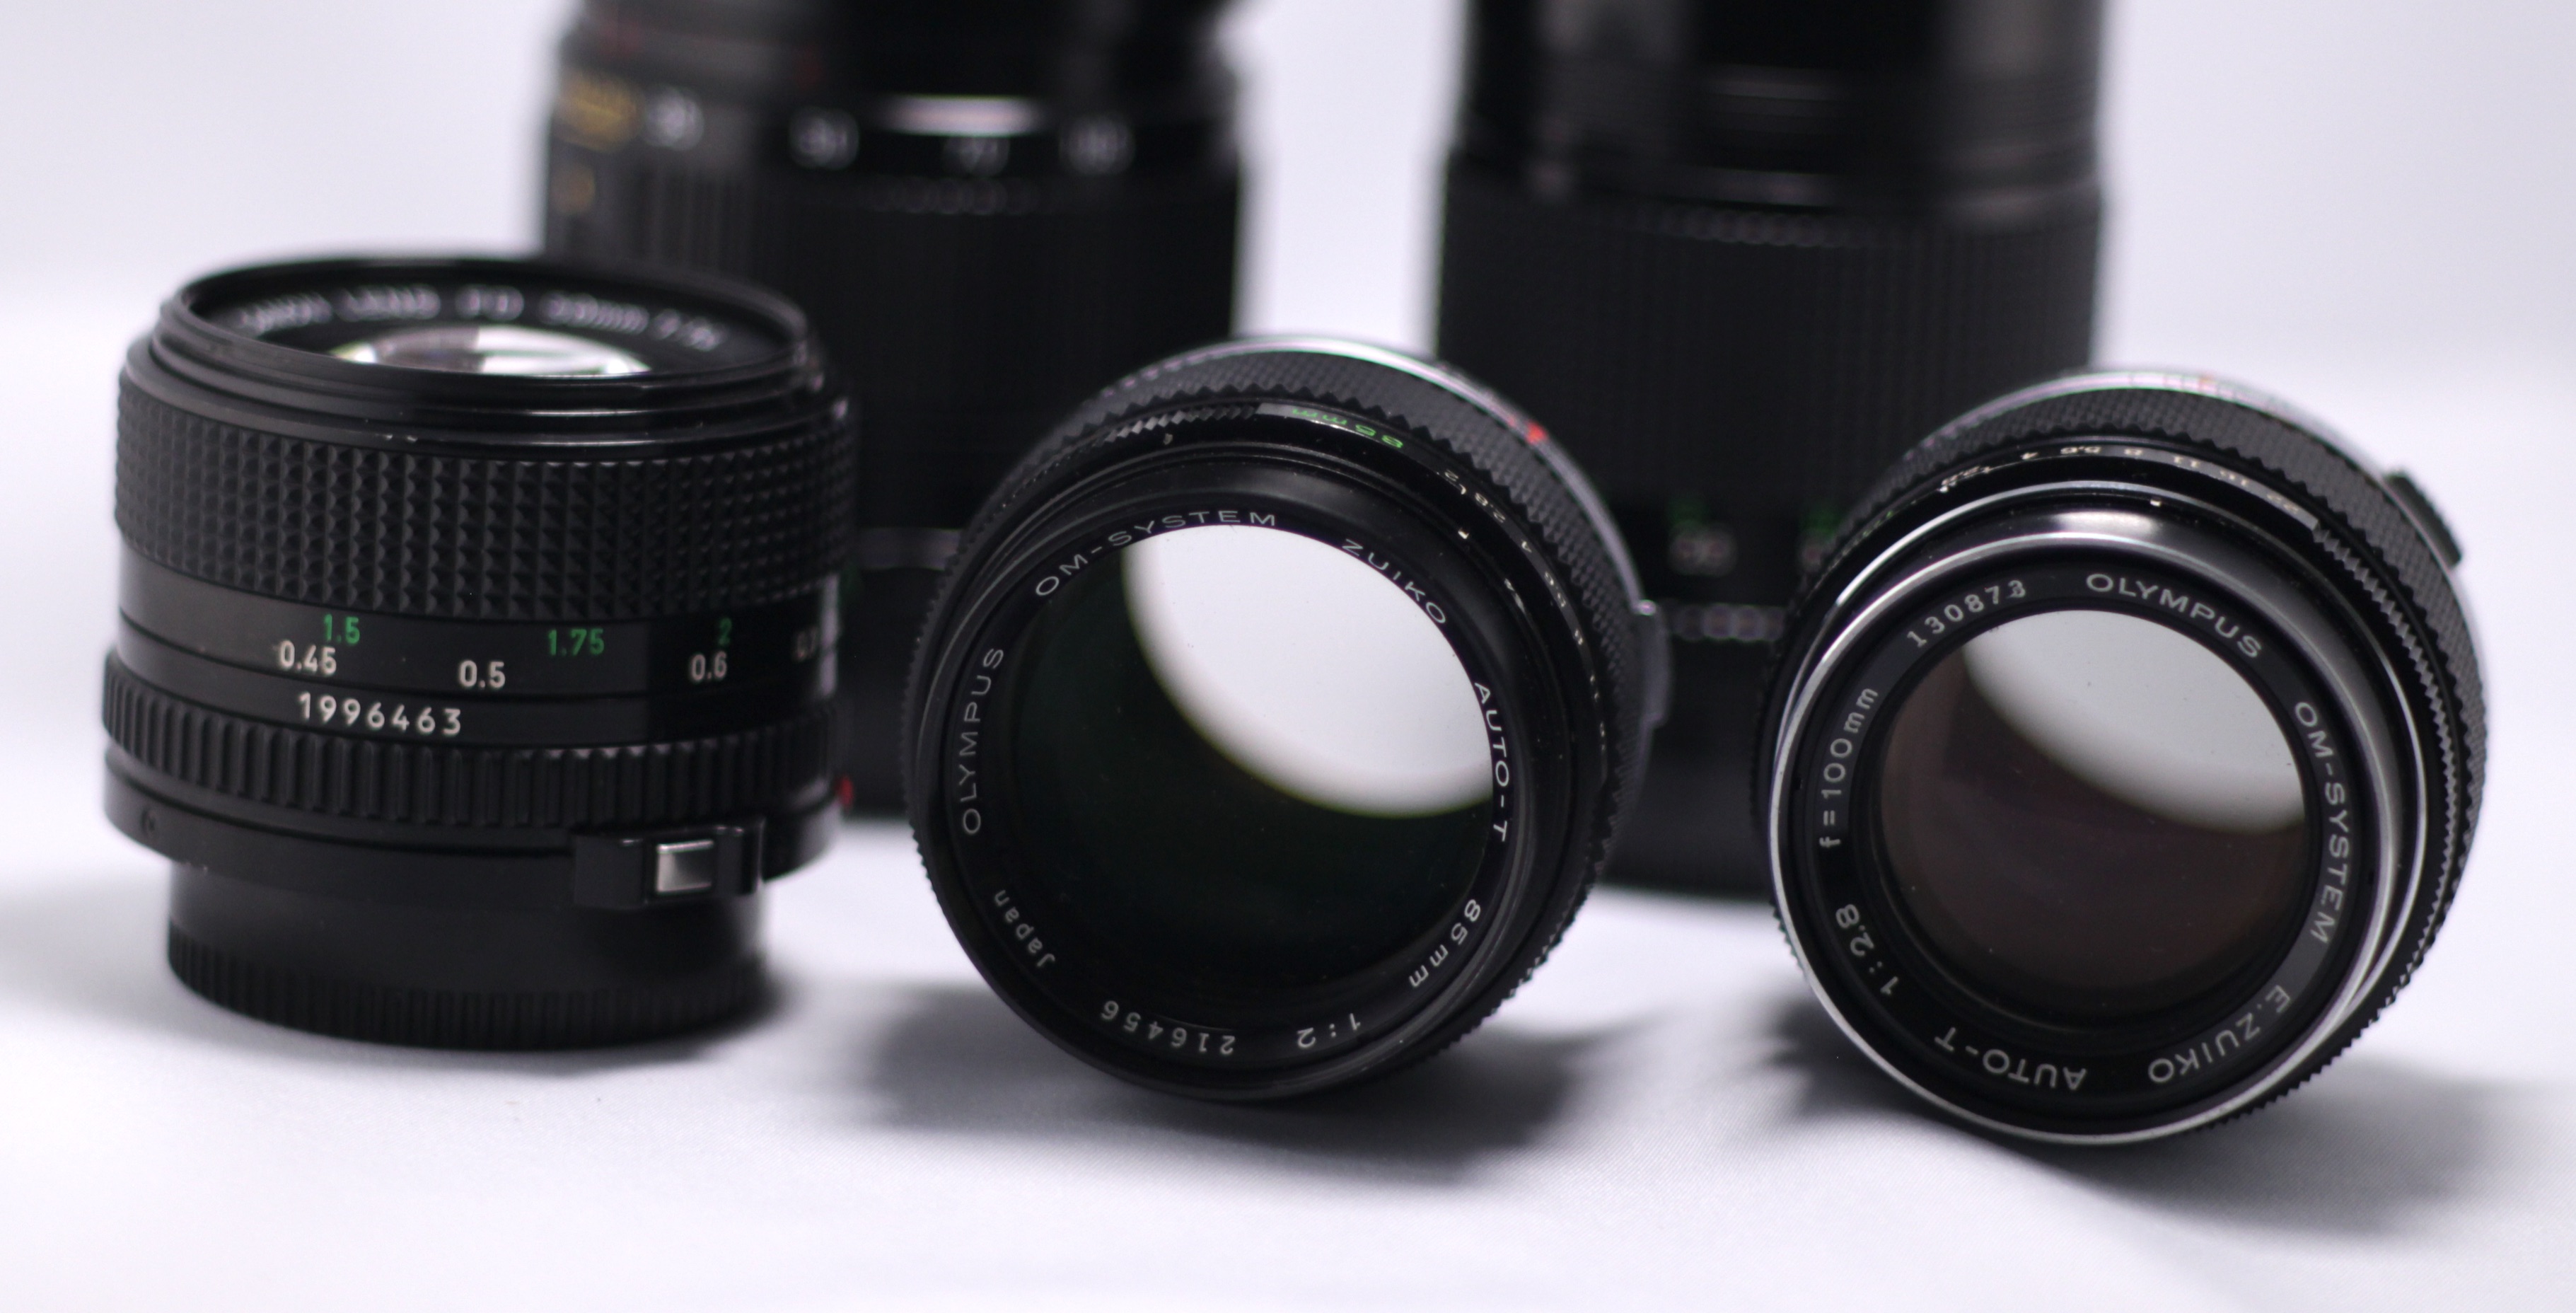
Note: A lot of people tend to use a Helios 44, but I find its character a little too overpowering – i want this to be created by the anamorphic elements, not the taking lens.
“But none of these are anamorphic?” I hear you say…
Remember how I said that the projector had to de-squeeze the image to display it, well there are also loads of these old projection lenses on the second hand market (though prices have crept up significantly in the last few years with more cameras supporting them). There are lots of different types out there, small, big, really big… with different stretch factors (1.5x, 1.8x, 2x)… different fields of view… different coating etc etc. enough for entire groups of enthusiasts to argue about on the internet forever. But as you will see below, I have my reasons for my choices.
Main Cinema Camera Rig ~ £5K
Blackmagic Ursa Mini 4.6K
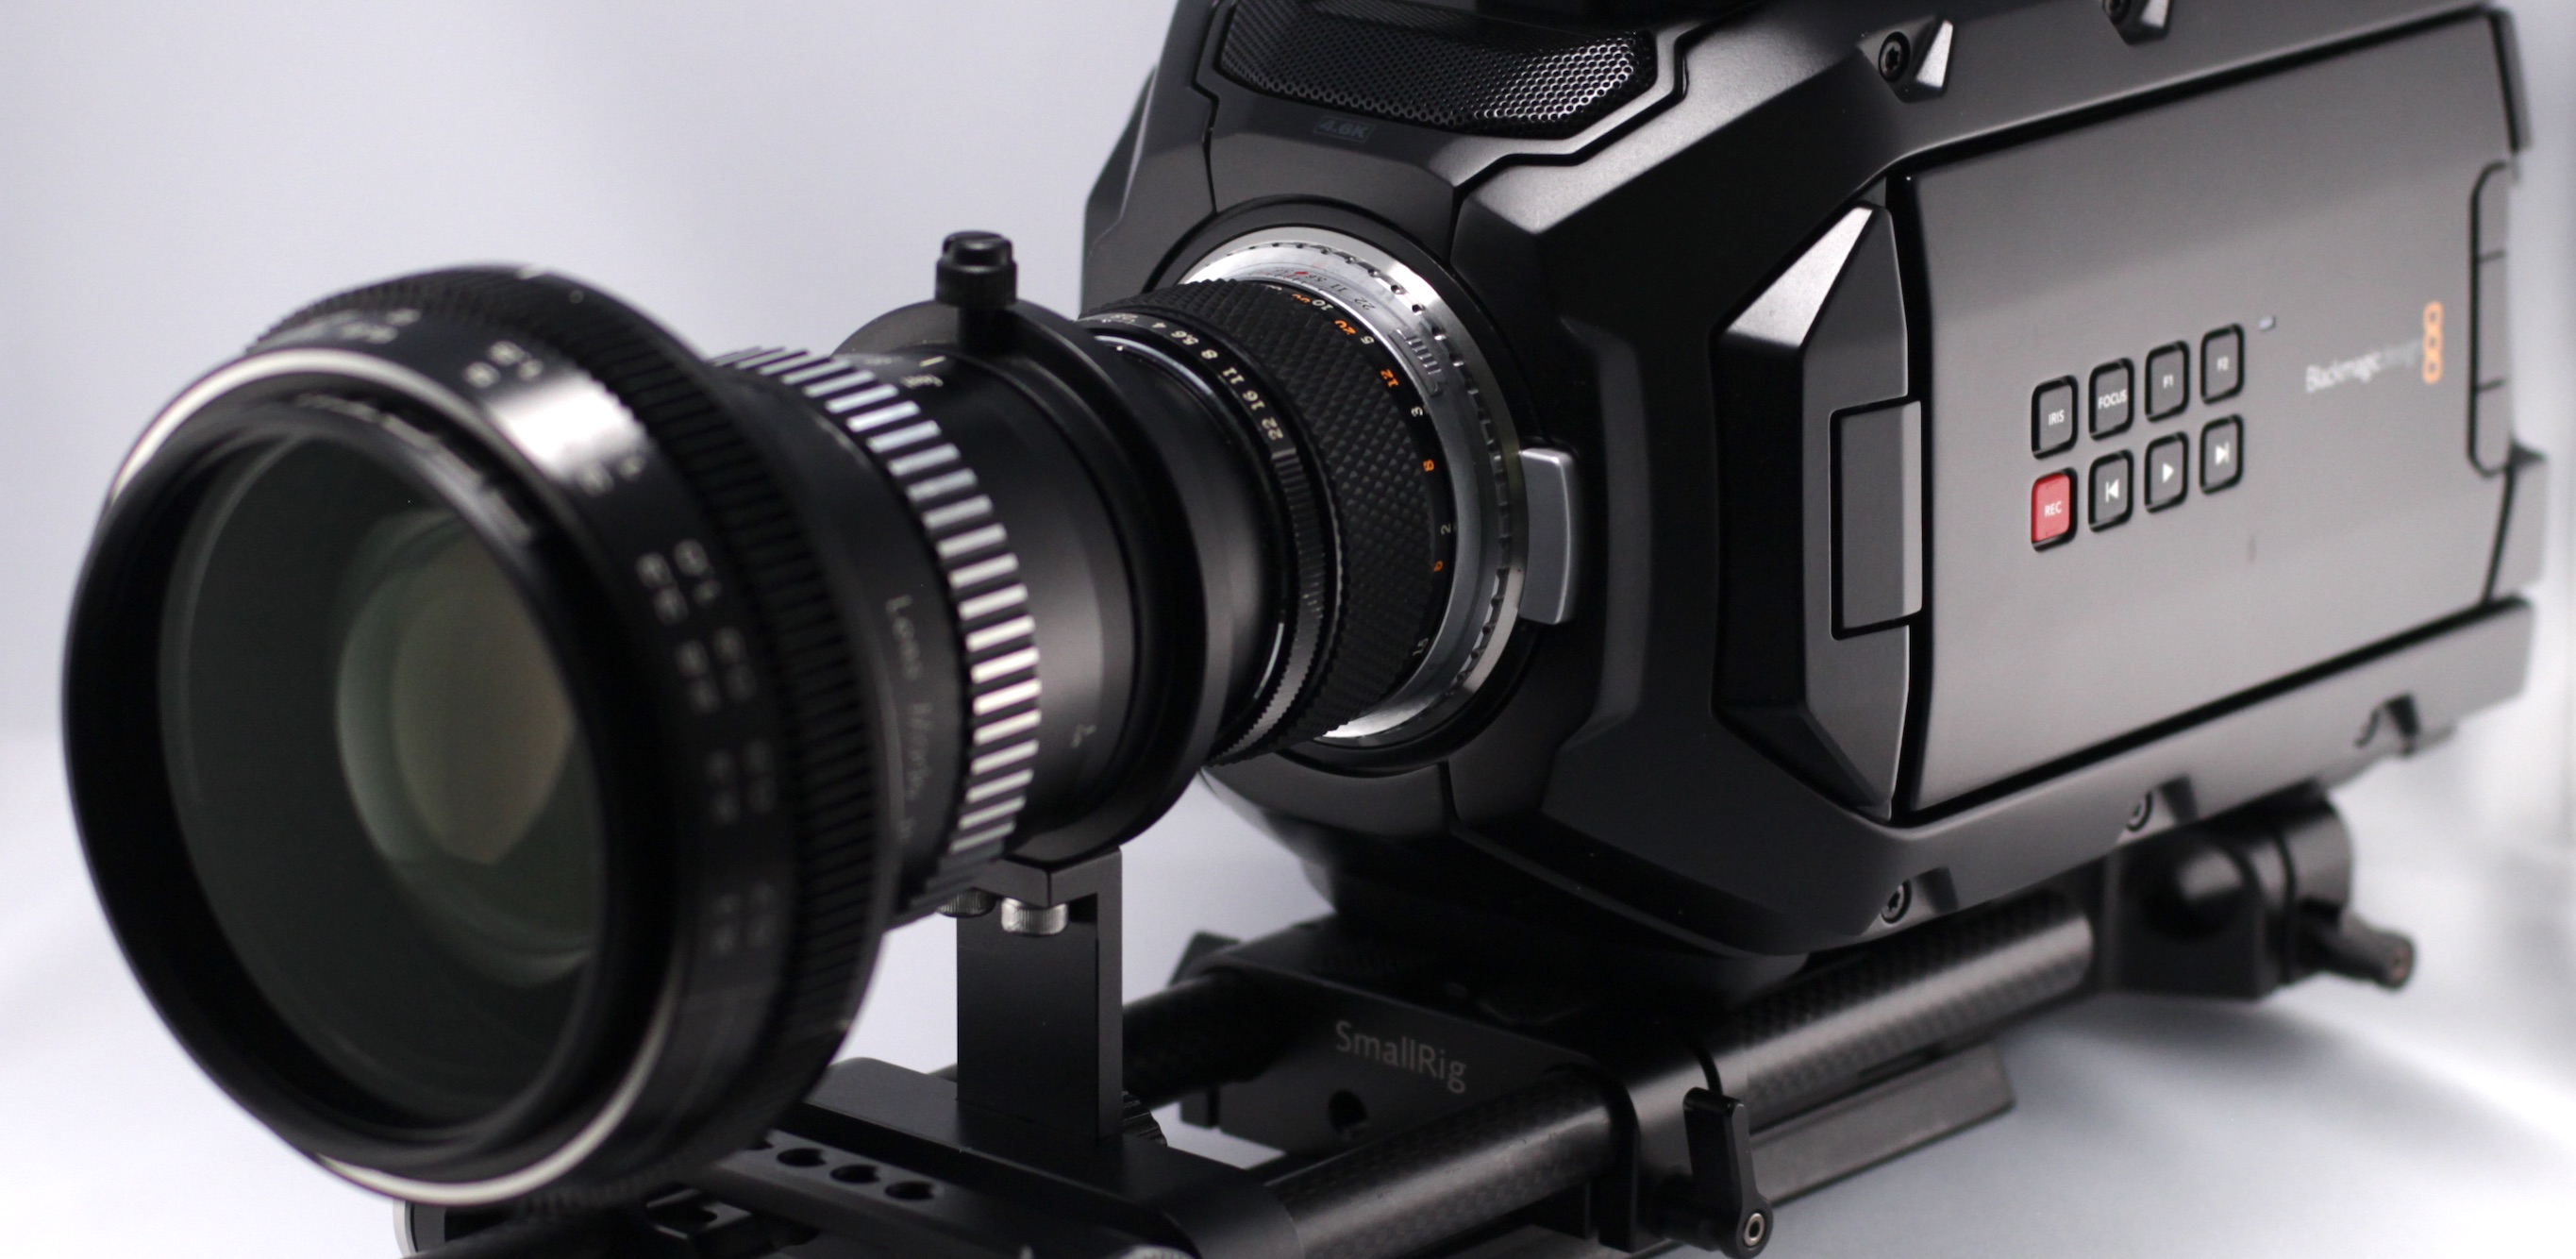
I suppose the main reason for this choice was that i was looking for more dynamic range and better colour performance than my humble GH4 (always seemed a little too heavy on the green to me) …and a true Super35 sensor size.
Tangential Rant Warning: I particularly dislike the term “full frame” when referring to cameras for filming… as it refers to a 35mm stills format where the film ran horizontally in the camera and seems to be nothing but a very successful marketing campaign by big manufacturers (like Sony & Canon) to promote their DSLRs as some sort of “gold standard” when they actually sit somewhere in the middle of a wide range of different formats that each have their place. In short, It has no real relevance to 35mm movie cameras. (where the film typically runs vertically in the camera anyway)
The much bulkier cinema camera form factor does give me a lot more; SDI outputs, Raw/ProRes recording, V-lock battery, timecode etc, but is a bit of a double-edged sword. On the one hand it brought my system up to a much more professional level and is fully compatibility with other pro gear… but on the other was also a significant (but not astronomical) investment in batteries, cards, rigging etc. plus it made the whole package much larger and heavier. (Hence why i still keep my secondary rig for certain tasks)
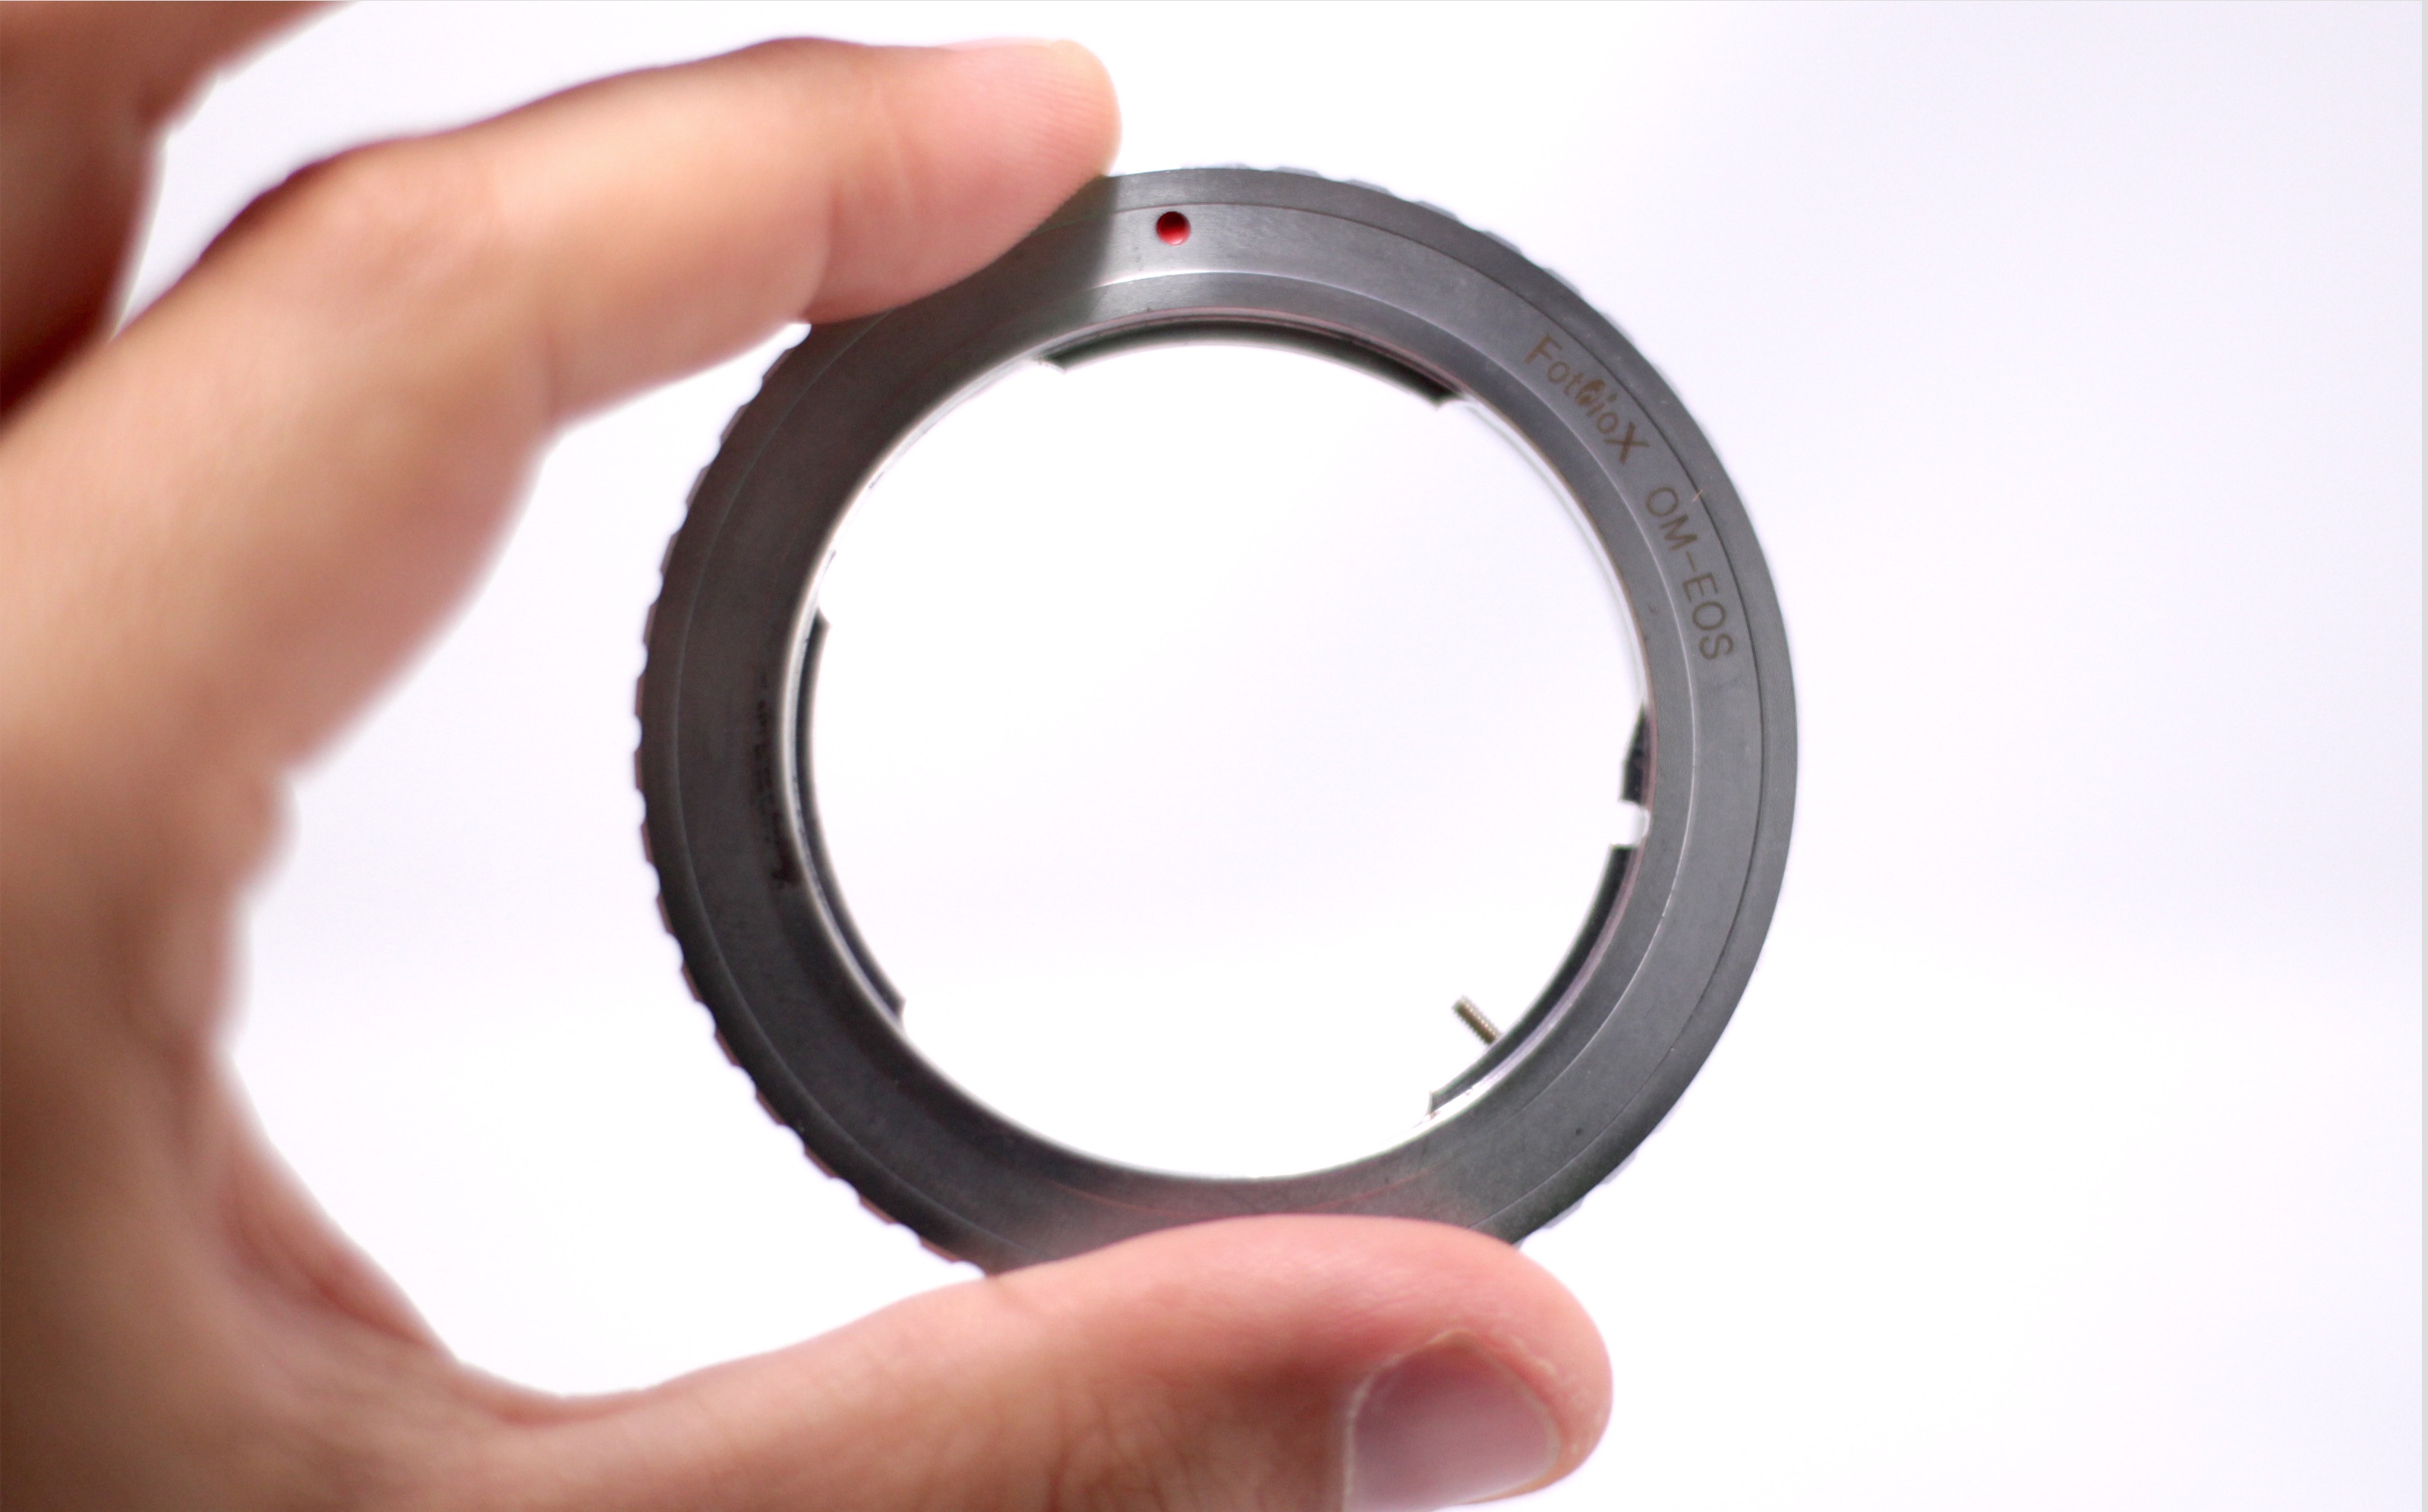
Probably the most annoying part was that i could no longer use my Canon FD lenses without the use of another different adapter (EF – FD) or permanently modifying them… So instead i decided to use another great vintage option; Olympus OM Zuiko. These could be attached directly with the use of a single (cheap) metal adapter ring.
Anamorphic Lens
Considering that I was after a 2x squeeze, a vintage look and as wide a field of view as possible, it is probably no surprise to those in the know that I ended up choosing the Kowa 8Z/16H. This lens can’t go any wider than 35mm (with a little vignetting that can be cropped in post) – however, due to the 2x field of view, that would be like having an 18mm spherical lens, which is plenty wide enough for anyone but the most ardent Terry Gilliam fans.
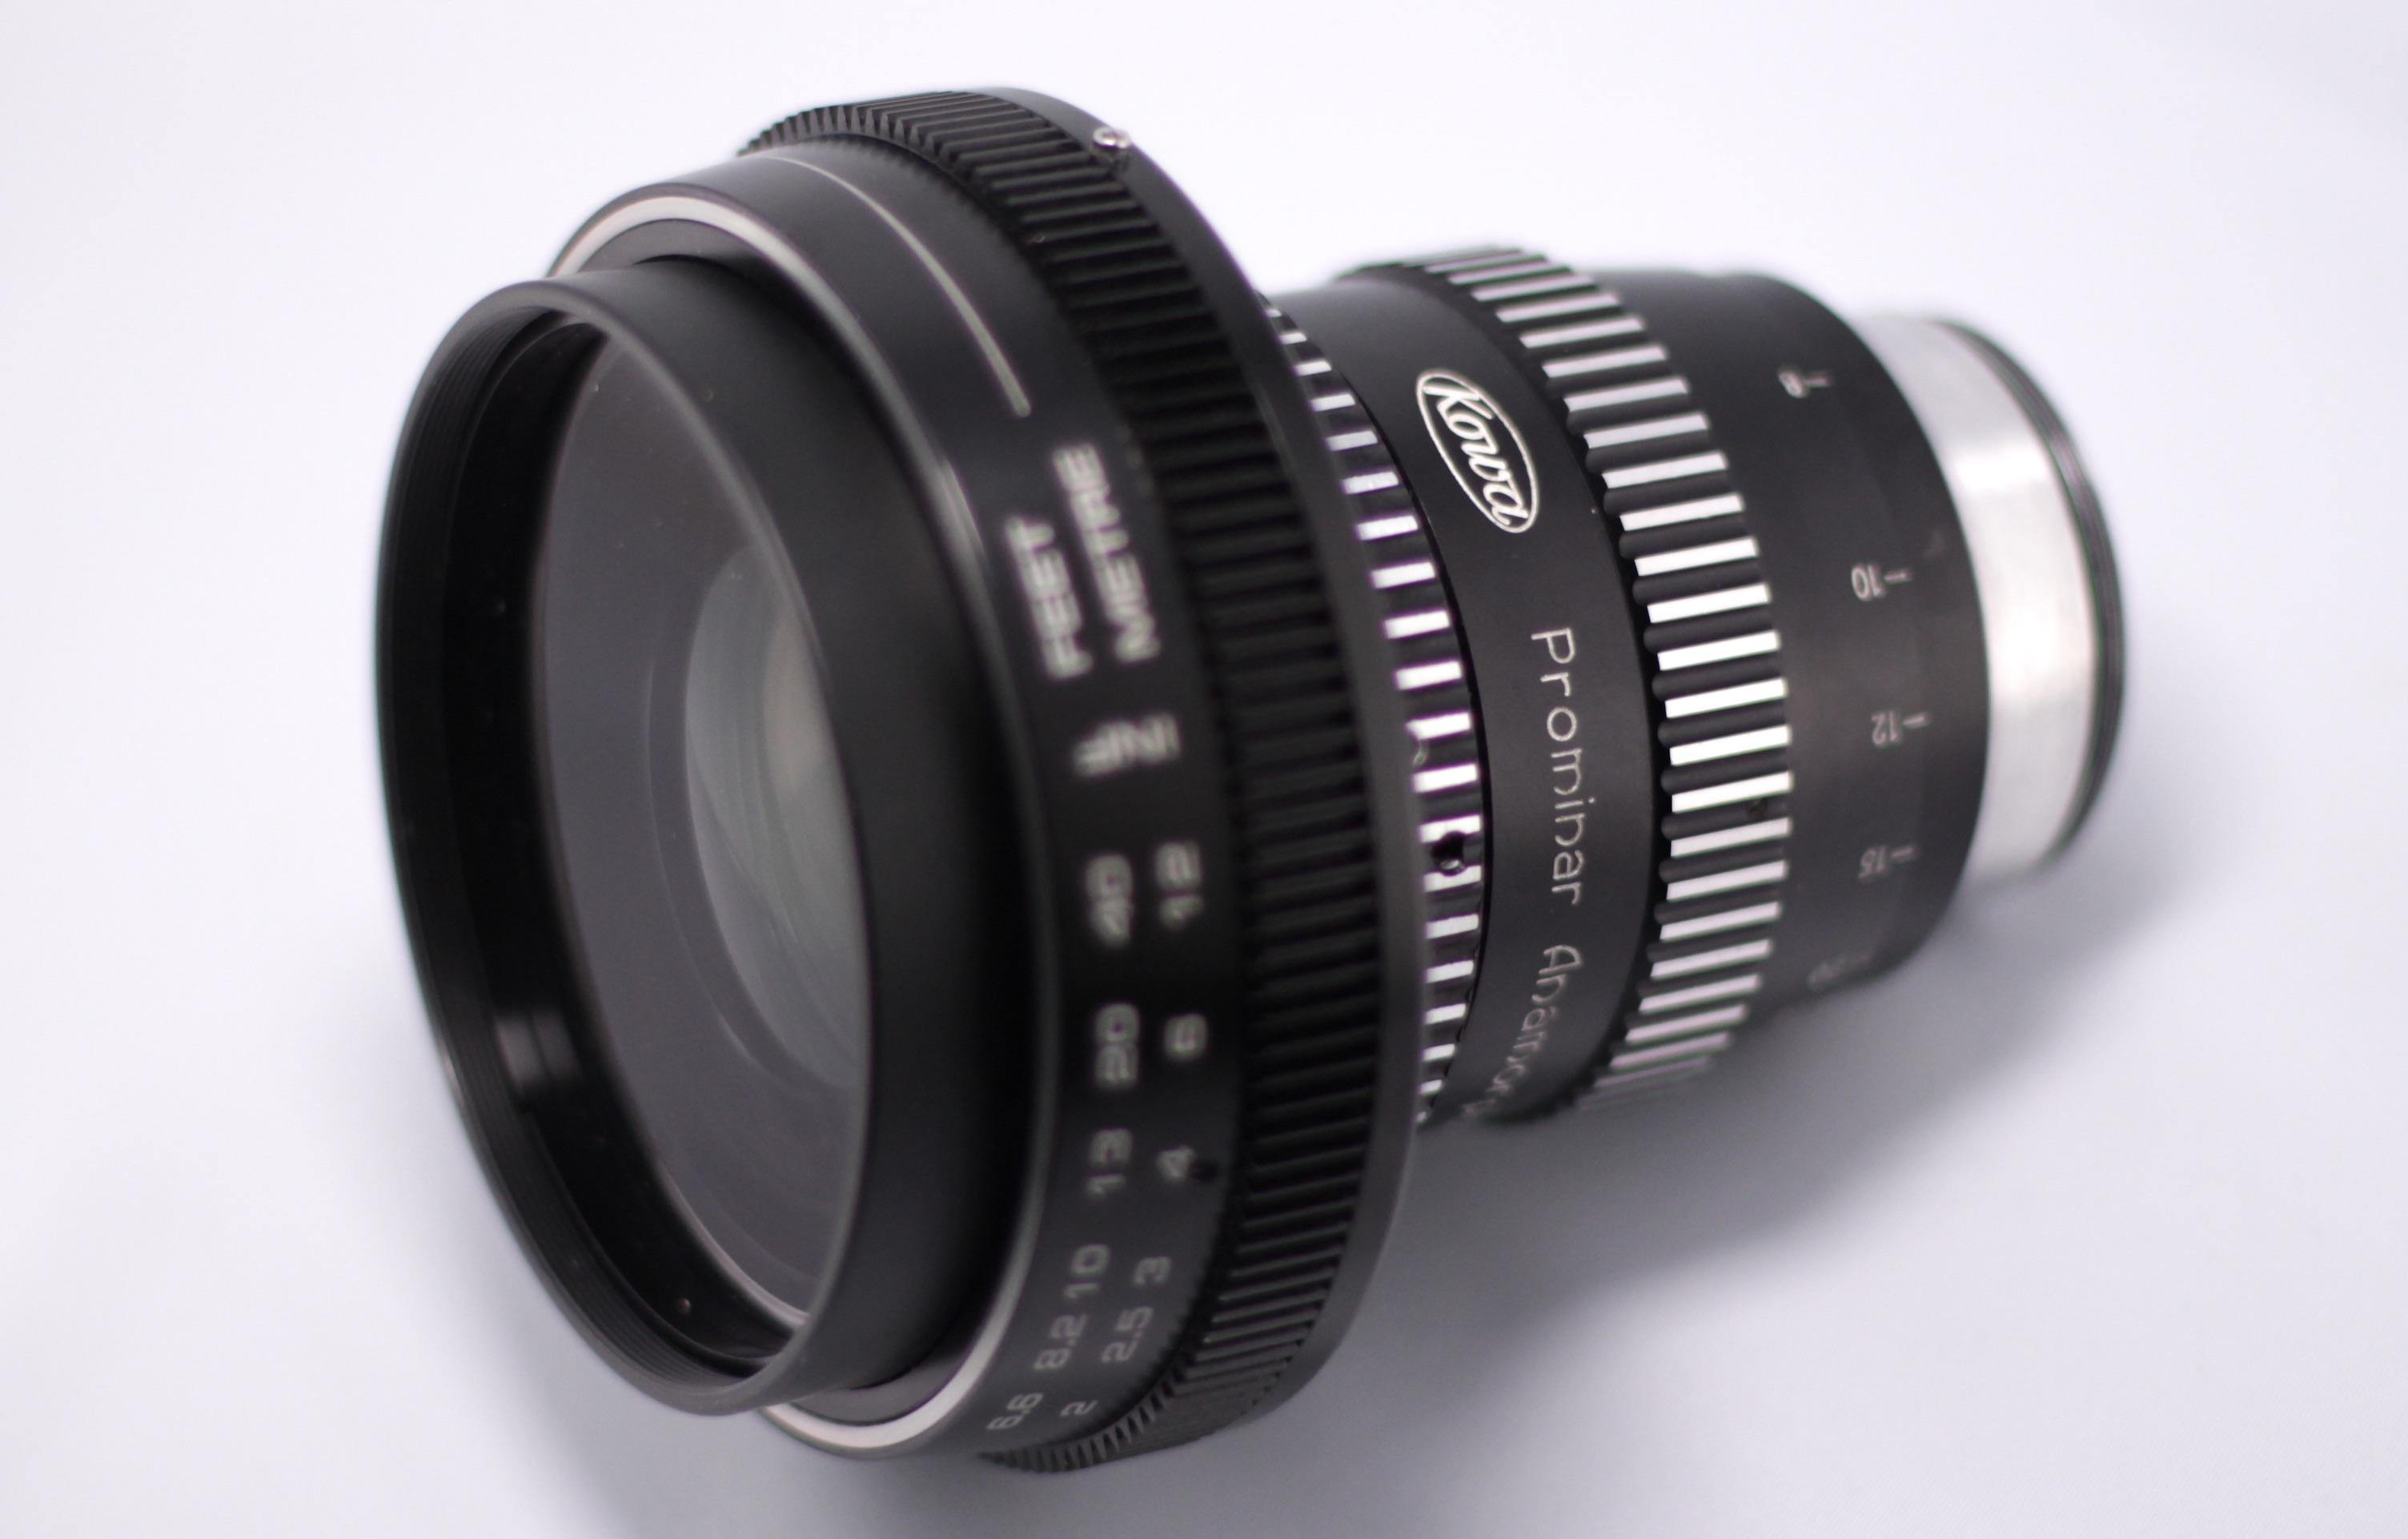
(seen mounted to a Rectilux Hardcore DNA focus module)
In the typical DIY setup, this lens is placed in front of your normal “taking” lens. However, this dual lens setup has one major drawback – you have to match the focus on both lenses. While some people seem to accept this challenge and soldier on through, I was not. Back in 2016 I had started experimenting with using different diopter lenses to try to create a single focus system, when I learned that someone had beaten me to it and the following single focus solutions appeared on the market; FM Lens, SLR Magic Rangefinder and the Rectilux 8FF. The small form factor of the Rangefinder originally had me won, however when Rectilux came along with the superior optics in their Hardcore DNA model, for me there was a clear winner.
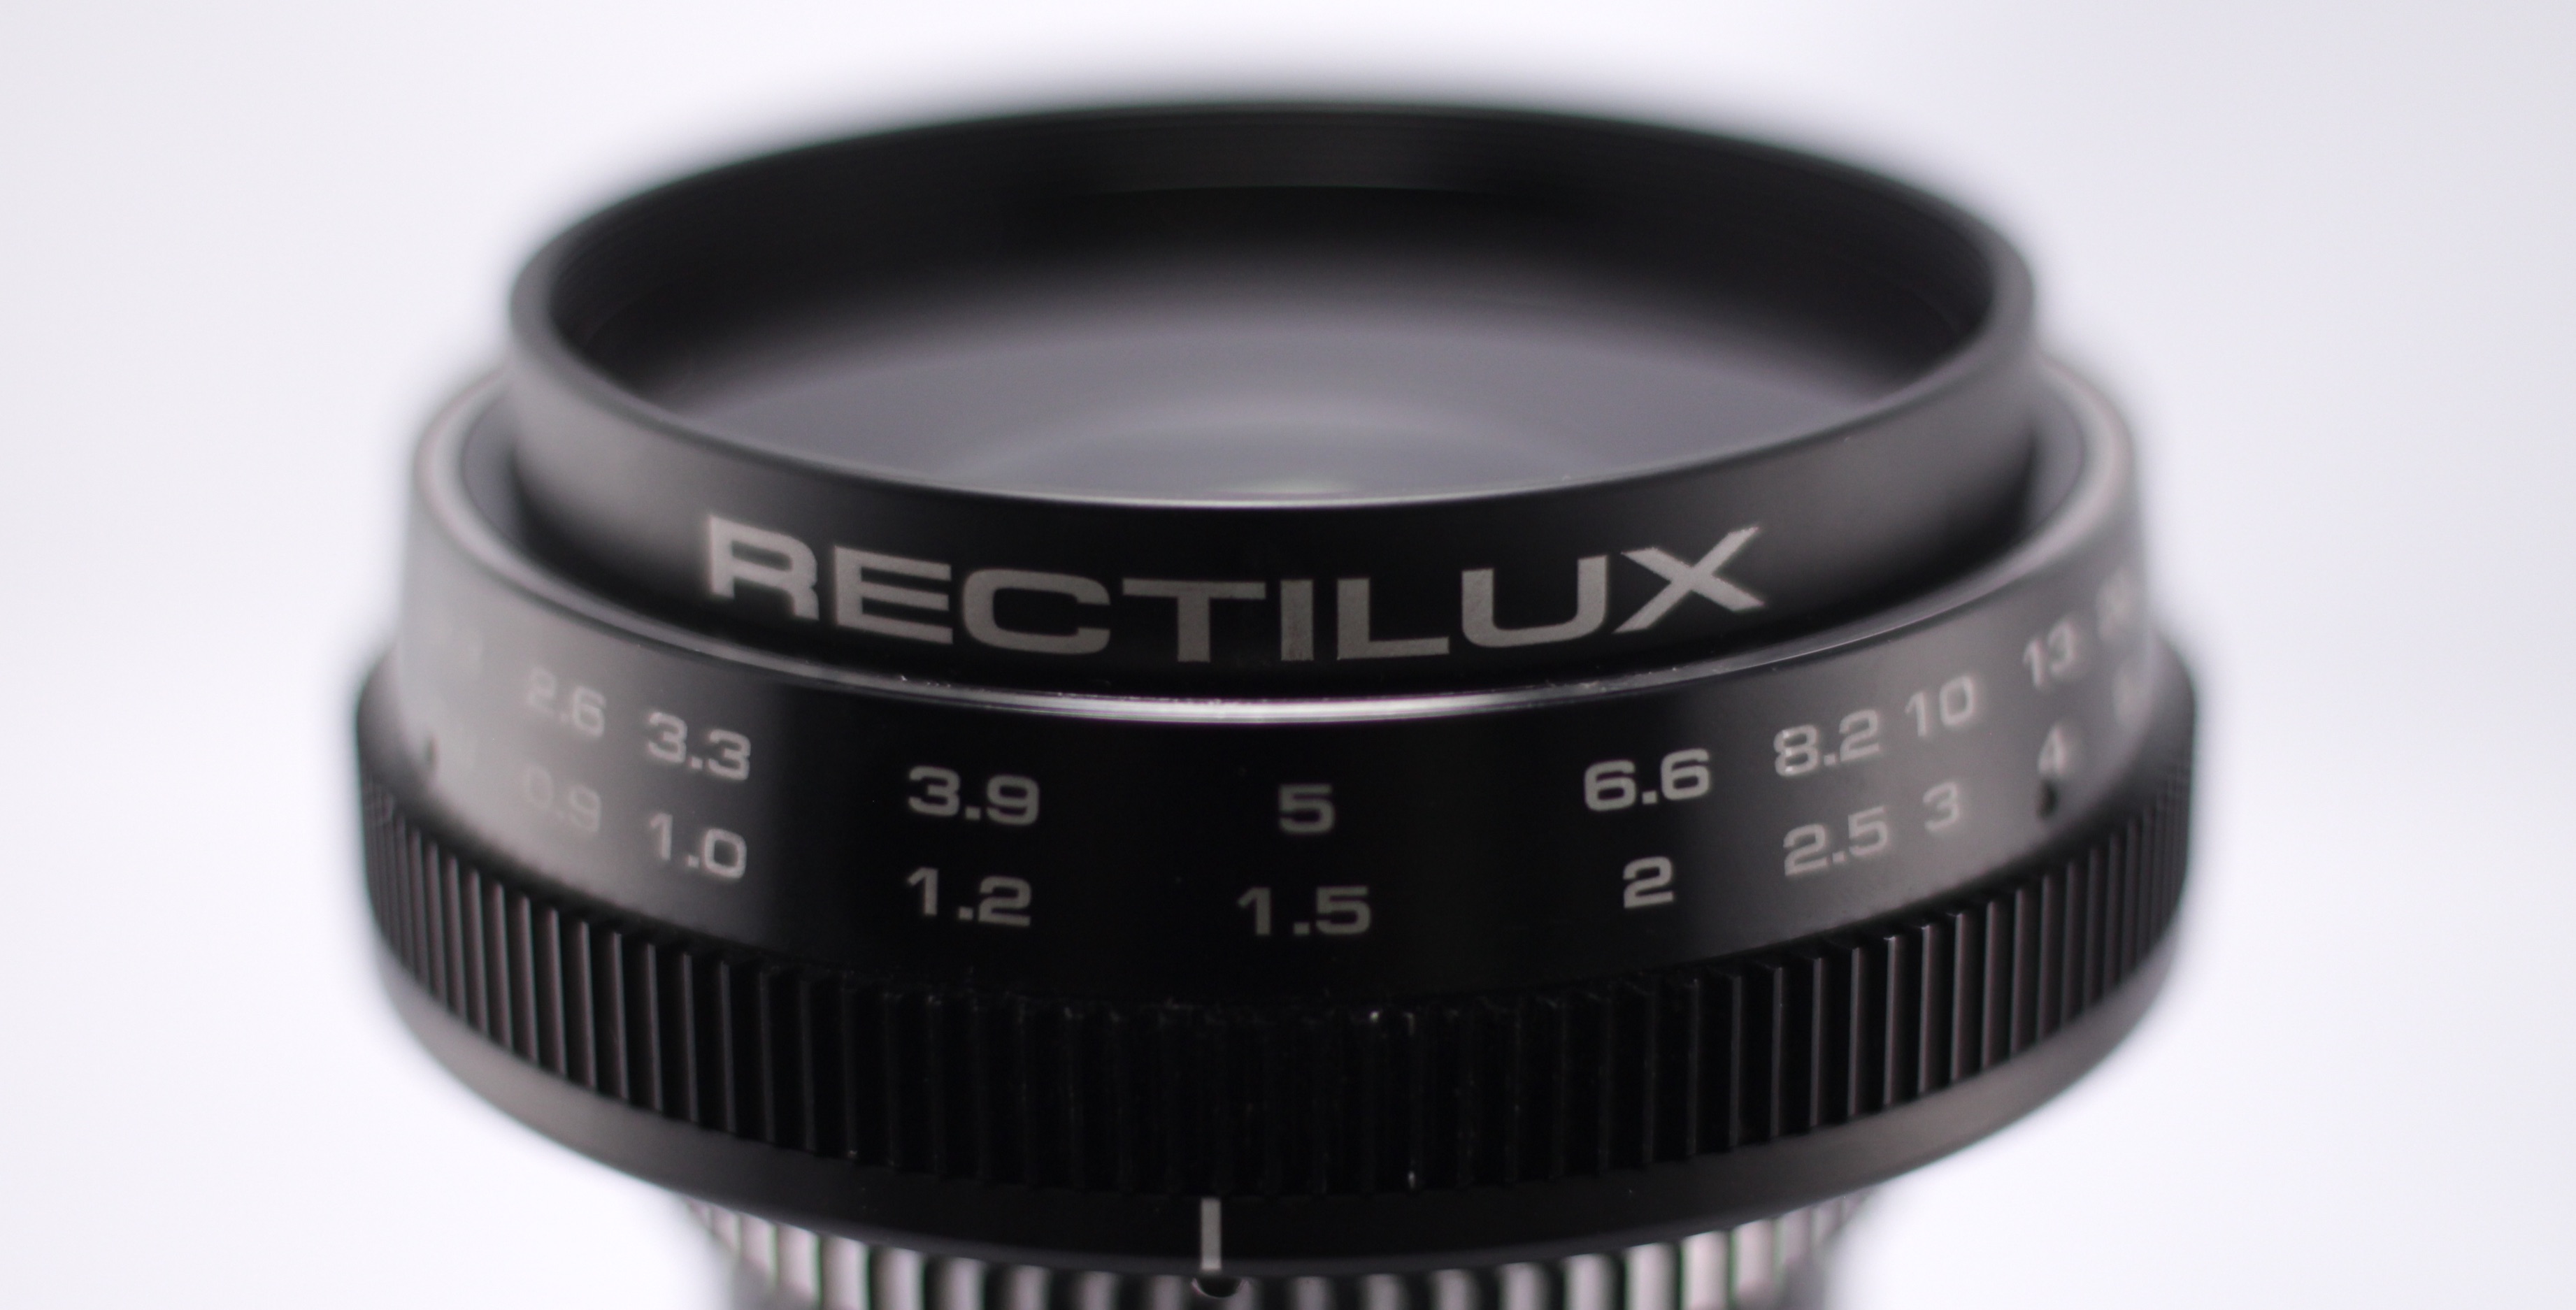
Note: Additional single focus solutions are appearing all the time, so if a smaller/lighter solution appears with the same optical performance as the Rectilux, I may be persuaded to switch.
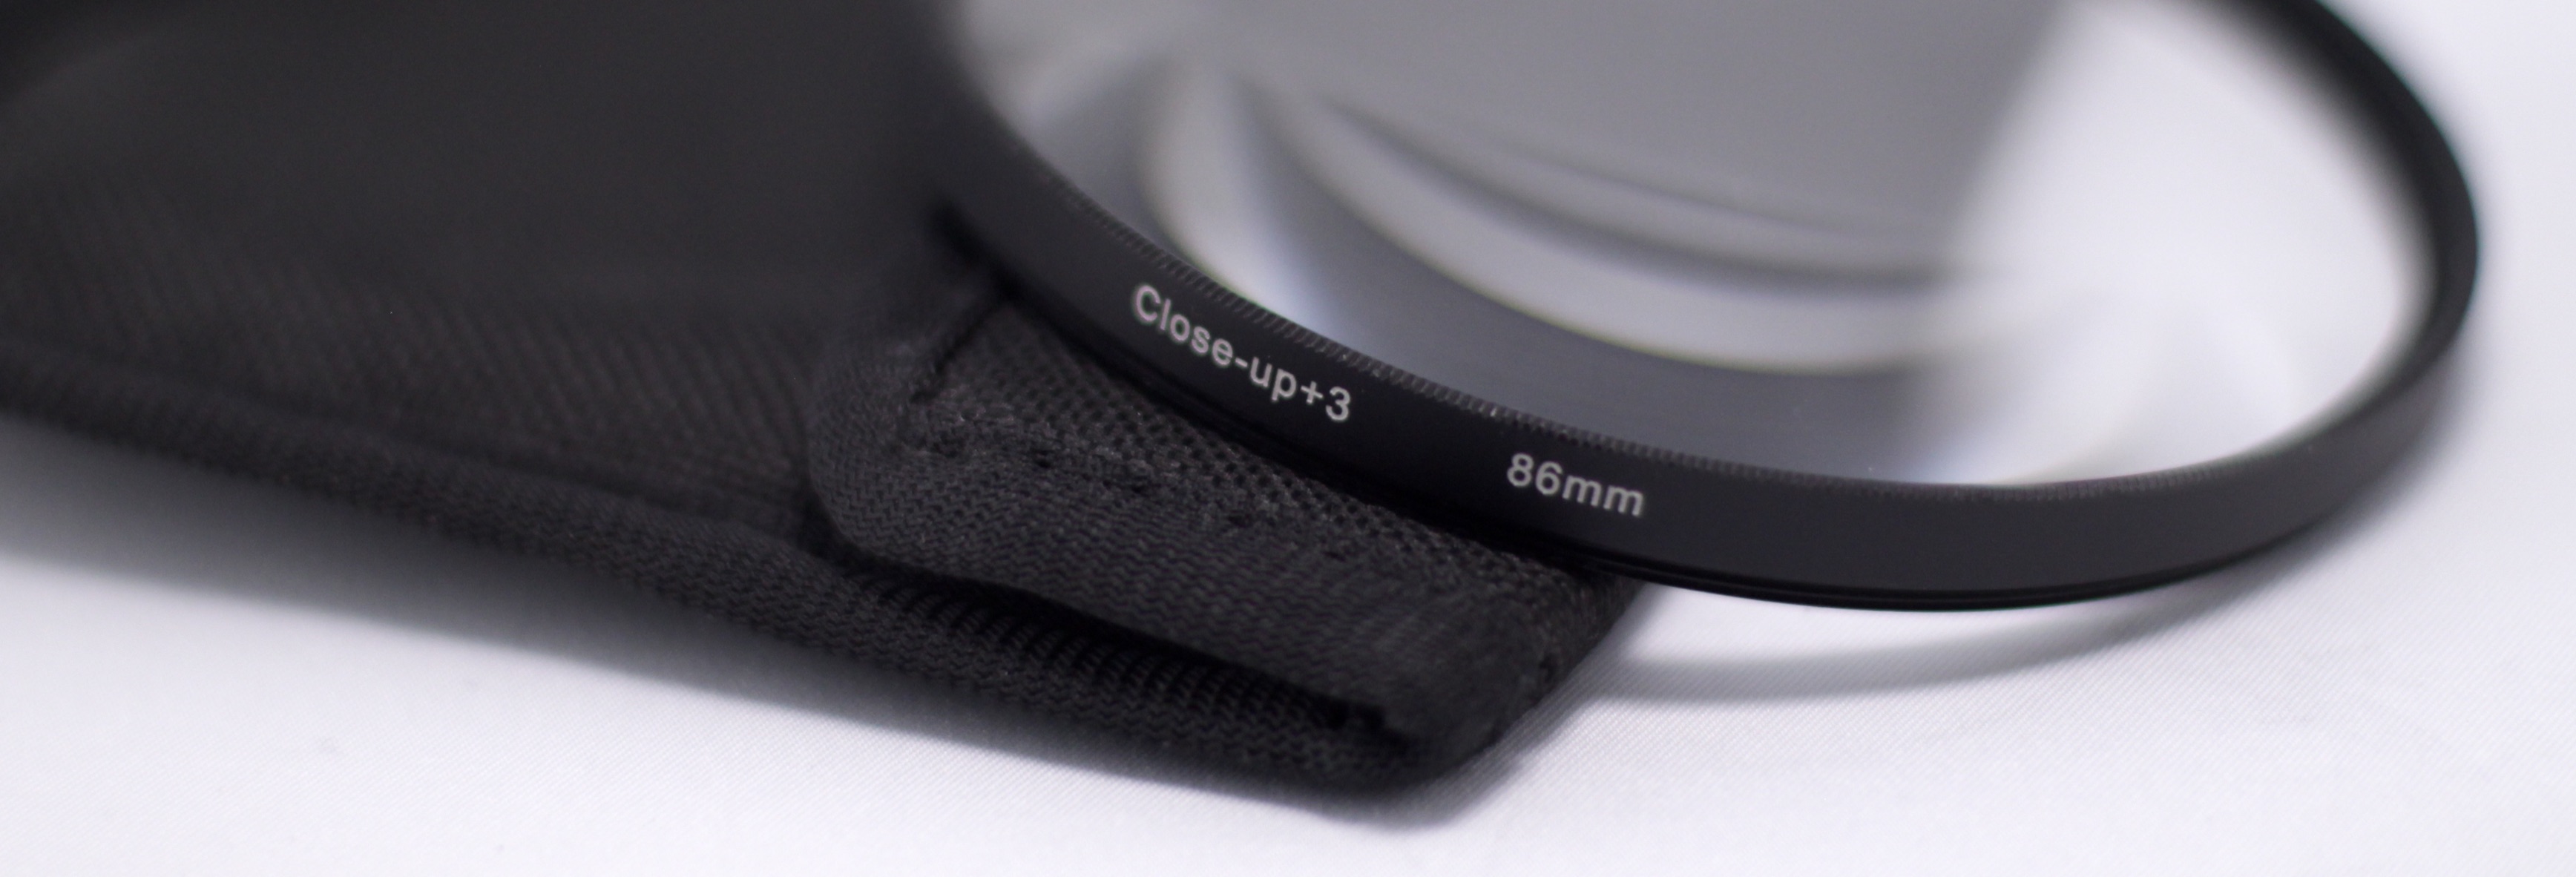
There is still one limitation of the single focus adapters – the minimum close focus distance is only about 1m (3ft). So anything closer will require the use of diopters. These will allow you to focus much closer but at the cost of reducing your maximum focus distance to 1/(diopter value) in metres.
Eg. +2 Diopter = 1/ (+2) = 0.5m max focus distance.
Secondary Camera Rig ~ £2K
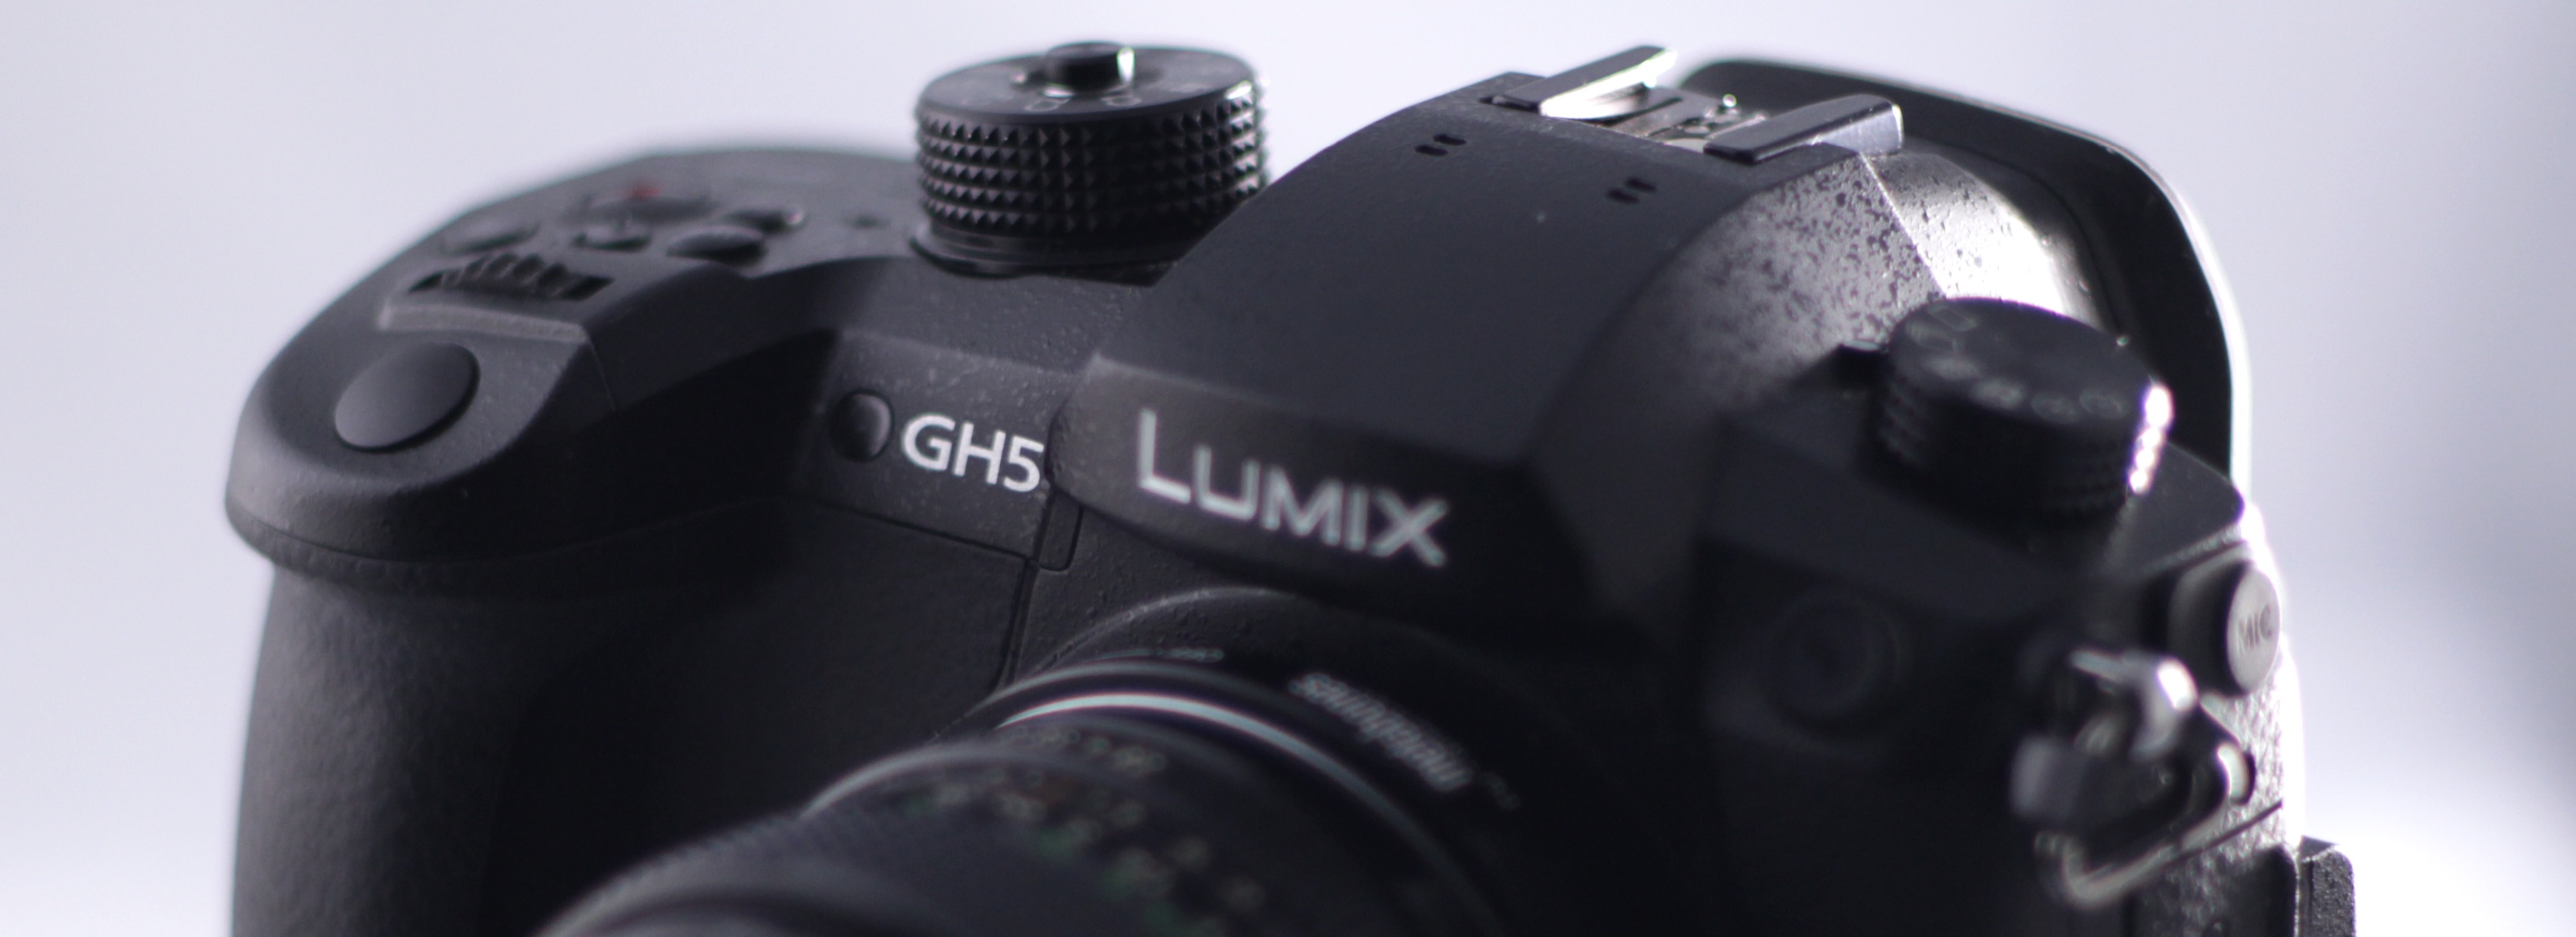
Panasonic Lumix DMC-GH5
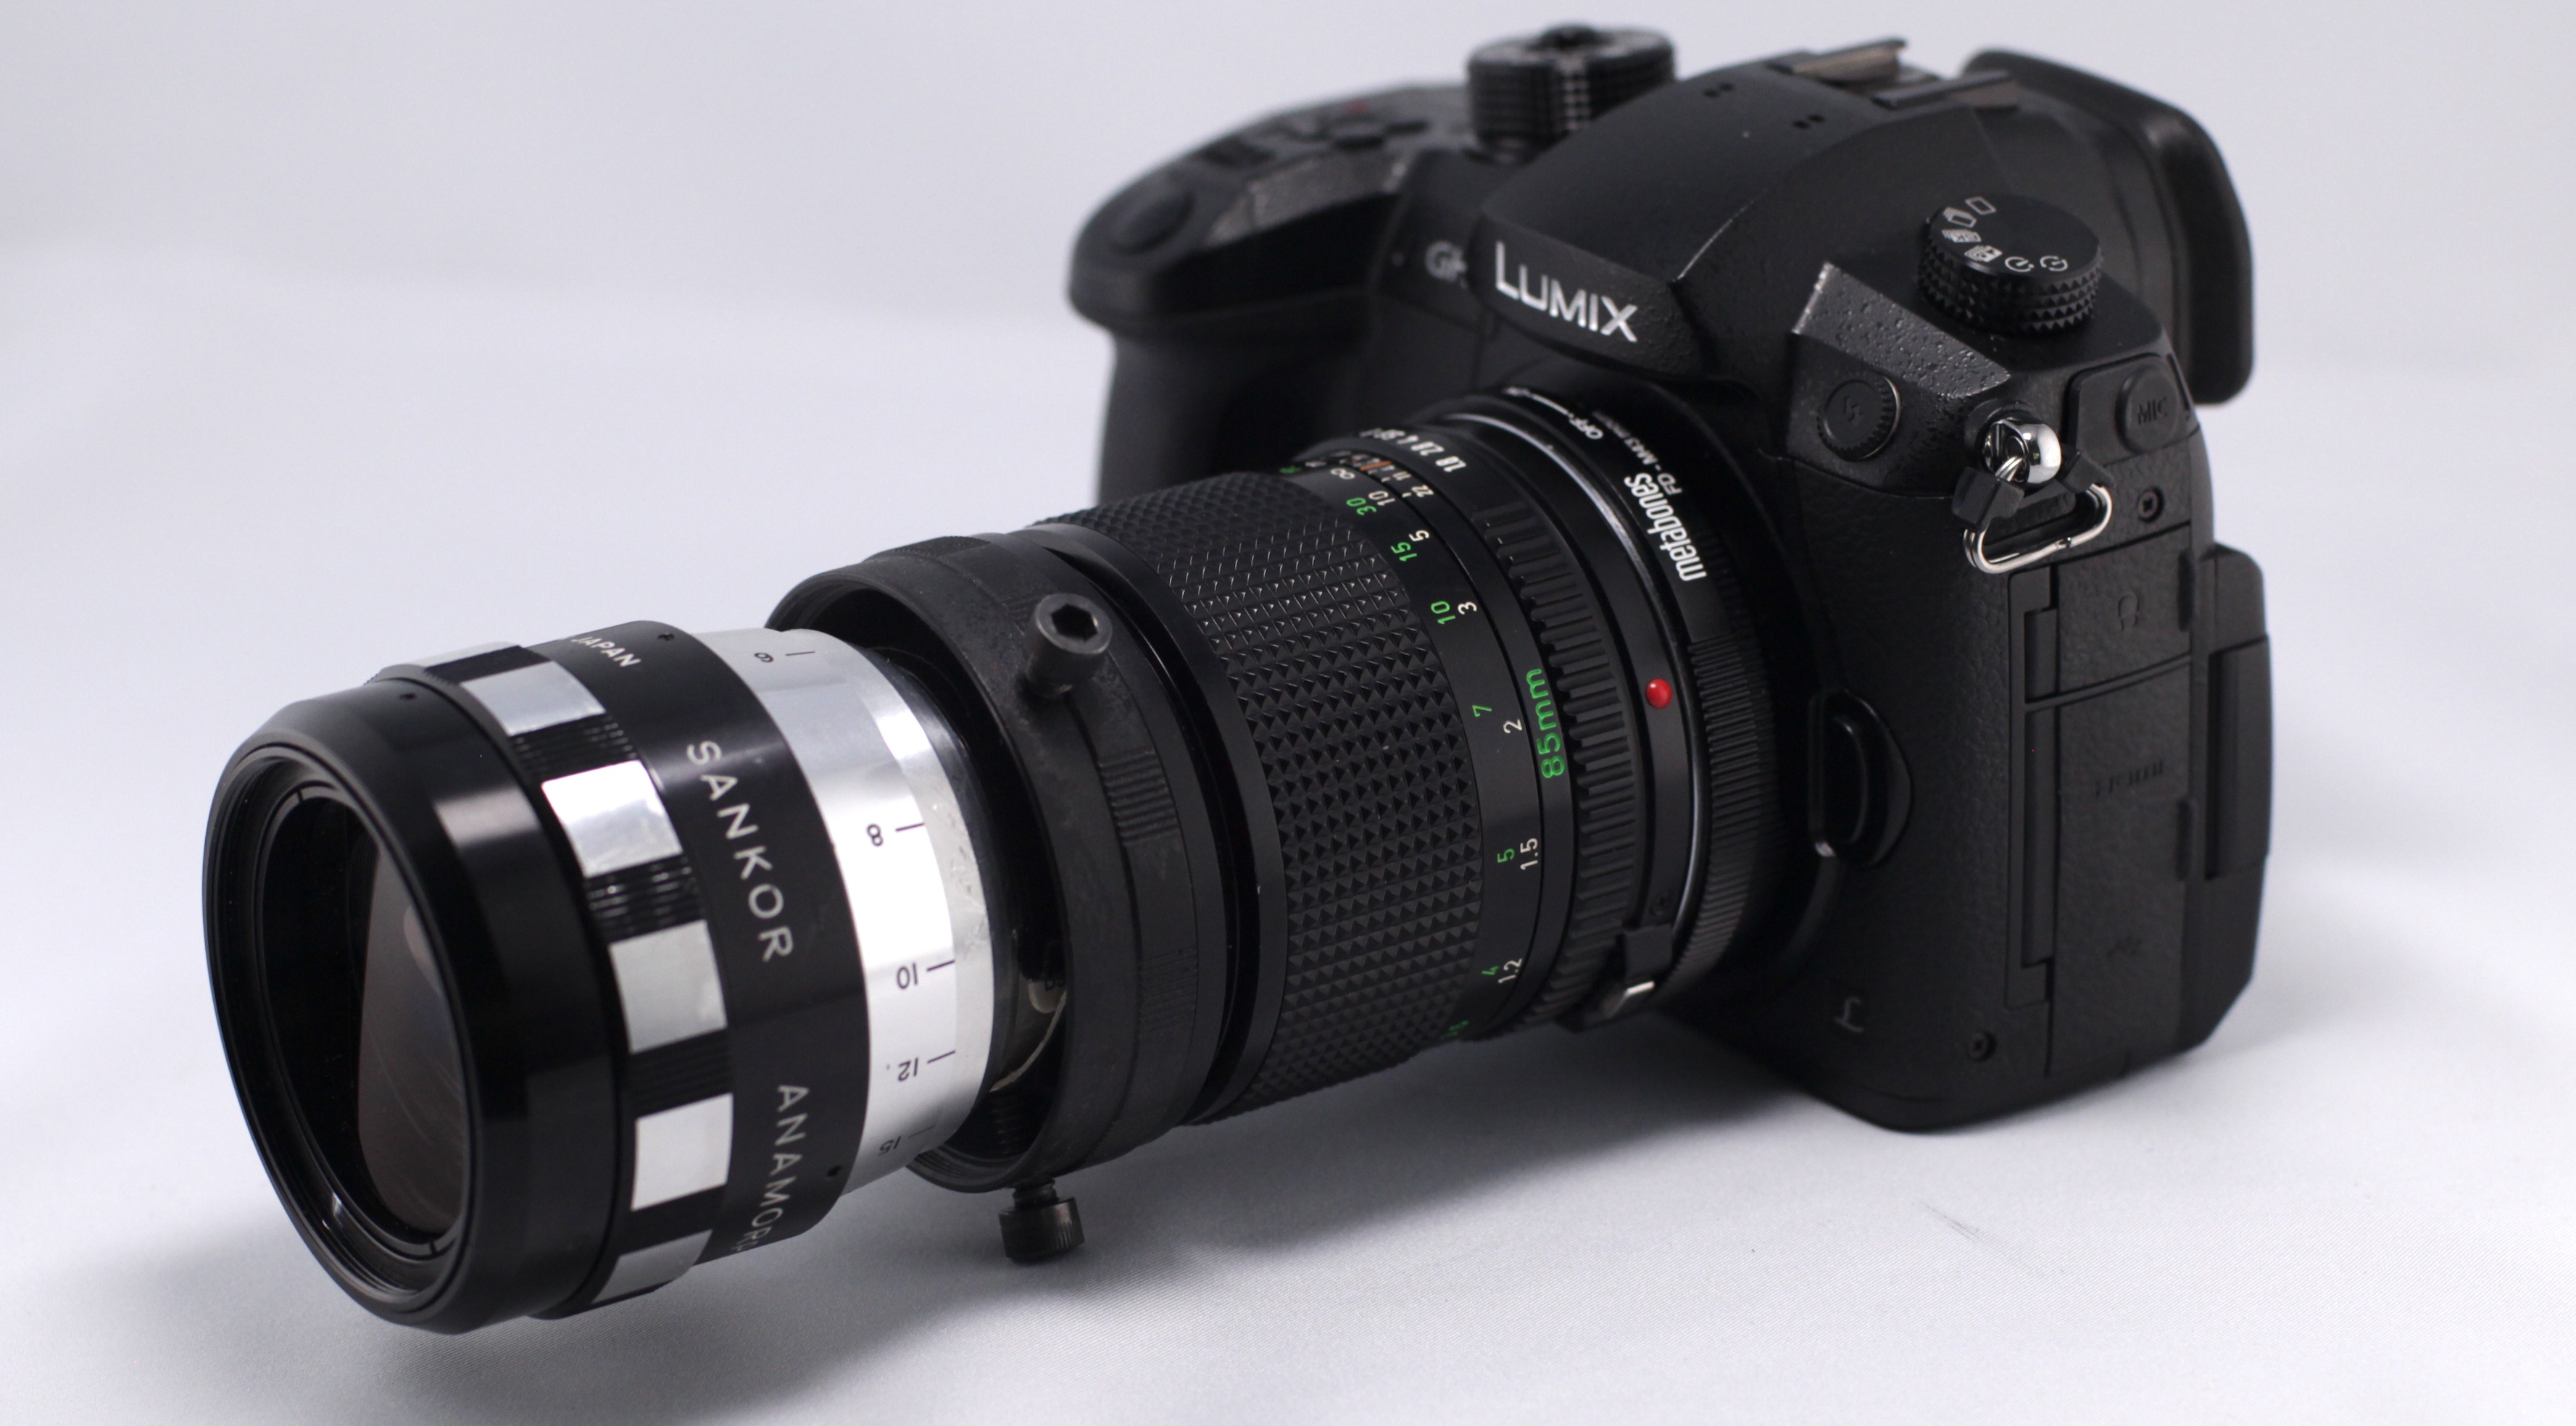
I previously stated that my first proper camera for anamorphic was this one’s older brother the GH4 and I guess I only replaced it with this one for two main reasons; 10 bit internal recording and in-body image stabilisation. Was it worth the upgrade… well that remains to be seen. Seeing as it is now my backup camera, it gets significantly less use than the Blackmagic, but i have seen some really good footage shot with the GH5.
As everything else is basically unchanged from the GH4, it still benefits from all the same advantages: Ease of use, Long Battery Life, High Bitrate / Resolution,
However for certain tasks it is the go-to camera… namely crane shots & gimbal work where the internal stabilisation comes in very handy to smooth out any sudden unexpected bumps and the smaller form factor makes it much easier to rig.
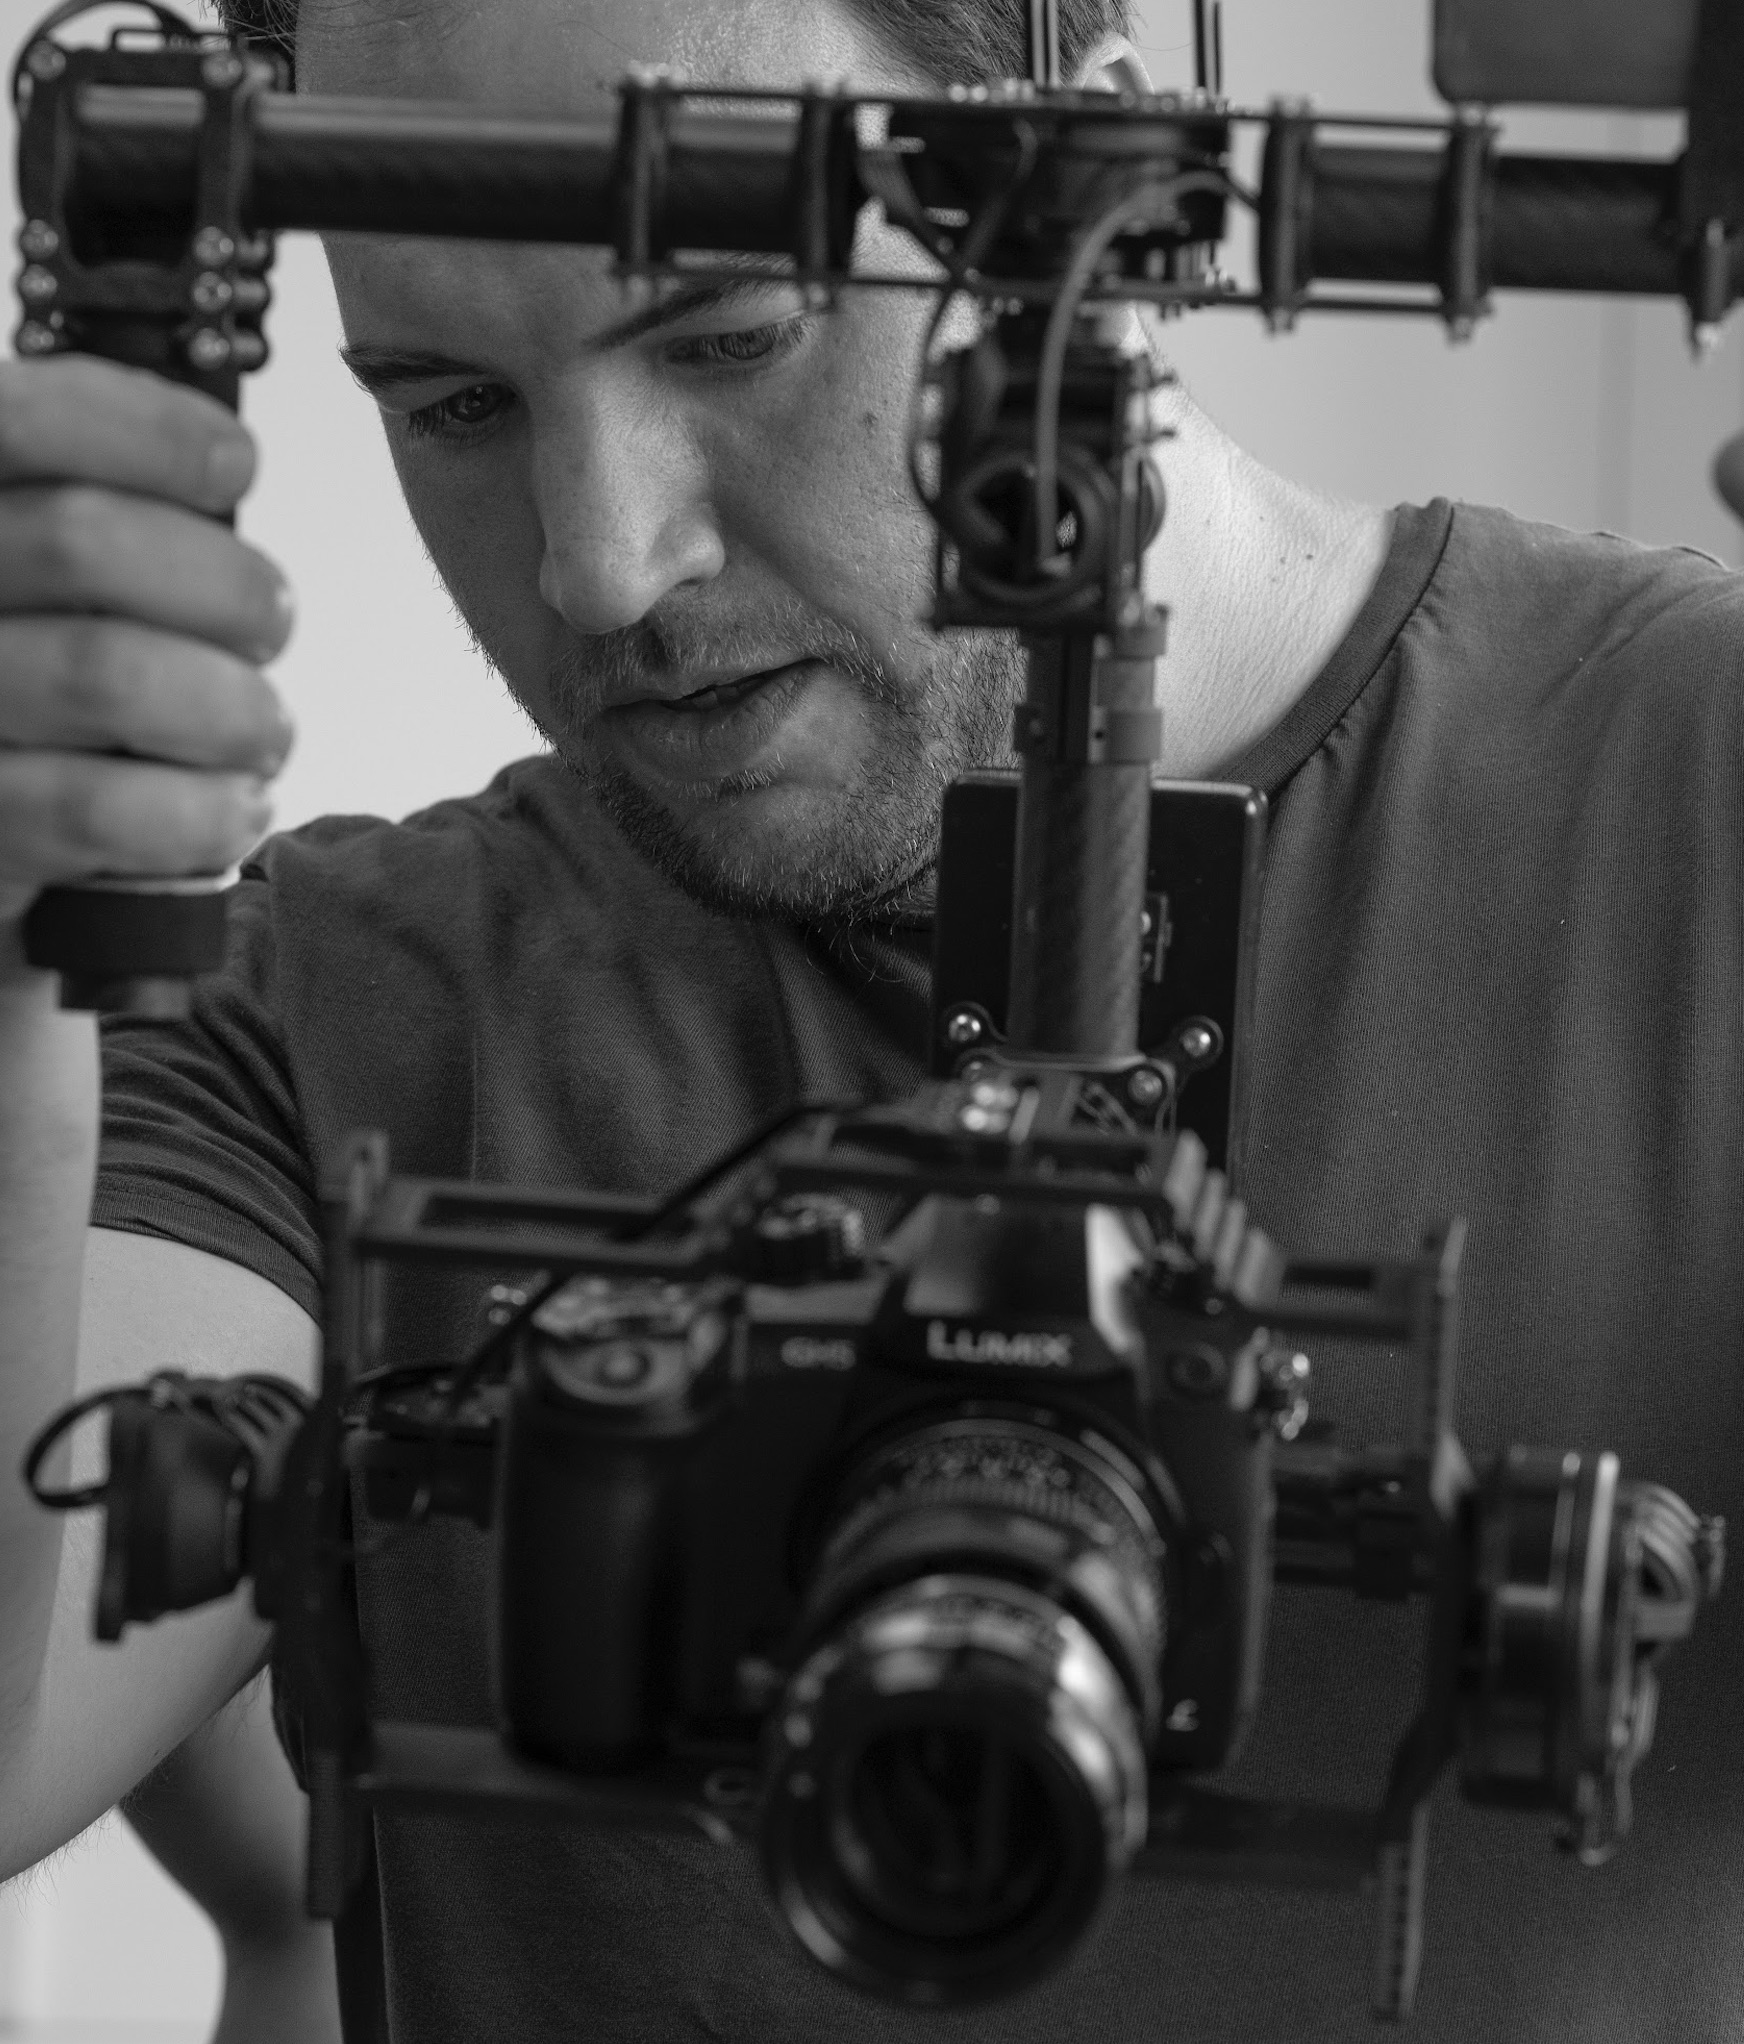
My only real complaint is that it doesn’t support ProRes natively, which makes the postproduction workflow slightly less convenient… but I guess you can’t have everything.
Lenses
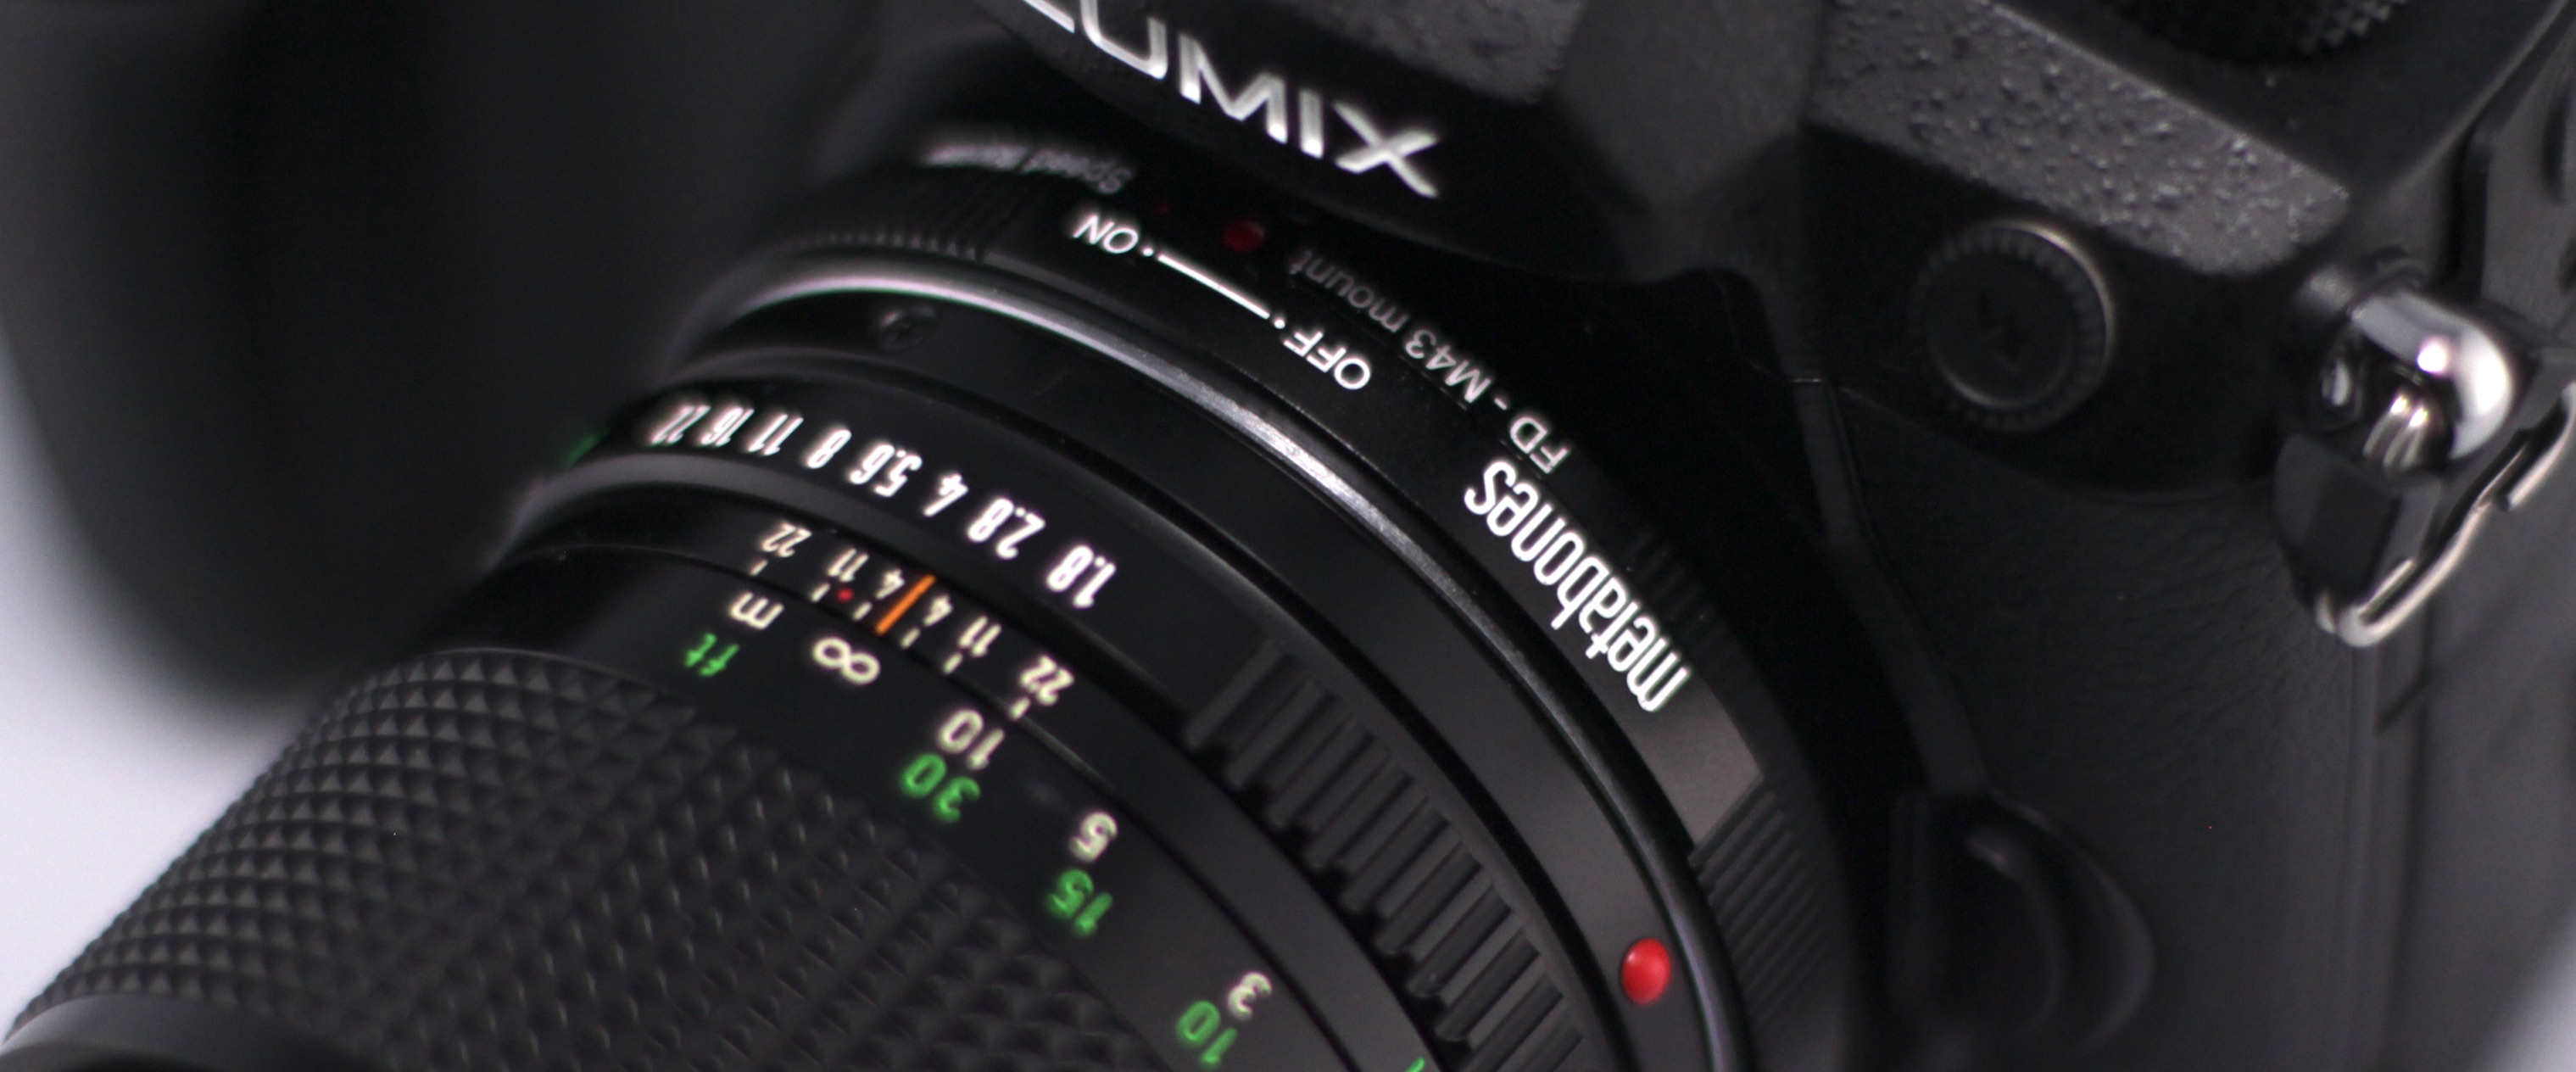
As the GH4 & now GH5 are micro4/3 camera, the sensor is a little small for that super35 look, so I added a metabones speedbooster which gave me three main advantages; It allows me to use my Vintage Canon FD lenses, increases field of view (close to Super35) and adds almost 1-stop of exposure to all my lenses.
Anamorphic
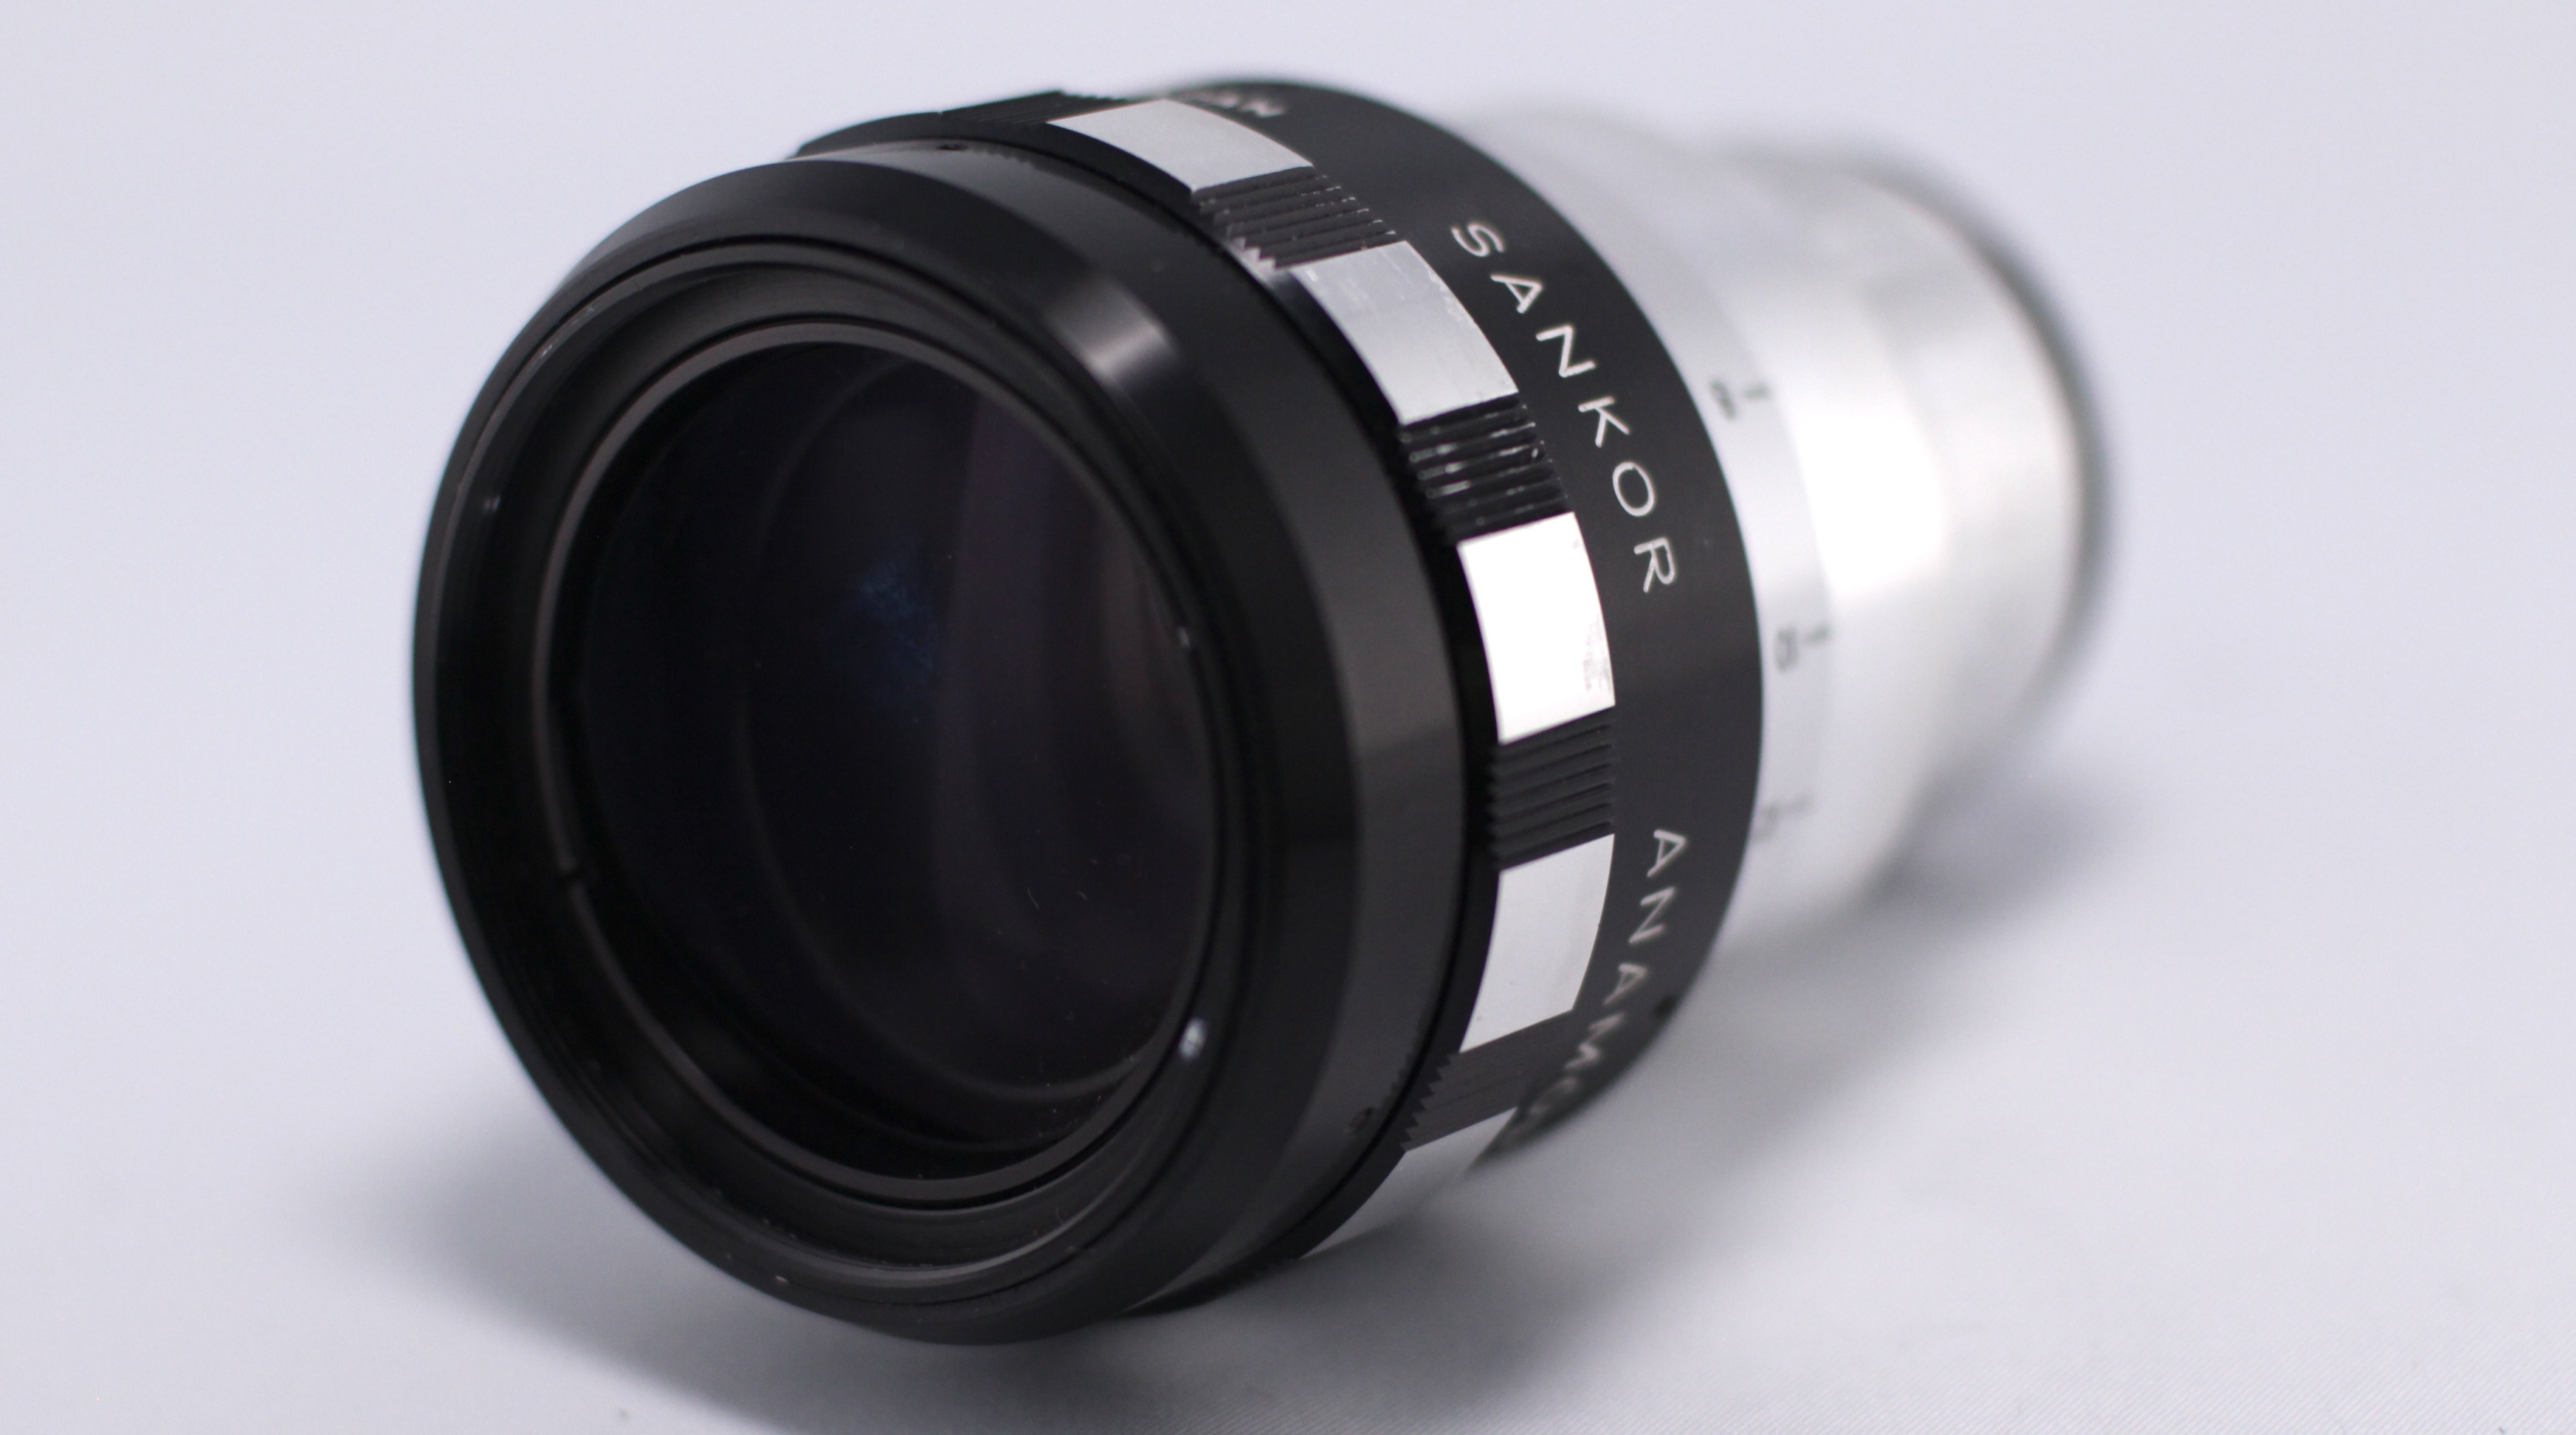
So staying within the realms of a 2x squeeze for use with the GH5 anamorphic mode, i found that a smaller, lighter lens with good character and flares was the Sankor 16C (16D, 16F etc) This has a smaller field of view than the Kowa (50mm taking lens without vignetting) however, this is usually enough as the crane and gimbal shots i do tend to be for closer work (where wider shots would be on a static tripod) Which also goes some way to mitigating the issue of it also being a dual-focus system again.
Note: At some point in future i will most likely revisit this setup to come up with a solution for gimbal work that would allow me to have a remote follow-focus… I would say that the Vazen 1.8x anamorphic cine lens is looking very promising in this regard… but that’s not exactly a cheap solution either.
Recce / Special Rig ~ £200 (or less)
Iphone / Android + Filmic Pro App + 1.33x Anamorphic Lens Adapter
I have heard it said that the best camera is “the one you have with you” and for documentary filmmakers this must ring very true. However there are situations where neither of the two rigs above would have been a good solution. The first is when visiting potential Locations but want to get a feel for framing without lugging a huge rig around… and the second is for filming in super tight and awkward spaces. For example; I shot a short film last year where the camera was to be placed inside a draw looking up as the draw was opened.
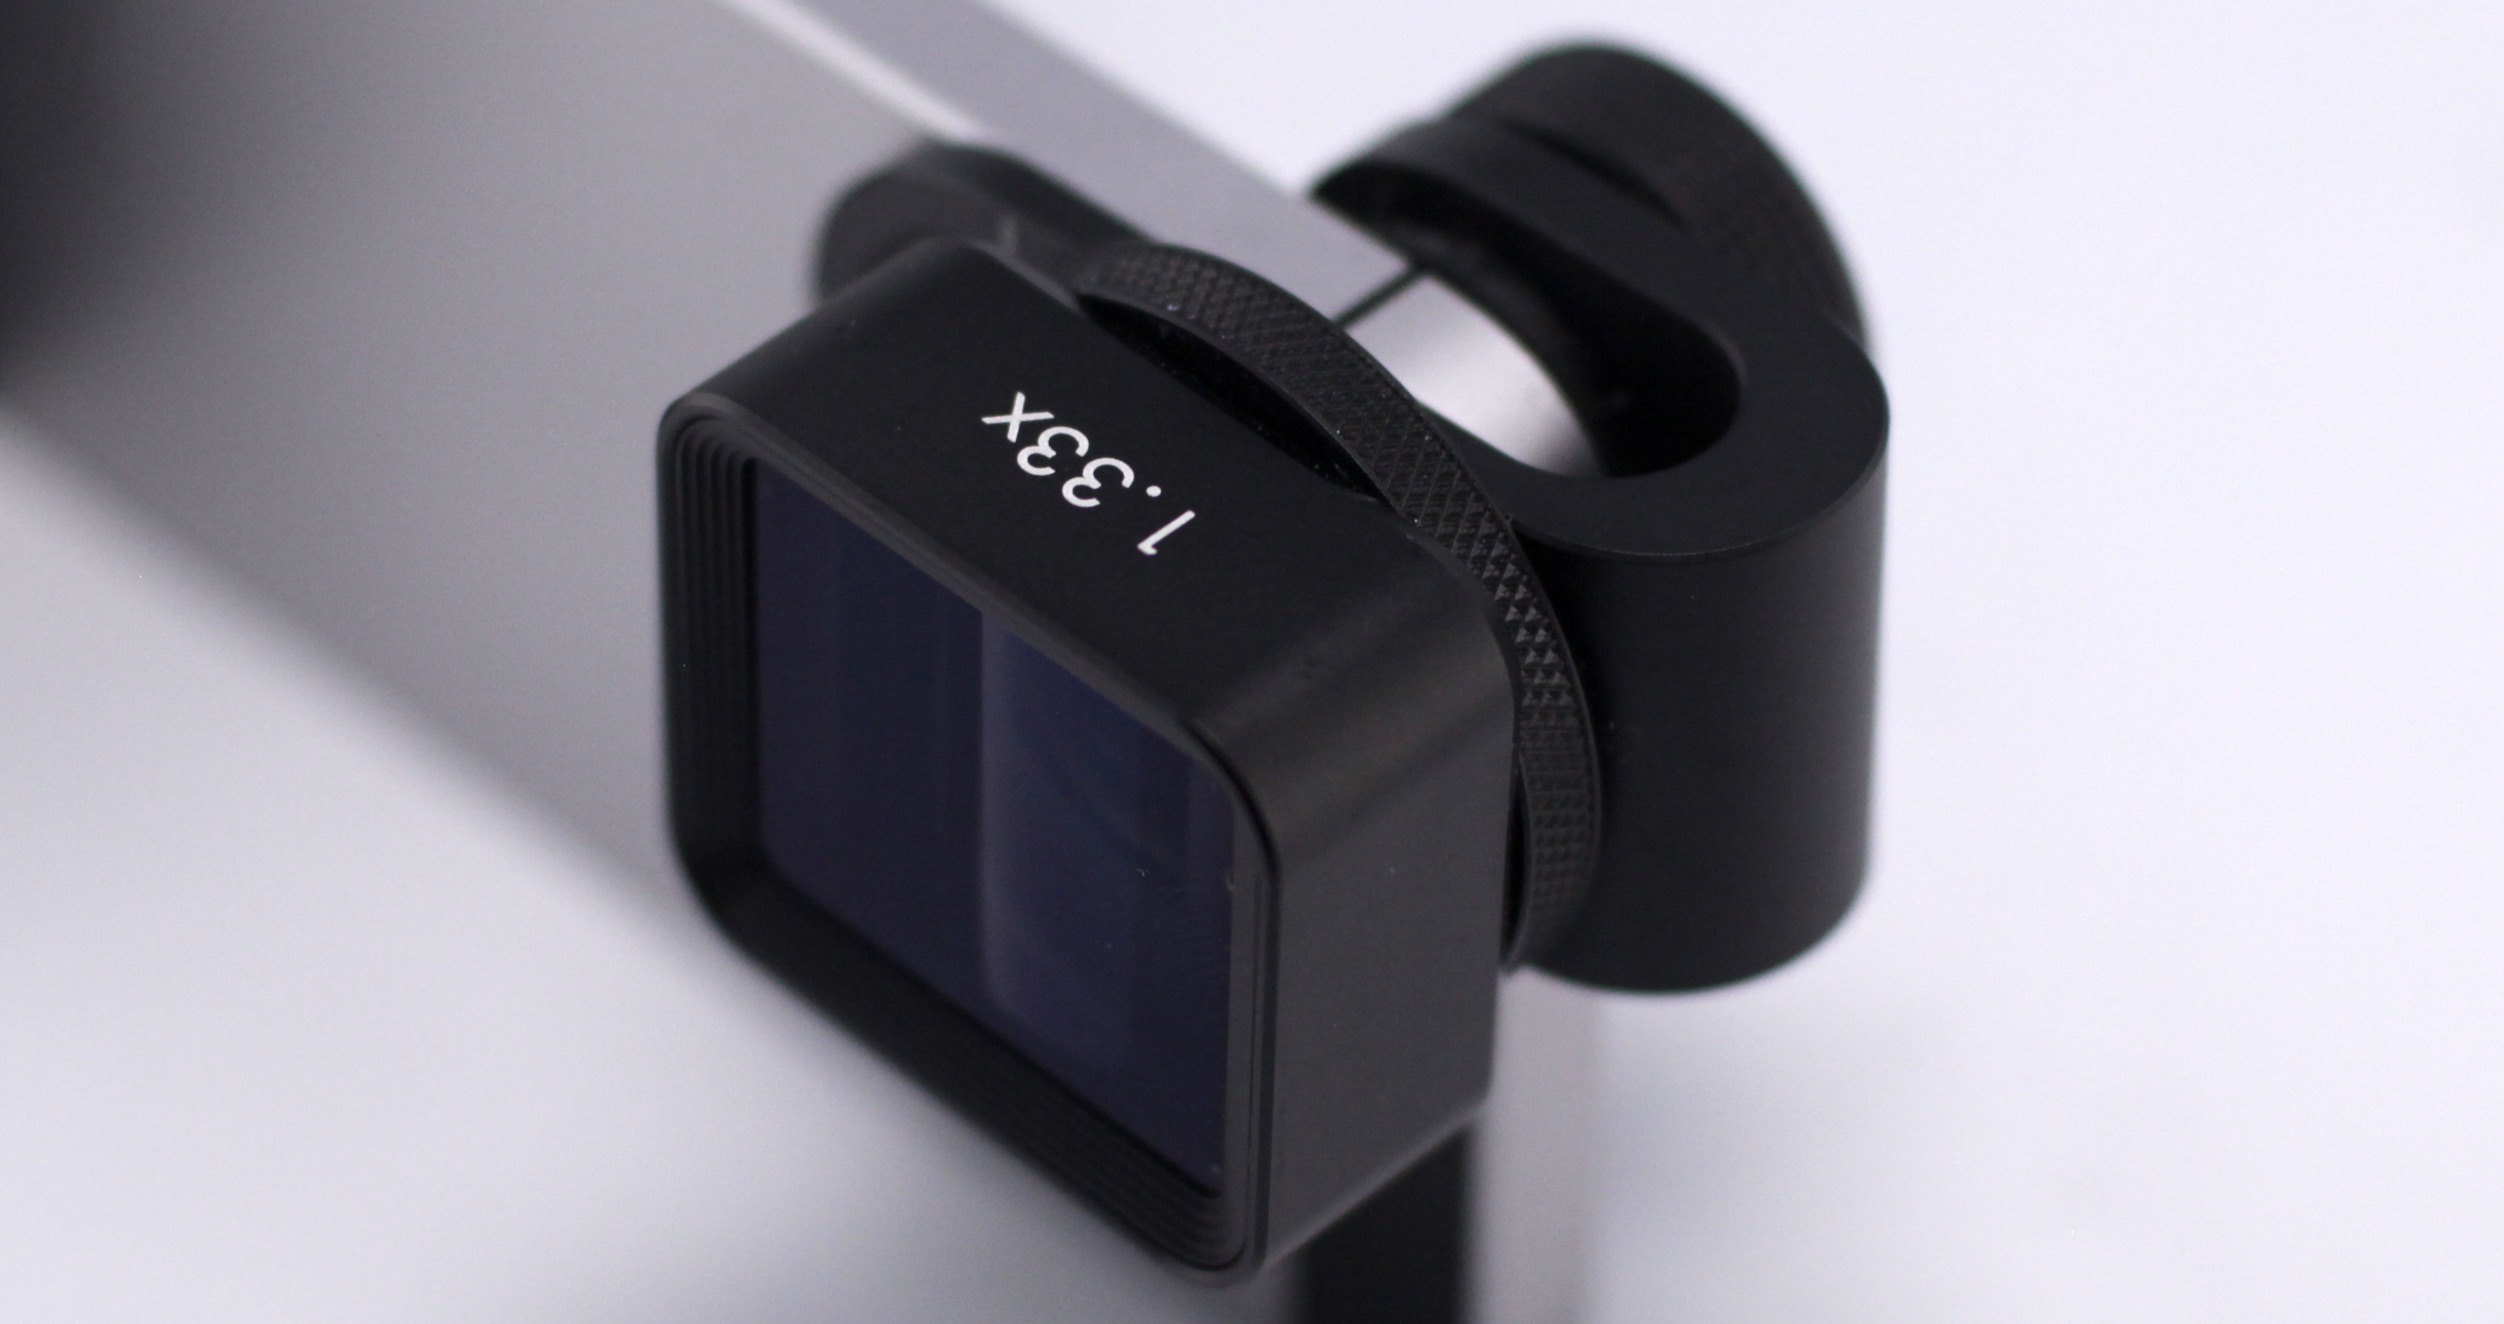
Obviously there is a trade-off in terms of image quality (especially dynamic range), but if the lighting is planned thoughtfully, it has been proven that award winning feature films (eg. Tangerine) can be shot entirely on phones by using the right combination of hardware and software.
Note: There is one area where these new 1.33x adapters are looking really interesting… Drone work! But that is a whole other topic for a different article.
Conclusion / Runners Up
Obviously everyone will have their priorities when it comes to what they need from their gear and so this is just my personal take on the choices I have made, based on what was important to me. You may have a very different view, and that is totally cool… each to their own. So far this gear is serving me well for the stuff i shoot and as always, for the sake of my bank balance, i’m doing my best to keep the old gearlust at bay… for now at least!
And lastly, for anyone who is interested, here are a few of the other options and a brief look at why they didn’t end up in my gear bag…
Cameras:
Arri / Red – way out of my price range
Sony A7S – 8-bit recording, terrible rolling shutter, I don’t need super low-light performance. (Native ISO of cinema & film cameras is somewhere around the 400-800 ISO/ASA range)
Blackmagic Pocket (Original & 4K) – Limited battery life. No anamorphic mode – Though it would be a serious contender if they added it.
Z-Cam – E2 – Didn’t exist at the time of purchasing, but is looking increasingly interesting for my secondary camera.
Anamorphic Lenses:
Iscorama (1.5x) – Though a single focus-through solution would be cool, the 1.5x squeeze ruled these out for truly recreating the look. Maybe an acceptable solution for the GH5… but for the cost, the Vazen is still looking more attractive.
Schneider Cinelux (2x) – This was actually one of the first lenses i tried. Fantastically sharp optics, but very heavy, awkward focus and limited field of view.
Isco MC 2000 (1.5x) – A had one of these for a while, but for a similar size and weight, I found i preferred the flares / character of the Sankor (2x).
Atlas Orion – I wish i had the cash… maybe some day. 😉

