There certainly are more advanced/niche items that you may find you need to pick up as you’re career progresses e.g. Disposable eyepiece covers …but this list should cover everything needed to get you prepared for your first professional gig.
As members of one of the most “technical” departments, the camera team have a myriad of small widgets and gadgets that each have a very specific purpose… 1/4″ & 1/8″ thread adapters, D-tap & Lemo cables, V-Lock & cheese plates, short legs, tall legs, Mini-this, Micro-that… it goes on and on. However almost all of these bits actually come supplied with the camera kit… and don’t cover any of the following basic essentials for making your life as a camera assistant possible.
1) Slate / Clapper board
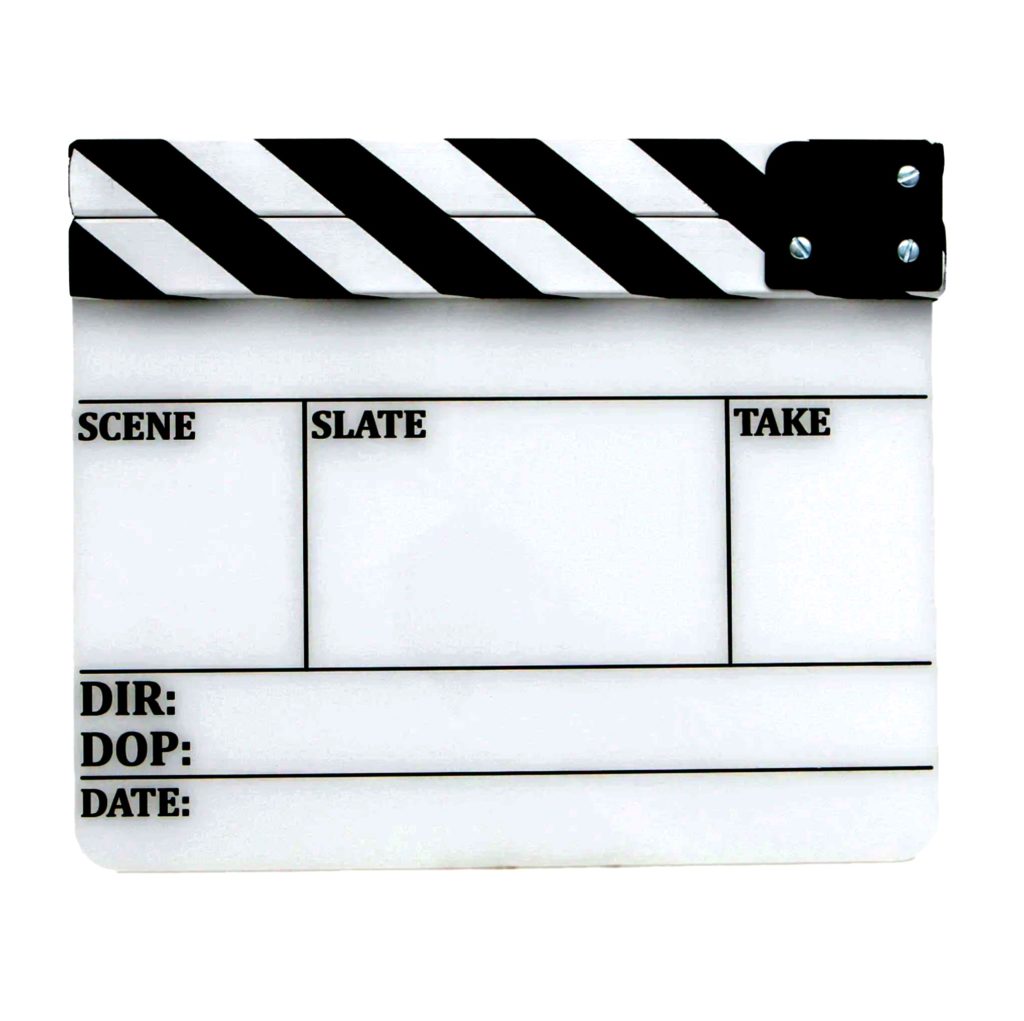
When first starting out as a camera trainee, it’s perhaps unlikely that you’ll be slating straight away, though not impossible. However, you’ll almost certainly end up working on smaller projects with fewer crew members, where you’ll be the only camera assistant.
Now here’s the thing; you can definitely go and buy a generic, cheap one from Amazon or Ebay, and it will work fine… for a while; however eventually the bolts come loose, the magnets fall out, the stickers rub off and then the board and sticks will eventually separate! (I’m speaking from experience here) By the time you’ve spent money on glue, replacement magnets, new nuts & bolts or threadlock, you’ll have spent as much if not more than buying a good quality one in the first place. Besides, if you turn up to a professional shoot with a budget slate, you’ll likely be laughed off the set. The old adage is true in this case: “Buy Cheap, Buy Twice.”
2) Pens
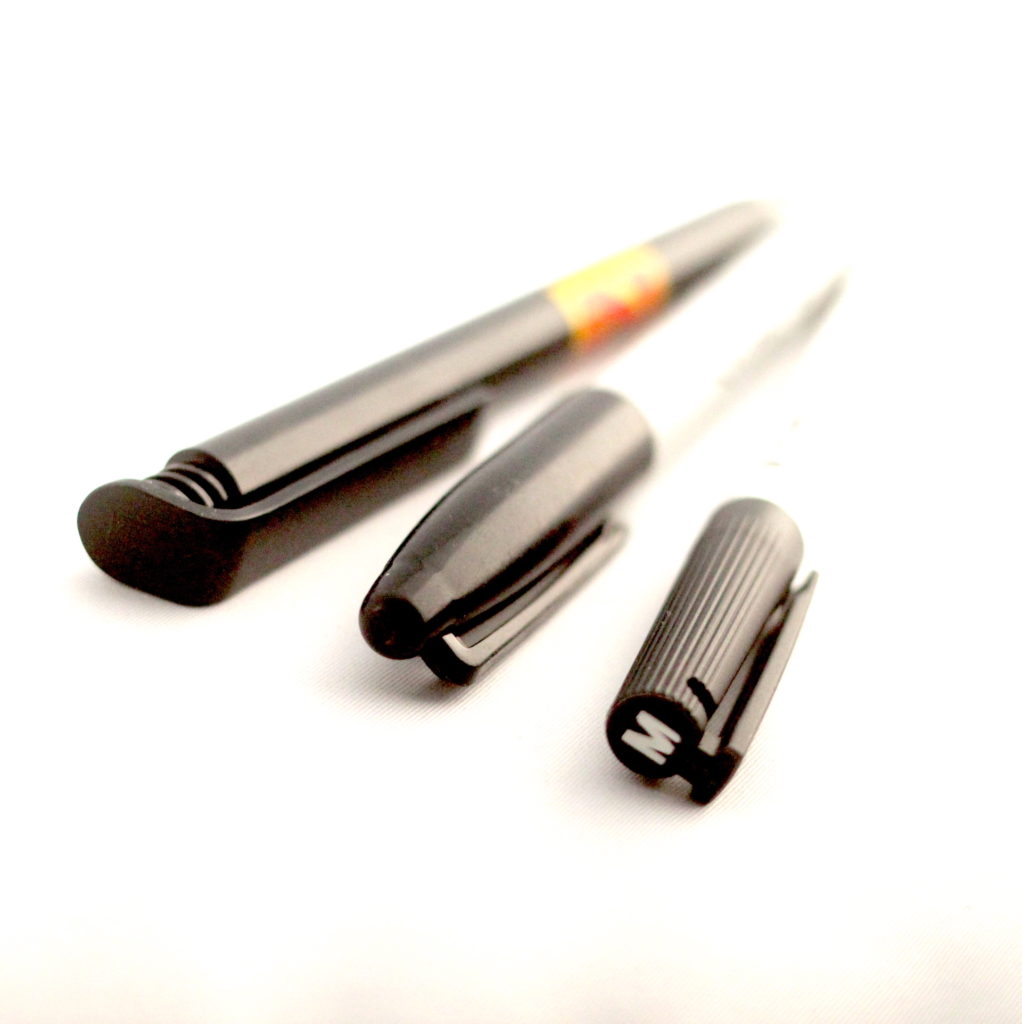
An essential for all crew members, though most probably will try to borrow yours, so bring spares, just in case. Though it may sound a bit too anal retentive, you can always wrap a bit of coloured tape round yours so you can identify them later.
The first one you’ll need is a Sharpie, (Fine-tip permanent marker) for writing stuff on the slate that doesn’t change very often, e.g. Title, Date, Director, DOP etc. Also great for writing clear labels on your cloth tape e.g. memory card numbers, what filters are in the matte-box and lastly sticking your name on your bottle of water so you can keep refilling it. The second is a Chisel-tip Whiteboard Pen for writing info on the slate that will be constantly changing. Eg, Shot and Take numbers. And finally, it’s always handy to have a Ball-point Pen for writing camera notes and signing any paperwork the production sticks in front of you.
Top tip: Tape a small piece of chamois leather to the back of your whiteboard pen to create an effective eraser for making super-quick changes.
3) IPA Solvent
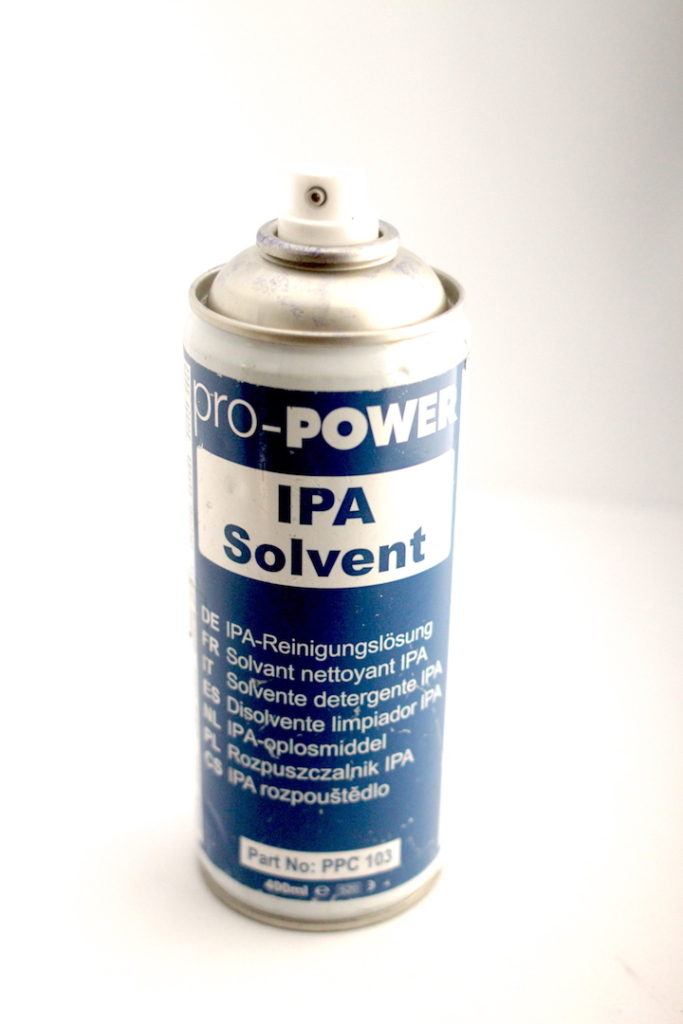
Eventually you will need to get all that permanent marker off your slate and give it a good old clean. As the inks in the pens are oil based, soapy water isn’t going to do the trick… You could choose to use pure isopropyl alcohol, however i’ve found that to be pretty expensive and “IPA Solvent” is almost identical but is significantly cheaper. Presumably it is less pure, which may matter to lab technicians / scientists, but doesn’t really matter to us (It’s also useful for cleaning finger marks / grease off things etc… however i would say be extremely careful trying this on lenses as you don’t want to remove any delicate coatings they may have)
Top Tip: The solvent will evaporate pretty quickly, so just keep a bit of cloth (either rag or dishcloth) inside the lid where it will stay free from grit and spray a little into the rag and wipe your slate clean with this. Simply replace it when it starts smudging the ink around rather than wiping it off.
4) Red, Blue & White 1” Cloth Tape
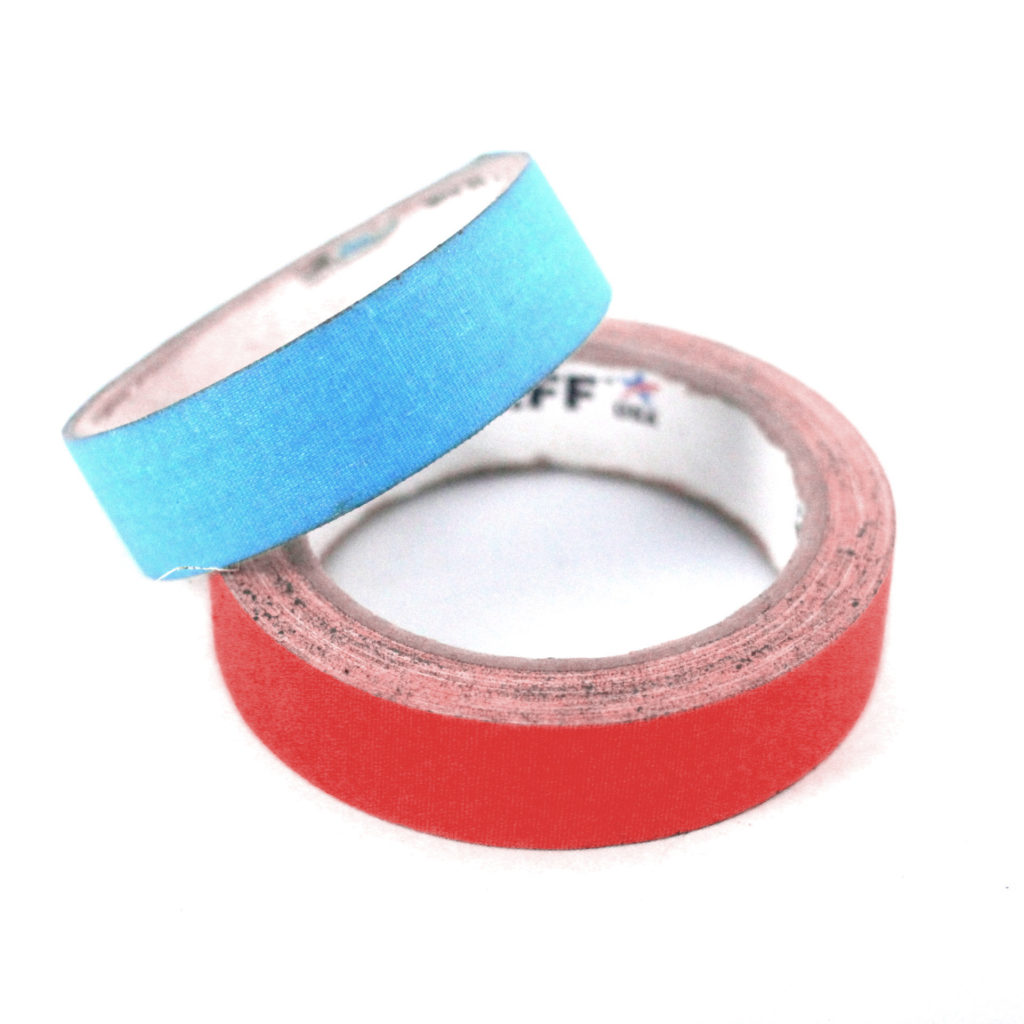
When filming, it can be pretty important that actors end up in exactly the right spot so they stay in the right part of the frame – this is typically done with removable marks on the floor. As part of the camera department, keeping track of the actors’ marks is part of your job. But there’s usually more than one of them in a scene, so having at least two colours is a must so they don’t get confused. Beyond this, it’s also pretty common to have more than one camera, so when you are swapping memory cards around and running them over to the DIT, you can label each camera with a different colour too.
5) Compressed Air / Rocket Bellows
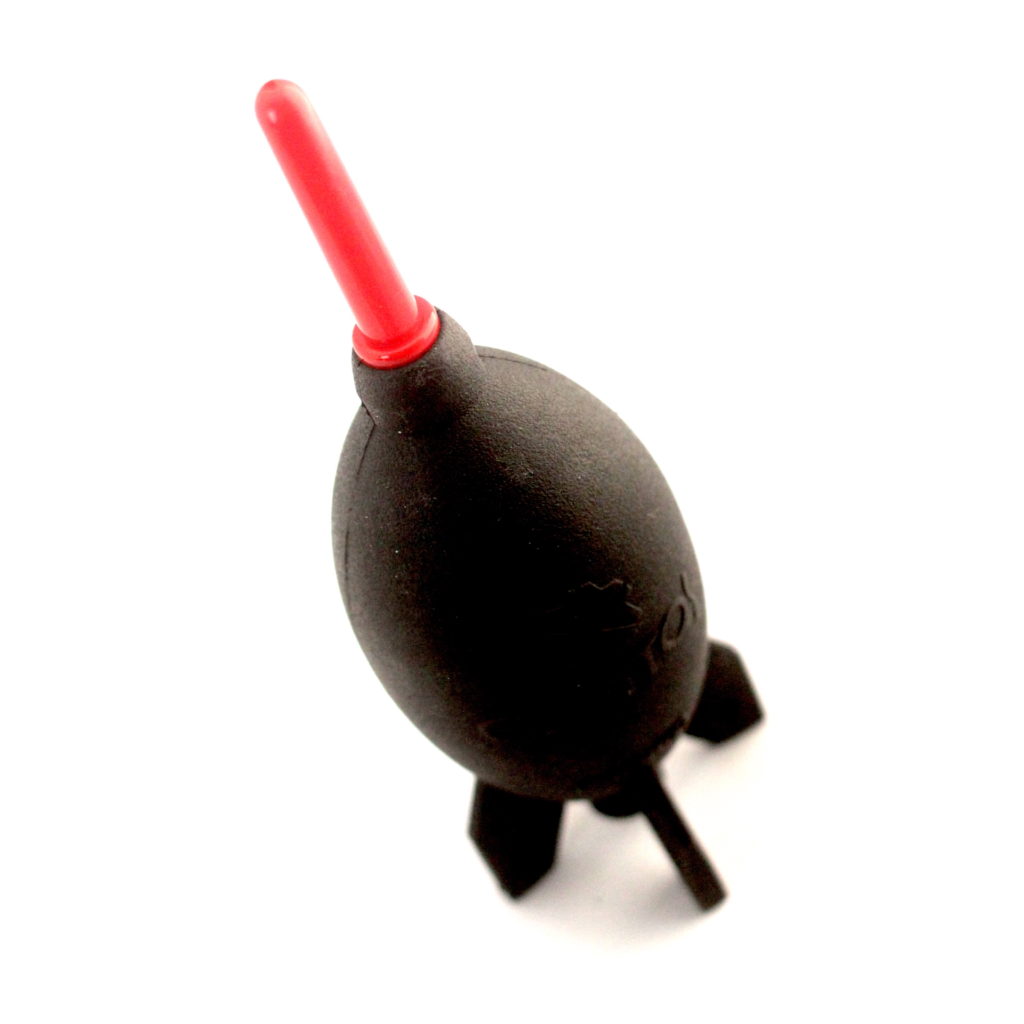
“Check Gate!“ Not heard so much in these modern times of digital sensors, but it’s a standard and essential practice when shooting film. Essentially, as film runs through the camera, little pieces of dust and debris would find their way into, and get caught in the opening that lets the light onto the film (the Gate)… leading to a ruined shot. So to minimise this, whenever changing lenses or magazines of film, it was best practise to give the gate a blast of air to clear these out. This must NEVER, i repeat NEVER be done by blowing into the front of a camera (or lens) as tiny particles of spit will then be all over everything… Yuck! Either use a can of compressed air, or my personal choice is a simple manual air blower (it’s not 100% necessary to get one in the shape of a rocket, but i did!) as this will never run out.
6) T-Bar (or Big Screwdriver)
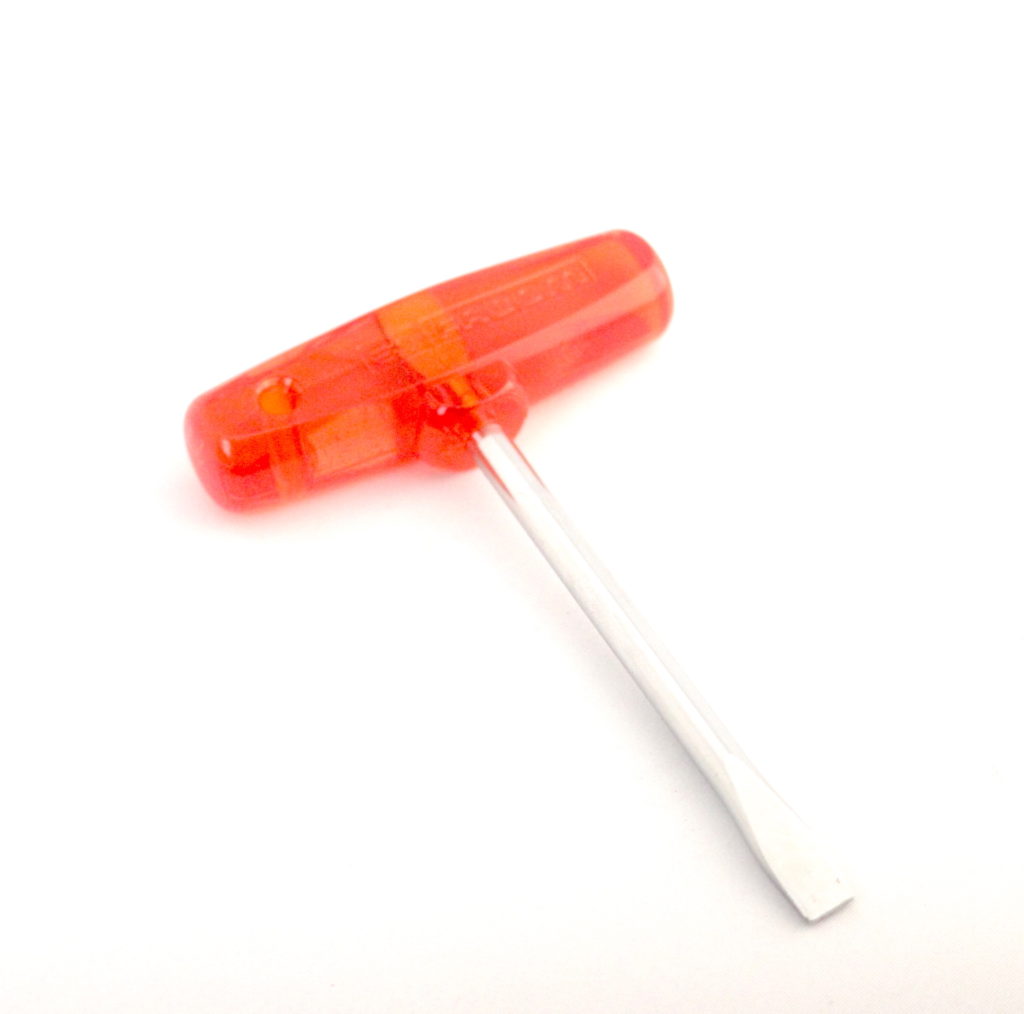
When you have thousands of pounds (or dollars) worth of equipment balanced on the top of moving platforms with wheels that tilt to all sorts of angles it’s pretty important that they are secured on tight. To make the job of switching between different bits of grip gear, professional tripods etc. will have a quick-release system where a metal plate is bolted onto the camera rig and then clicks into place on the mount. The standard bolts are either 1/4” or 3/8” and have a wide head with a straight slot. To be able to get these really snug, a simple screwdriver is not going to give you enough torque, so we have the trusty T-Bar… i’ll let you guess where the name came from.
7) Bongo Ties / Cable Ties / Dual-Lock / 25A Crocodile Clips
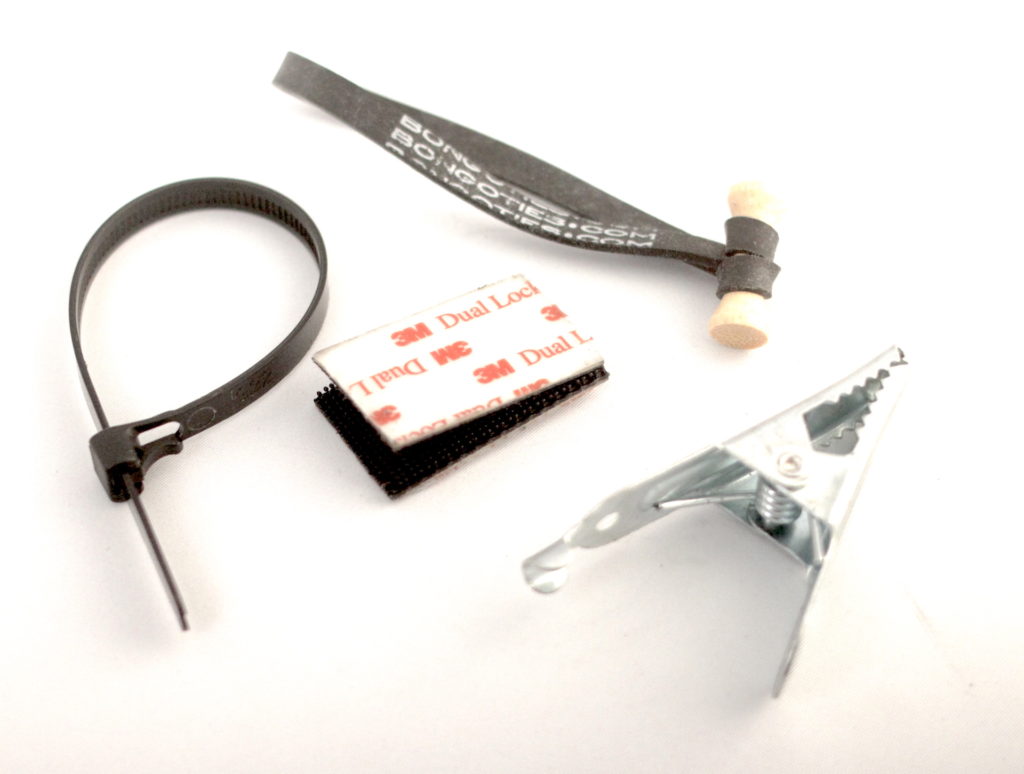
Yes I know this is really four items, not one… but they all serve basically the same purpose; attaching stuff together. Camera rigs are notorious for attracting more and more accessories… even once you’ve got the body, lens, rigging, cage, rails, handles, follow focus, matte box and battery… there are still extras like, a Teradek (wireless video), Horns (Radar measuring tape), timecode generator, wireless mics, power distribution etc. that often do not have a 1/4” screw mount option. So to stop things flapping around and cables catching on things (Especially if the camera rig is to be balanced on a steadycam or similar) you can use any combination of these items, and just in case you’re unfamiliar with them; Bongo Ties are heavy duty rubber bands tied to a wooden peg, (like a double ended golf tee) and Dual-Lock is used like self-adhesive velcro, but rather than hooks and loops which can only work one way, it has little mushroom shaped hooks which are the same on both pieces. (They are both trademarked/branded items)
8) Space Blanket / Dust Sheet
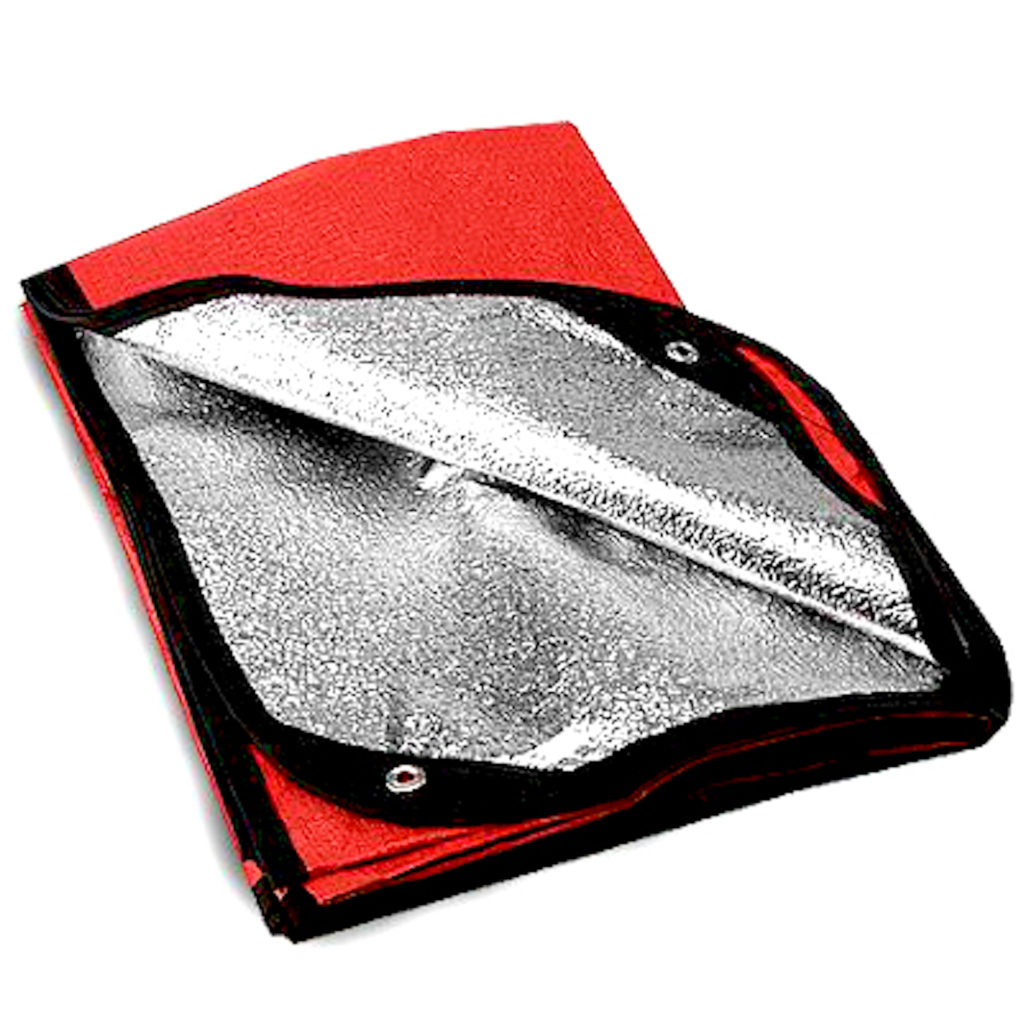
Though clearly not ideal for precision electro-mechanical devices like filming gear, some of the most interesting locations are often the wettest, dustiest, grimiest places you can imagine, where sand, mud and grit lurk everywhere, poised to ruin your day. Sometimes it can be really handy to have something which can instantly become a makeshift groundsheet to place items onto. On the flip side, let’s say you’re working a couple of days in a secure studio and rather than packing everything away each night, you want to leave the camera rigged up to save time the next morning. Even in a relatively “clean” environment like this, you’d be surprised how much dust there is in the air that will settle overnight – just sling your trusty sheet over it and clip it down to keep things protected overnight. Just make sure you keep one side of the sheet as the “Clean” side so the dirt doesn’t ever get transferred onto the camera.
9) Polybags
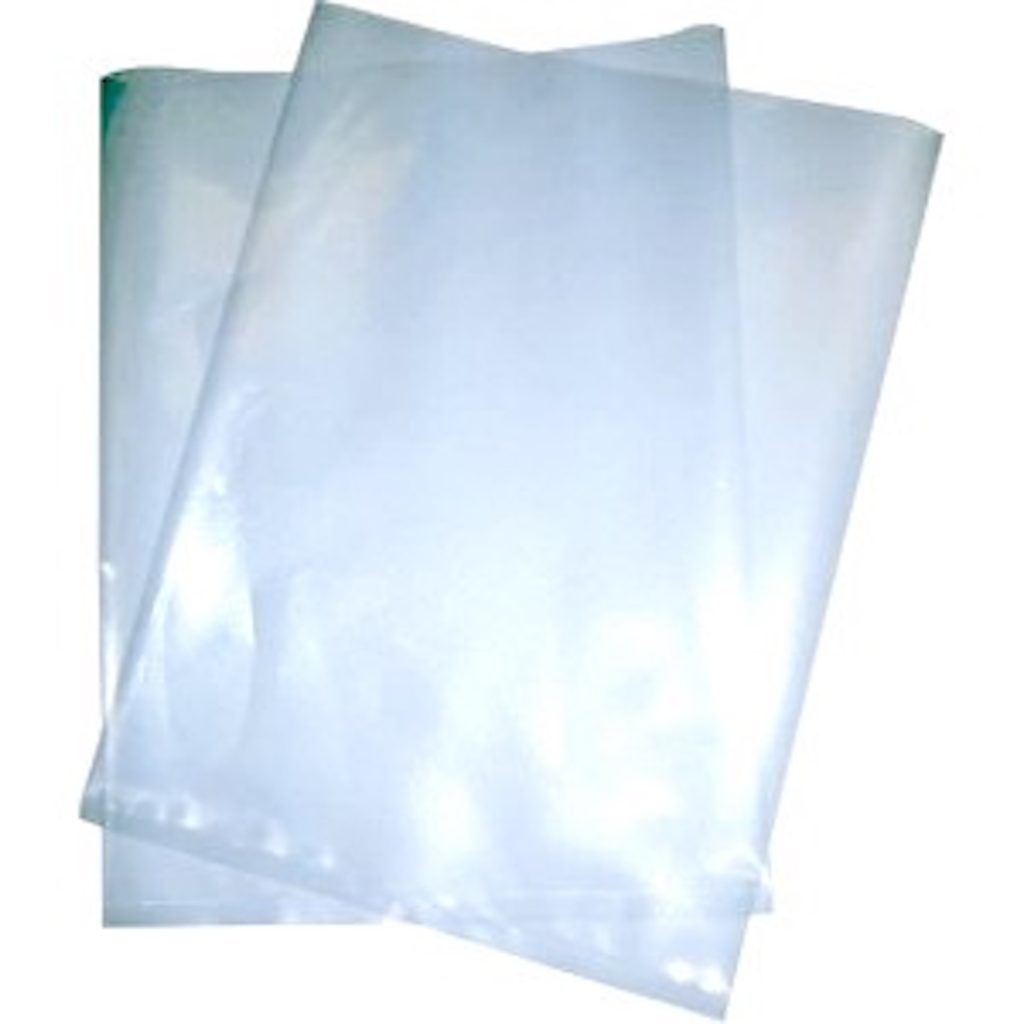
Here in the UK there is a saying that we don’t have a climate as such… just weather! Considering how unpredictable things can be, there is certainly some truth in it. Rain is pretty much your biggest enemy when it comes to filming gear, so whether it is the camera itself, or all the extra gear you have so carefully laid out onto the Magliner (a heavy duty trolley); filters, batteries, lenses etc. All this needs to be both easily accessible, but also quickly protected if the heavens suddenly open. That’s why you should keep some heavy duty polythene bags around to throw over kit when needed. If the weather persists, or perhaps it’s the effect you’re going for, you may need to keep shooting and, if you don’t have a dedicated camera cover from the rental house, then you can always poke a quick hole in the bag and tape it to the matte box,thus leaving the minimum of kit exposed to the elements.
10) Bubble / Spirit level
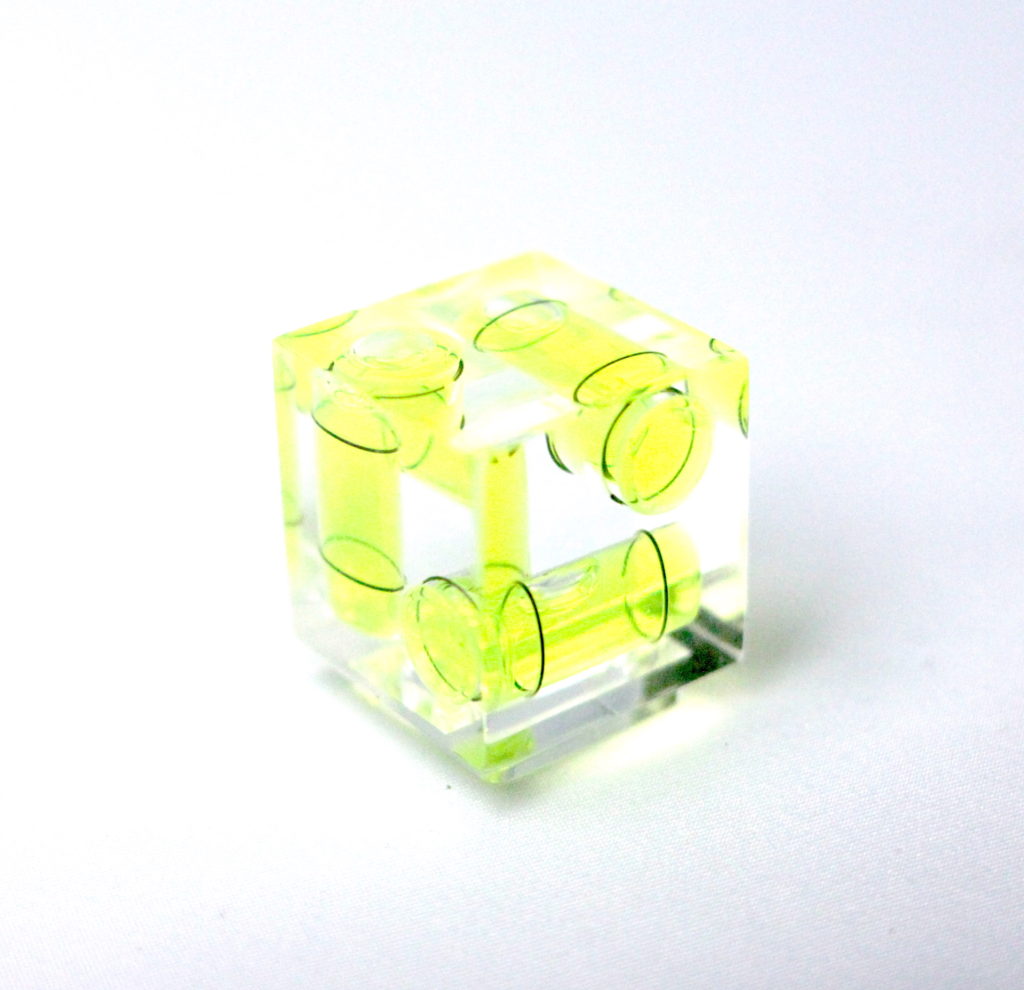
Having a horizon that is slightly off is a pretty clear indicator of amateur film making.(Unless that is an artistic choice of course) Most often you will find a camera mounted onto a tripod… and most tripods have a bubble level built into them… so it’s usually pretty simple. However you will undoubtedly find at some point that you don’t have the right piece of grip gear, maybe it never arrived from the rental house, or is broken, or just not quite the right size… and voila! you’re straight into doing a spot of DIY, building your very own “sh#tty rig” out of a plank of wood, two mop handles and some bungee cord. Or maybe you’ve got a slider or dolly shot where the floor is a little uneven and you don’t want the angle to change as you track along. In these instances it can actually pretty helpful to have something to make sure that your horizon is still level, and for such a tiny cost it is a no-brainer to pop one in your kitbag.
