Now let’s face it, though we use electricity every day, we forget it can be extremely dangerous, fatally so, in the wrong hands…So it needs to be treated with respect. Even cables themselves can become pretty dangerous trip hazards on staircases and in darker areas if not laid and secured in a sensible way – So the most important thing to bear in mind when working in the lighting/electrical dept is SAFETY!
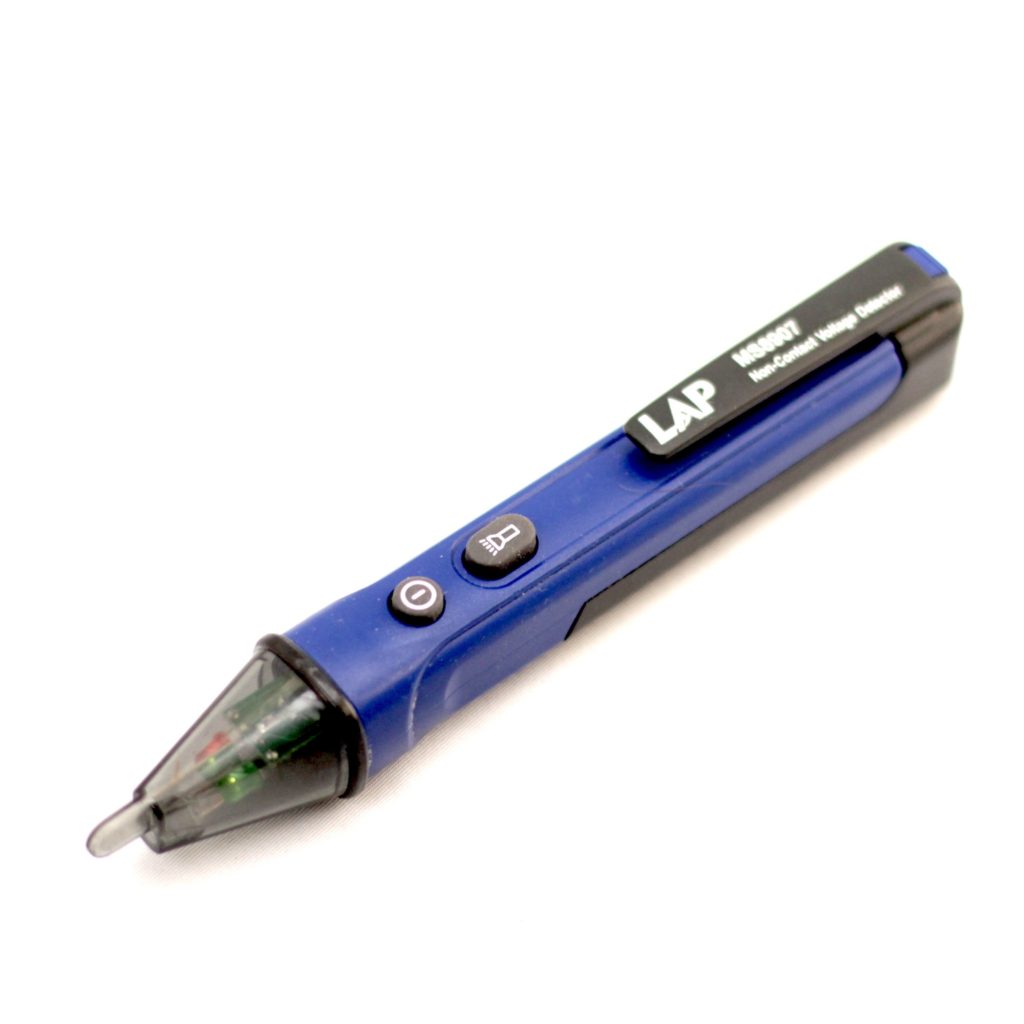
One of the most useful tools required for this is a “line-tester’ – a small pen-like object that can detect if a cable has live voltage on it, even if there is nothing drawing power from it! (It does this by detecting the electromagnetic field generated by the AC voltage) You just hold the tip of the device to the outside of the cable and it will flash and beep loudly if the cable is live. Absolutely essential when trying to identify if a cable is working or not.
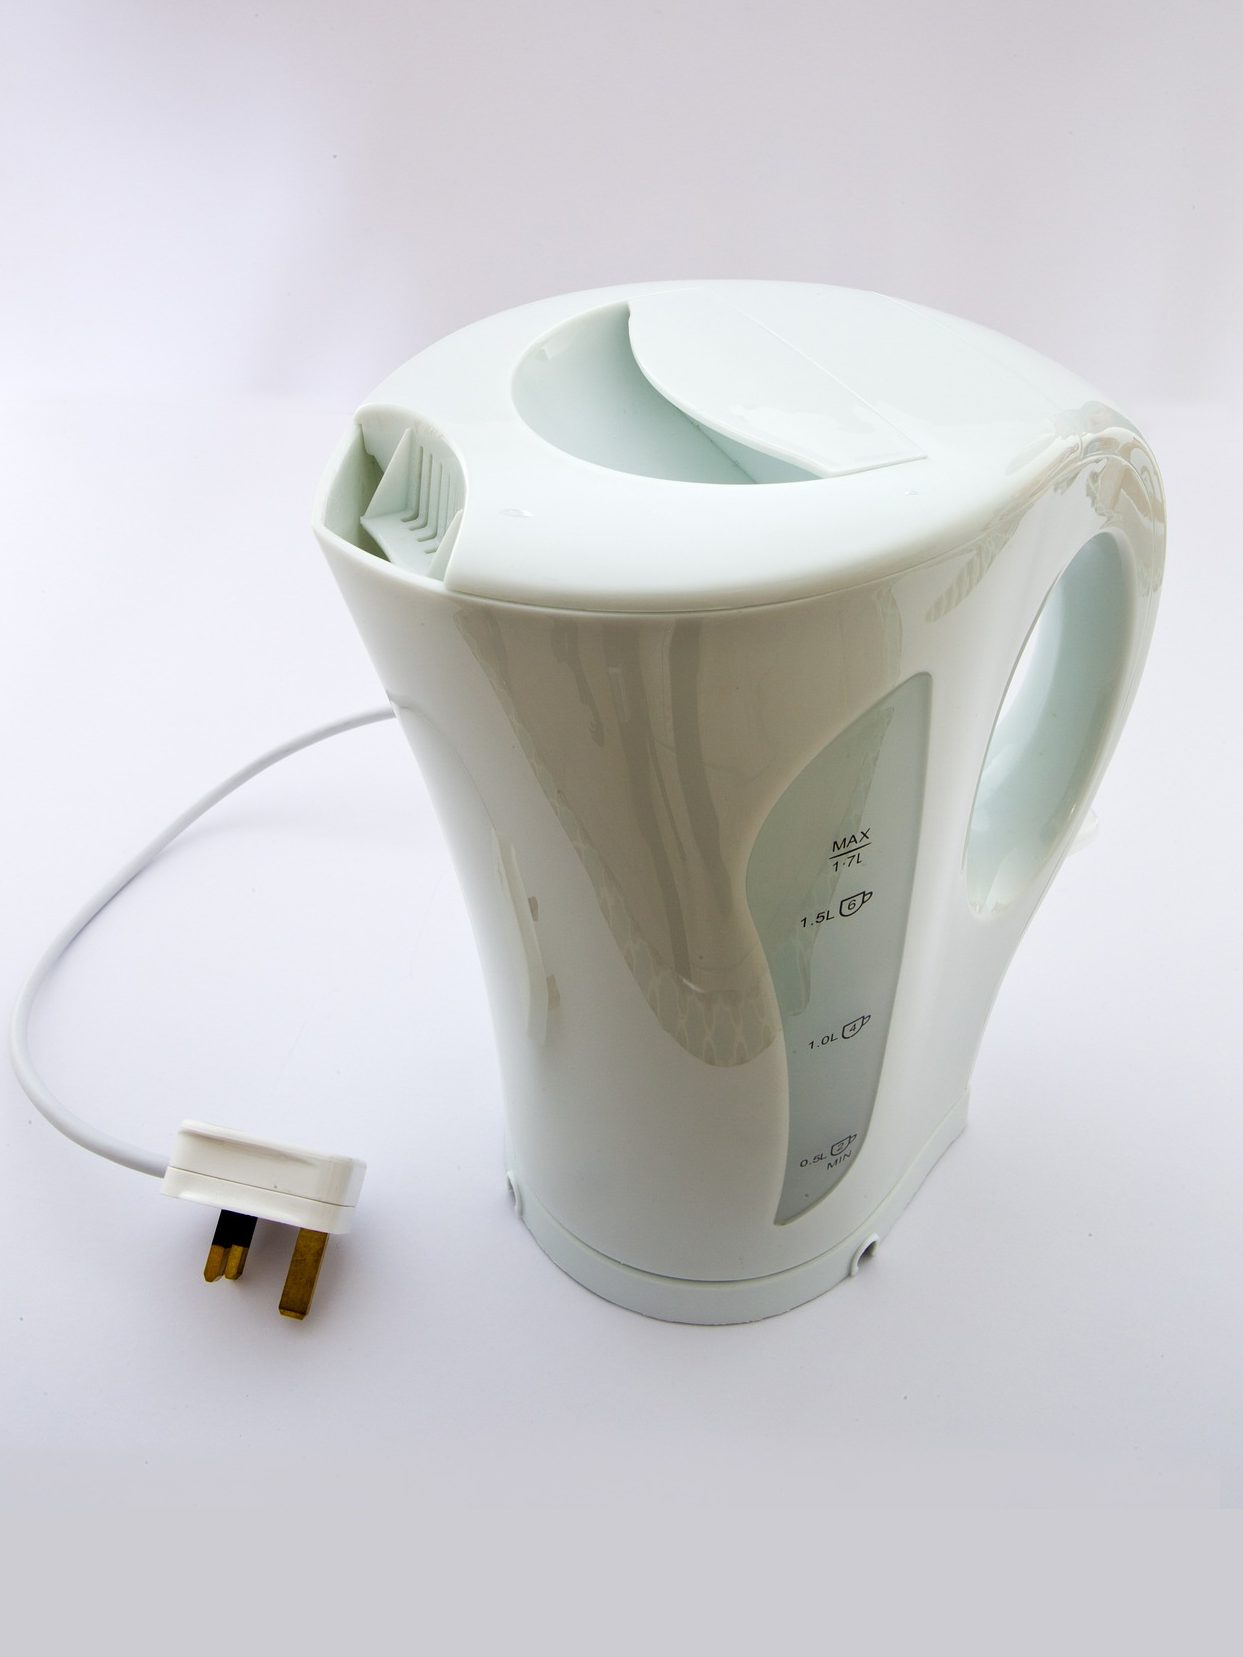
As a beginner, something you may not immediately think of is that, though the Gaffer’s primary goal is to rig power and lighting for filming, they are often also responsible for providing power to the rest of the crew. (For lighting, tea/coffee, hairdryers, heaters, phone chargers etc etc) So keep that in mind when planning cable routing and power requirements, as kettles and heaters use A LOT of power – the last thing you want is for all the lights to go off when somebody in the production office makes a cup of tea!
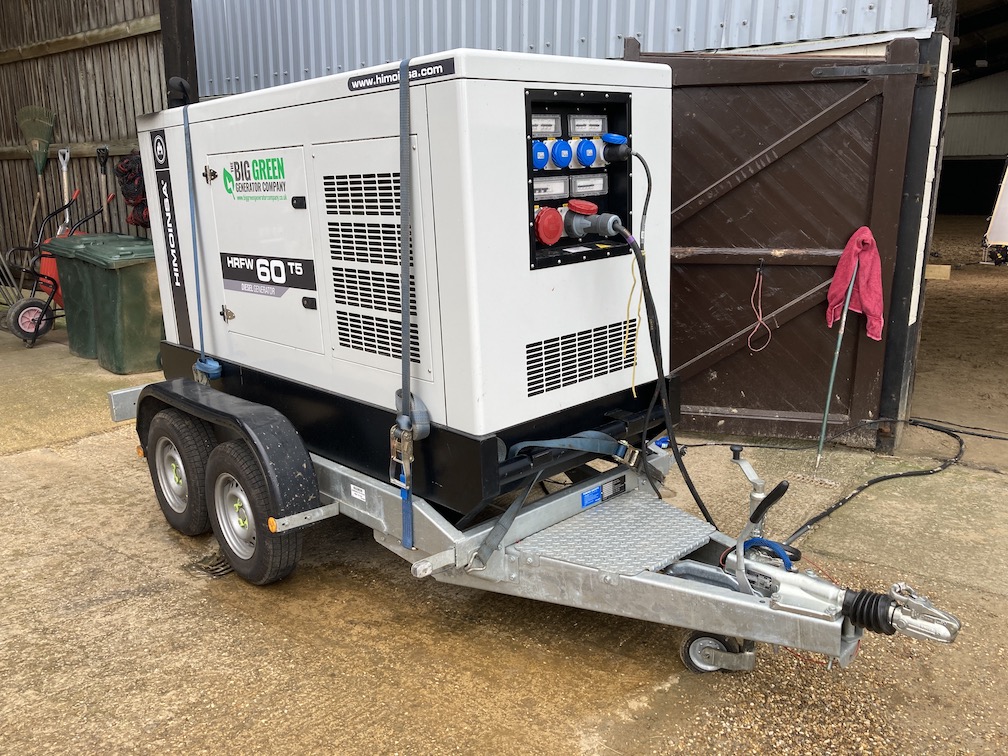
Due to the typically large power requirements for lighting equipment, the power ratings of cabling, connectors, sockets etc. are often higher than domestic equipment. Very large productions will have generator trucks so that they don’t have to rely on the limited supply available on location, whereas studios will have dedicated high-power infrastructure onsite.
Professional equipment uses different connectors for power distribution than your standard BS1636 Type G plug… Instead we use IEC 60309 (aka. CEE) plugs and sockets. Apart from being more rugged, they also have IP44 “ingress protection” rating (Meaning they are sealed against items larger than 1mm and water splashes from any direction) and come in three common “flavours” in various sizes:
Yellow – Single-phase 110V supply from isolated transformers mostly used on building / construction sites to reduce the risk of electric shocks. (Small portable generators often have these connectors)
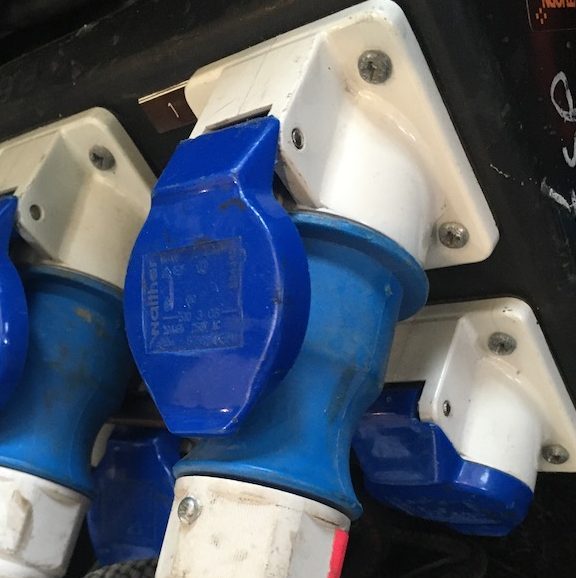
Blue – Single-phase 230V at 16A or 32A – these are the most common for connecting up lighting equipment and you will be using them most often.
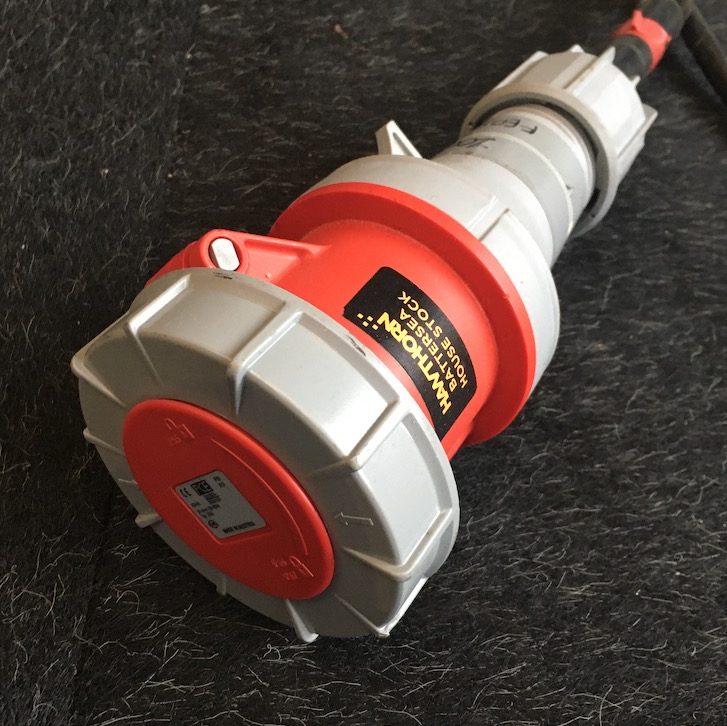
Red – 3-Phase 400V at 16/32/63A to connect from generators/grid-supplies to distribution boxes. (These also have a grey rotating locking ring to prevent accidental removal during operation – pretty wise when dealing with 400V)
Now let’s take a look at 10 bits of kit for power distribution equipment you’ll come across on a daily basis:
13A Cables (Uncoil rolls)
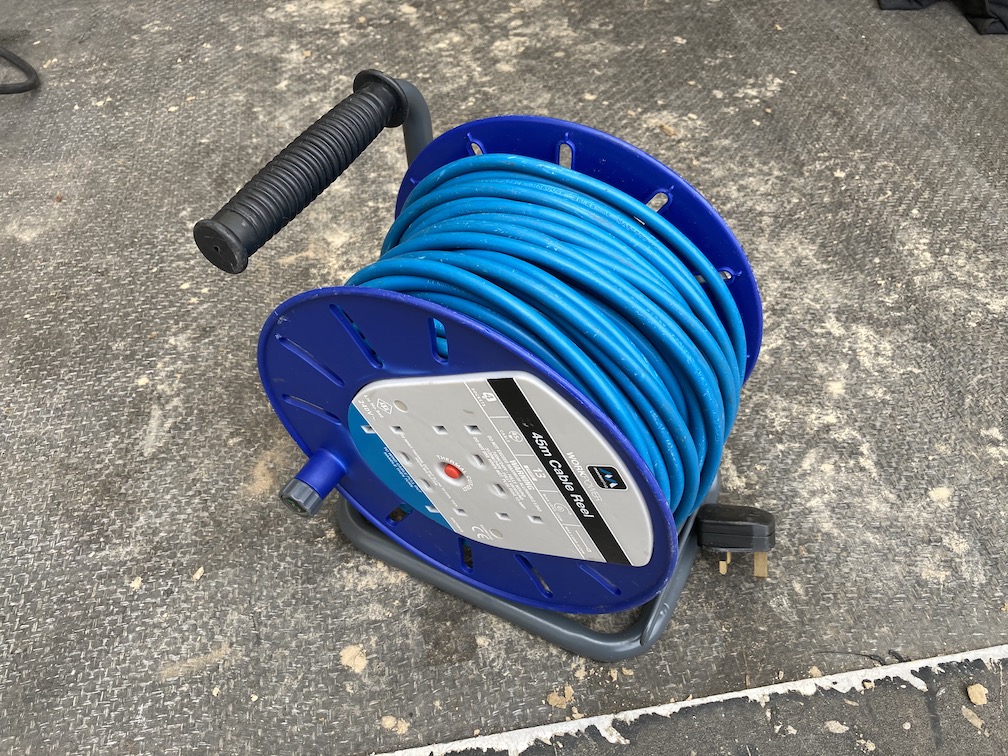
If you are shooting in a domestic or office environment (which does happen a lot for locations work) the main source of power available will be the standard 13A socket (in UK) that we use every day. But how much power is available on these?
At 230V this means that you can draw:
P(max) = I * V (Power = Current * Voltage)
P(max) = 13A * 230V
P(max) = 2990W = 3KW (close enough as mains voltage varies a little)
So as you can see a standard socket is limited to 3KW maximum output – that may sound like a lot, but you can run out of available juice pretty quickly.

The biggest, brightest light you can plug into a single socket would be arguably be a single 2.5KW HMI. Now Imagine you’re lighting the exterior of a large building, e.g. a church.(Which are also notorious for having somewhat dodgy and unreliable wiring anyway) A single light is going to be extremely limiting in terms of creativity (and getting the correct exposure).
Domestic wiring also uses what is called a “ring main” where a big loop of cable runs around the house behind the walls and each socket is a little spur off this loop. The cable used in a ring main (in the UK) is usually only 2.5mm so the circuit breakers on these ring mains are limited to 32A Maximum. So you can’t just keep connecting 3KW to every socket in the place without eventually tripping the breakers. Basically the only way to be able to get more power from the domestic supply would be to connect directly to the mains coming into the consumer unit on a dedicated breaker – this is called “Splicing In” and should only ever be done by a qualified electrician.
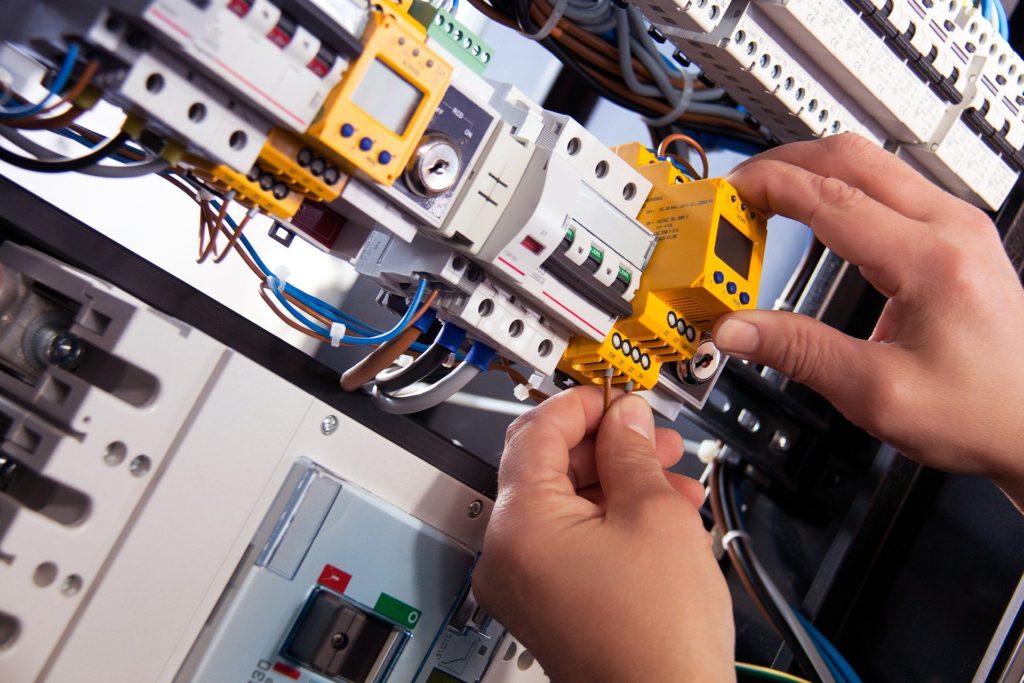
NB: If you are interested in pursuing this as a career path in future, you would need to gain a suitable “level 3” NVQ …a path that would typically take 2-3 years to complete.
13A extension leads typically come coiled up on a roll in standard lengths eg. 5m, 10m, 15m (Personally I hate the longer open-type with a metal frame as they are a right PITA to coil up without getting tangled… but ofc that may just be me!) and these coils usually have integrated sockets in the centre of the reel. Sometimes they will also have a safety “trip” that will cut out in the event of a short circuit or overload. (You just need to disconnect them and press the reset button to get them working again)

Top Tip: The most important thing to remember here is that you should NEVER leave the cable coiled up when drawing power through it… The flow of current will turn it into a big heater coil and can potentially melt the cable insulation causing a short circuit… and maybe lead to a fire! So always fully uncoil cable reels when in use.
16A/32A Cables – heavier duty, hopefully tied
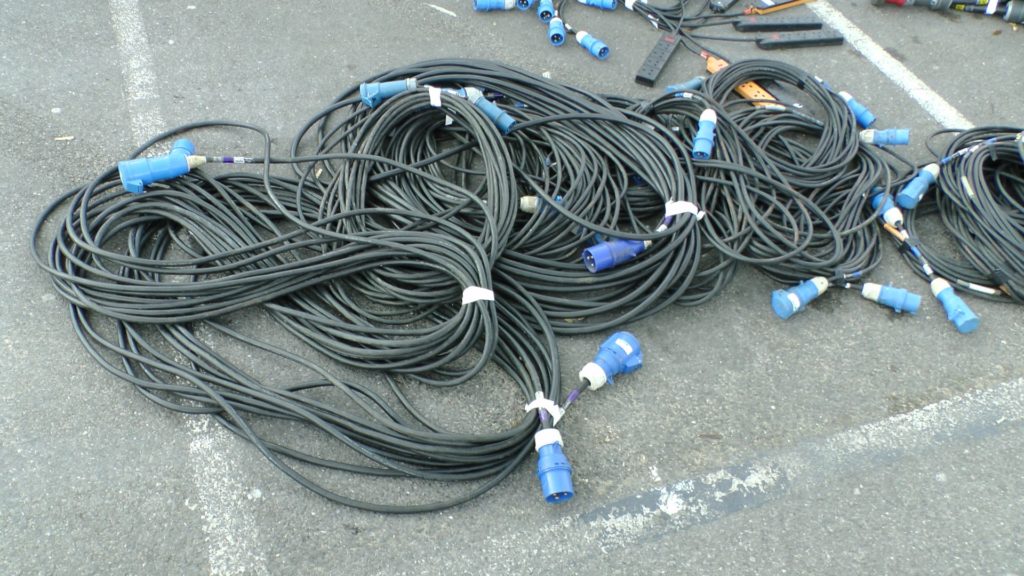
The cornerstone (and the bain) of the lighting team… Hefty plastic crates filled to the brim with heavy duty dusty black cables of varying lengths with male and female blue CEE connectors at either end.
There seems to be some variation on what “standard” lengths are, but they should be around 15’ (5m) for shorter ones, and 30’ (10m) for longer ones. As you’re dealing with AC here the cables can happily be daisy-chained together with minimal voltage drop over longer runs, even 100m or so – handy if you’re out in the woods behind a base location which thankfully has mains power. Last thing to note is coiling technique for packdown – never coil for storage in a figure-of-eight as this will put a permanent twist in the cable so it won’t lay flat any more and will be more difficult to coil properly later. Always coil by holding one end of the cable in your less dominant hand, measuring out an arms length with your dominant hand, then gently forming a loop back into your other hand and repeating until its all done. (Gloves definitely come in handy here for issues with friction, water and dirt)
Top Tip: Most cables will have a velcro strap, rope or cable-tie to prevent them unfurling, however It’s pretty common for these to get lost, broken and covered in mud. So it always pays to have re-useable cable ties on hand. Check out this article for 9 more essential items for Gaffers / Sparks.
Distribution Boxes
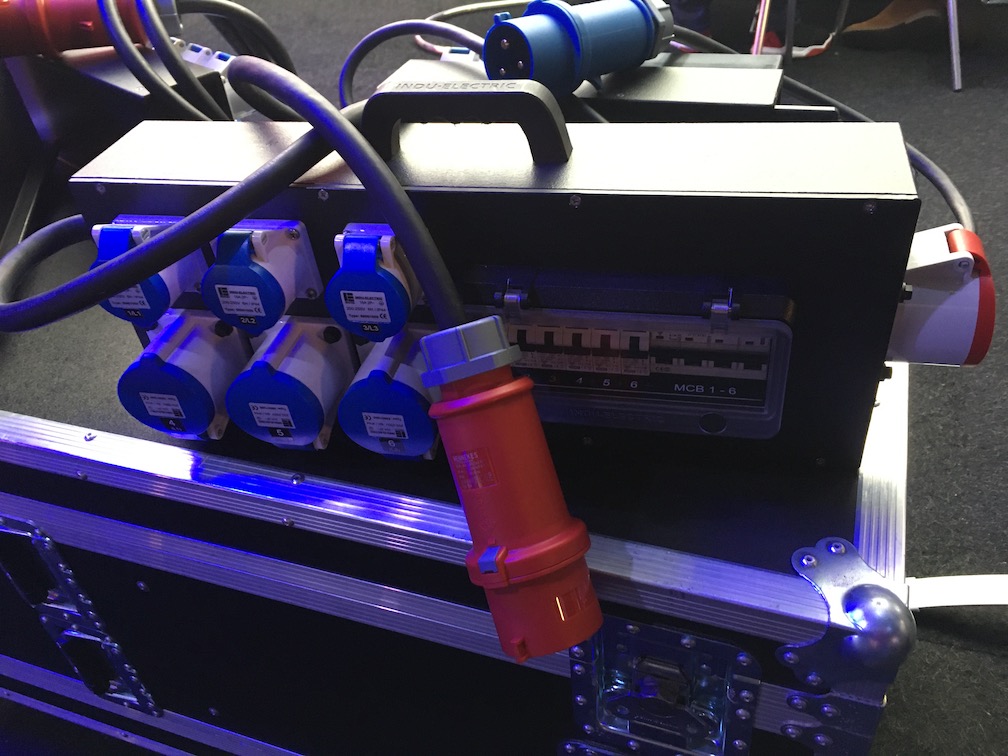
So your onsite generator or studio’s wall connectors are all chunky 400V 3-phase in bright red… how do we turn this into something useful? Thats what a distribution box is for – they are basically a super-rugged portable mini breaker board with power sockets all contained in a black wooden box. On the end will be the red input for the 3-phase power, which is separated out into single phases internally, up to the maximum rating of each phase. On the front will be a series of numbered connectors – A typical configuration for a 63A 3-Phase input will be something like 2*32A and two rows of 4*16A Blue connectors.
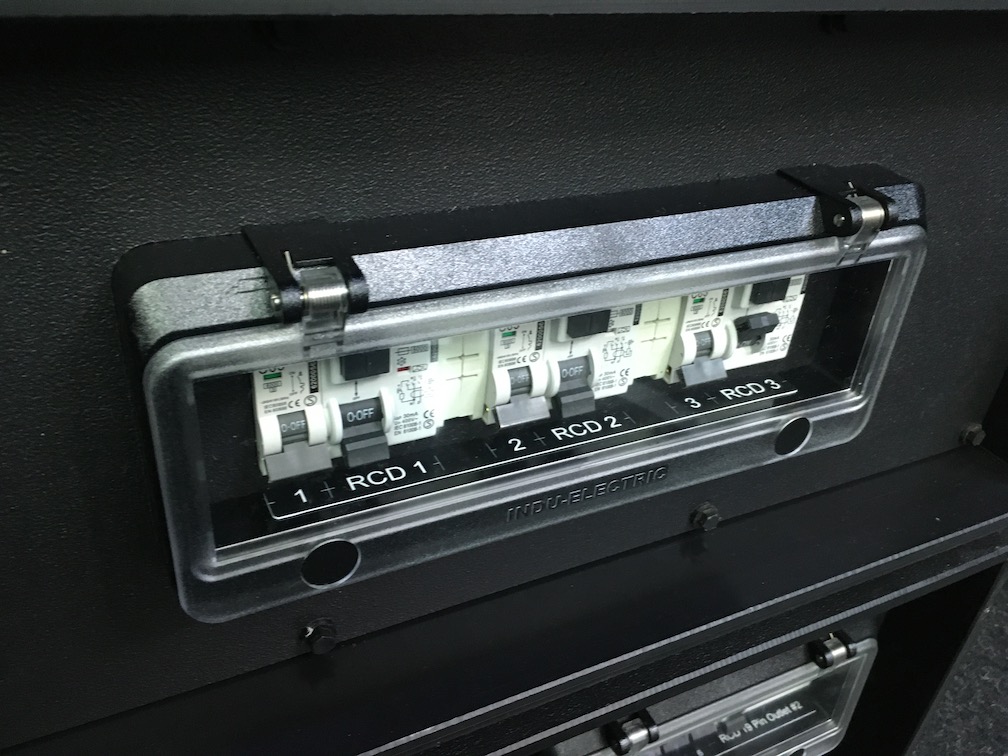
On the rear will be a series of circuit breakers for each output and a Master. Quite often if you plug in too many lights onto a single feed, it will trip one of these, so always check them first – better this than tripping the wall, or worse the whole building.
Top Tip: It can be pretty scary if a 63A 400V wall breaker trips, as it will definitely make a loud noise and you may also get a bright flash. Don’t worry though, this is normal, it’s just that 400V is enough to arc over between the contacts as they come apart mechanically inside the breaker.
16 to 13 (A) Jumpers

Quite often on set you will have lots of domestic rated equipment that also need to be powered – Practical/Prop lights (eg.Vanity Mirror), LED strips, Monitors, battery chargers, Fans… and thats just for filming! Don’t forget the Kettles, Hair-Dryers, Phone chargers etc. So it always pays to be able to get a standard 13A socket out of your normal 16A infrastructure. These are typically very short. e.g. 18” (0.5m) or less and their black sockets easily hide in the bottom of plastic crates (which are also commonly black), so it pays to hook them over the edge with the 13A socket showing to grab them quickly when you need one. Probably most useful for rigging single lights up in a ceiling space where you need it to be discreet.
4-Gang extension
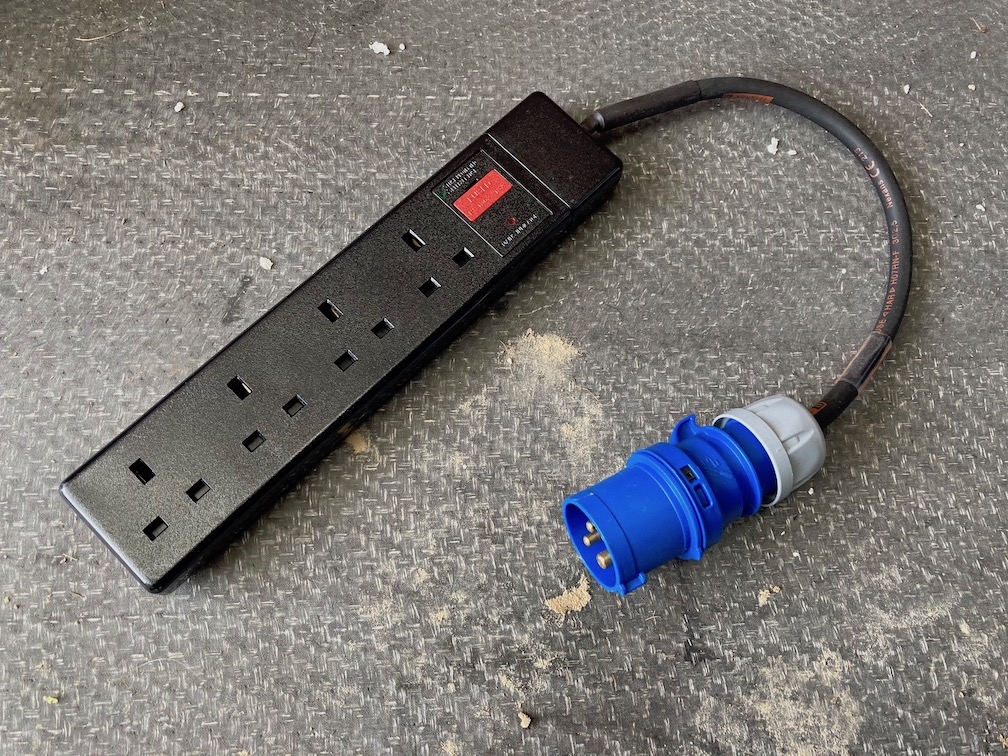
Though a single socket has its uses, perhaps the more useful variant of the above is the 4-gang extension… exactly what you expect – 4*13A sockets with a single 16A female connector. Best for helping out the crew (…often the camera team) with their power needs. Especially if they have multiple battery chargers (for Camera, Monitors etc.) Just be mindful of how much juice you’re pulling – 2*modest kettles could be 2KW each! That 16A cable feeding it is still limited to 3.7KW, and even less if it’s connected to…
13 to 16 (A) Stingers
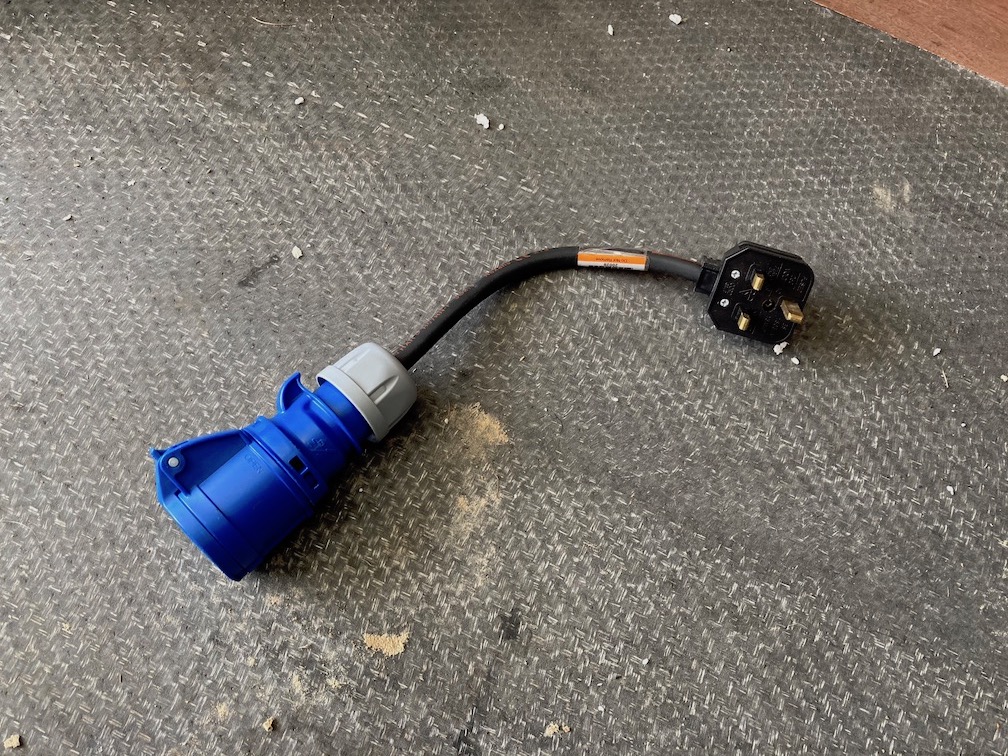
These “Stingers” are the inevitable opposite of the “Jumpers” – They allow you to connect 16A cables (blue connectors) to a standard 13A socket. Once again they are super short, and it pays to hang them over the edge of your kit crates for expediency.
Y-Adapters/Splitters
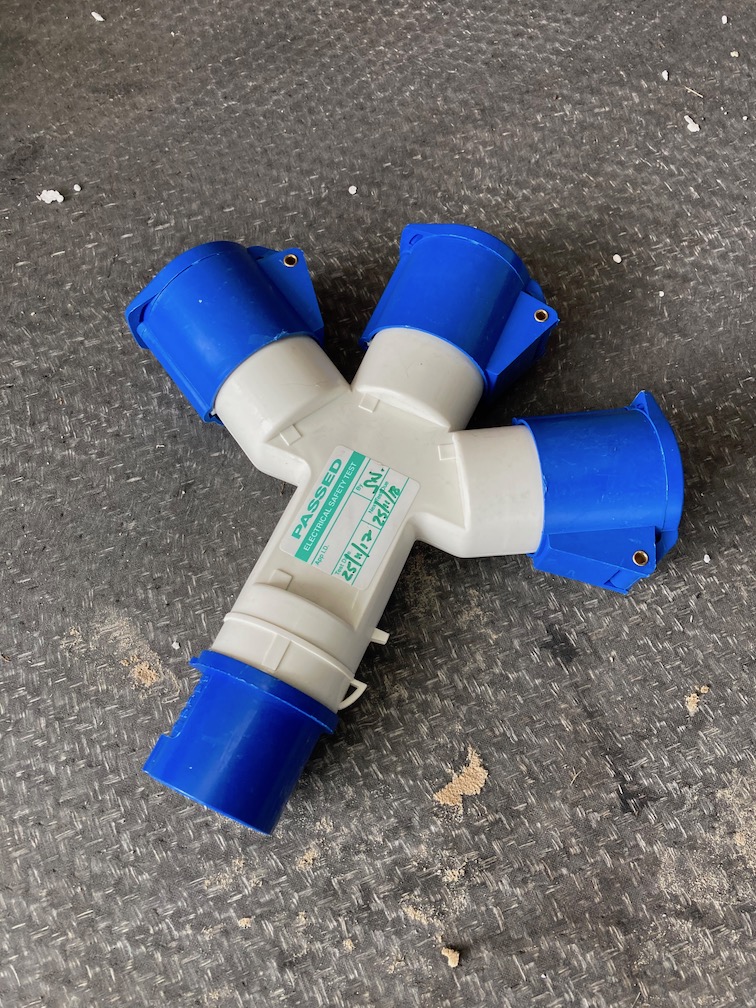
Splitters usually appear in a couple of different variants – The “solid” moulded type with 1*input and 3*outputs… and the “wired” type which only have 2*outputs. And they do what the name suggests – they split the power from a 16A (or 32A) cable into 2 or more feeds. NB: The total connected cannot be more than the primary feed. ie. They don’t magically provide you with more power, but are really a solution to the problem of cable routing for optimum placement of lights.
Tangent Time: So we haven’t really talked about one of the best skills a good Gaffer will employ… forward planning. It is always a really great idea to try and give yourself some “headroom” when wiring. Ie. Don’t always max out every circuit, just in case your DoP suddenly says “Looks like we just need to pop another light up there.”
With limited equipment, there can often be a fair amount of problem solving to put together this giant puzzle… but that’s a big part of what makes it so rewarding and fun right?
2.5K / 5K Dimmers
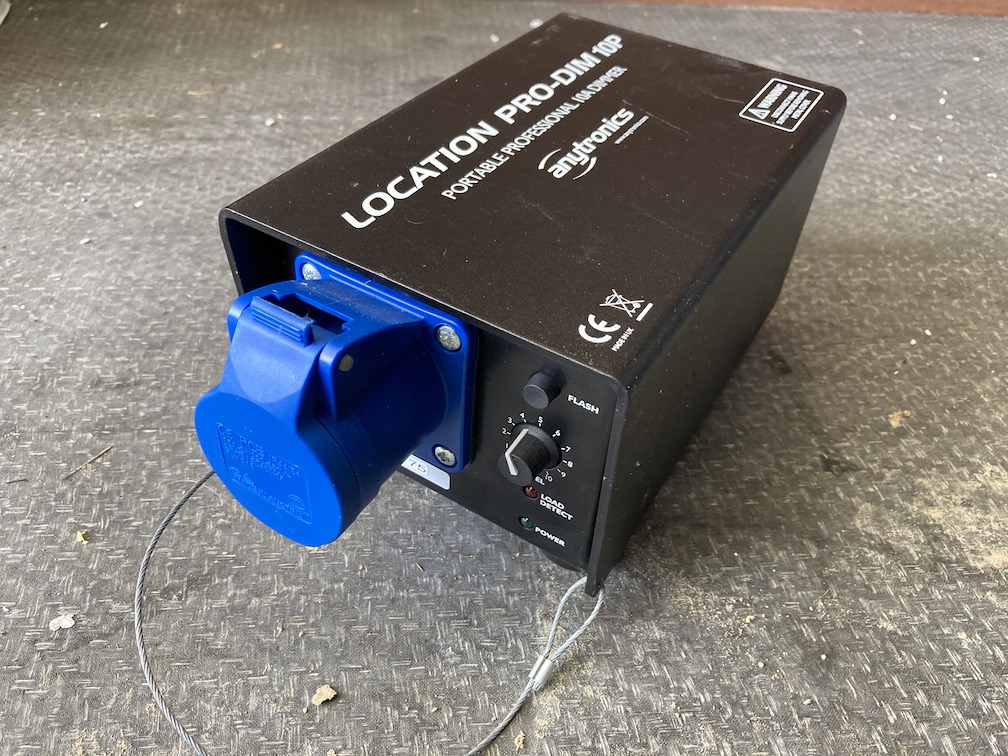
Once again, the title says exactly what these things do… however there are some things to be aware of:
They are usually little black metal boxes with a male and female CEE connector at either end (16A for 2.5KW, 32A for 5KW), a power switch and a slightly insubstantial feeling knob to adjust the brightness.
They are only for use with “resistive loads” i.e. Tungsten filament lights (Eg. Fresnels, Redheads) meaning that they cannot be used with HMI, Fluorescent (KinoFlo) or most LEDs (LitePanel, Skypanel etc)
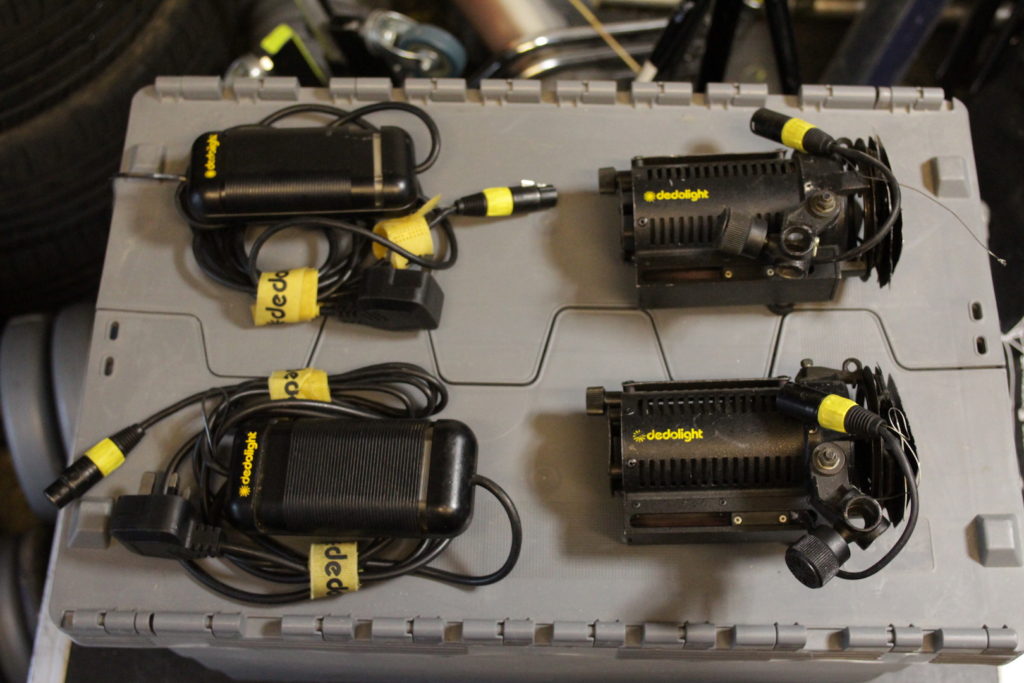
Top Tip: Dedolight DLH4 spotlights do have tungsten bulbs, but they have their own dimming power supply (PSU) that sends low-voltage to the lamp head so, though it is possible to use exterior dimmers, this may cause unwanted stress on the equipment, so it is highly recommended to dim them from their own PSU.
Once again, careful planning leads to some big advantages – e.g. you could uplight the exterior of a house at night with a series of 500W floods and control the brightness of up to 5 of them simultaneously using a single 2.5KW dimmer, reducing setup complexity and saving precious budget on rental kit.
Just be aware that when dimming tungsten lights, the colour will shift to a warmer tone – I’ll be talking in detail about dimming methods and colour temperatures in these upcoming articles – check back soon for updates:
An introduction to Electric Light sources – (coming soon)
Colour temperature – no it’s not about the Kelvin Timeline (coming soon)
Trips (Inline Circuit breakers)
We talked briefly how some extension cables (especially domestic 13A ones that come on dedicated reels) sometimes have integrated “trips” aka circuit breakers. This is because they are designed for multiple potential markets including outdoor use in the garden, where you are likely to come across the double-whammy hazard of water and sharp tools – neither of which mix very well with mains voltage electrical cables.The trip will break the connection if there is a sudden spike in current due to a short circuit. In the UK at least we’re pretty used to it constantly raining intermittently and somewhat unpredictably, so if you find yourself powering a bunch of lights from domestic sockets… with cables routed out of a window… then across a garden… to a light stuck in a bush of already slightly-damp foliage… and the clouds seem to be turning the sky black (even though it was bright sunshine 10 minutes ago), it certainly pays to have a couple of these trips handy.
Inverters (Don’t forget to run the engine)
The trouble with Batteries and Mains voltage is that they don’t mix easily – Batteries are inherently DC (Direct Current) while the grid is AC (Alternating Current). The power supplies , for your laptops, phones etc turn the AC mains into usable DC for your electronics in a process called “Rectification” – Traditional higher power lighting all runs on AC… while the LED chips in more modern equipment are more suited for DC.
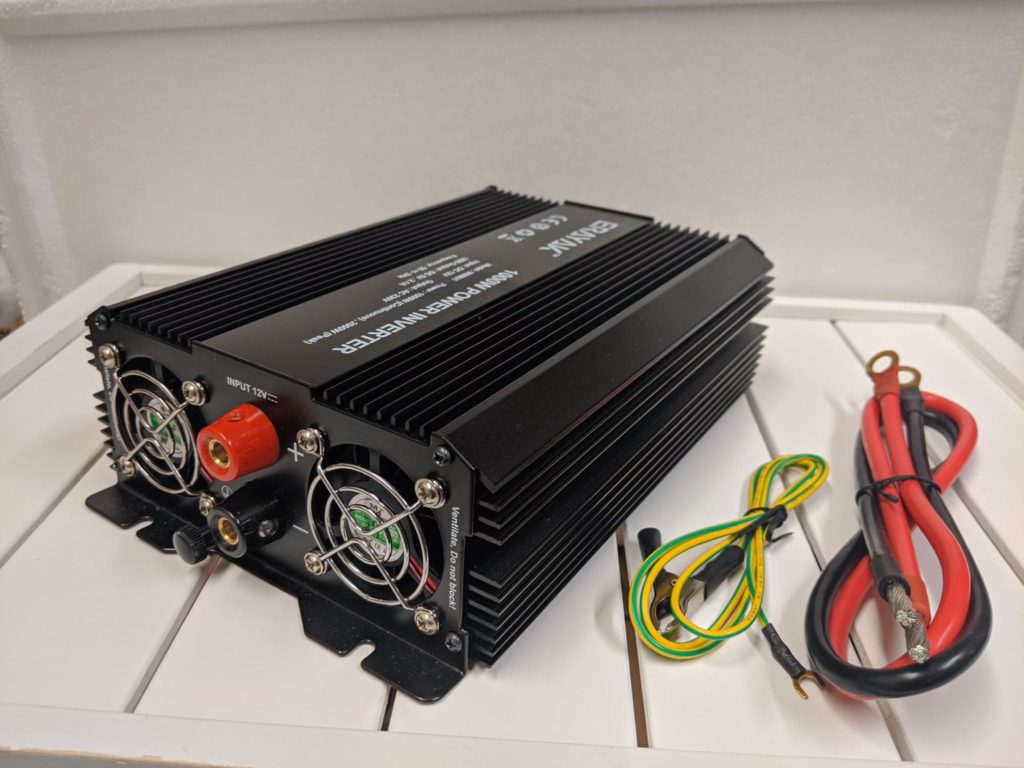
“But what has this got to do with my car?” – Well your car is has both a generator (The alternator) and a 12V battery. However the alternator does not generate AC that is compatible with mains voltage equipment (The frequency is also dependent on the speed the engine is spinning) Instead we need to take the 12V from the battery and use an “Inverter” – an electronic device that converts this to a clean(ish) 230V AC @50Hz. They usually come (Like most kit) in a small black metal box with cables attached… and one or more 13A sockets for attaching external equipment.
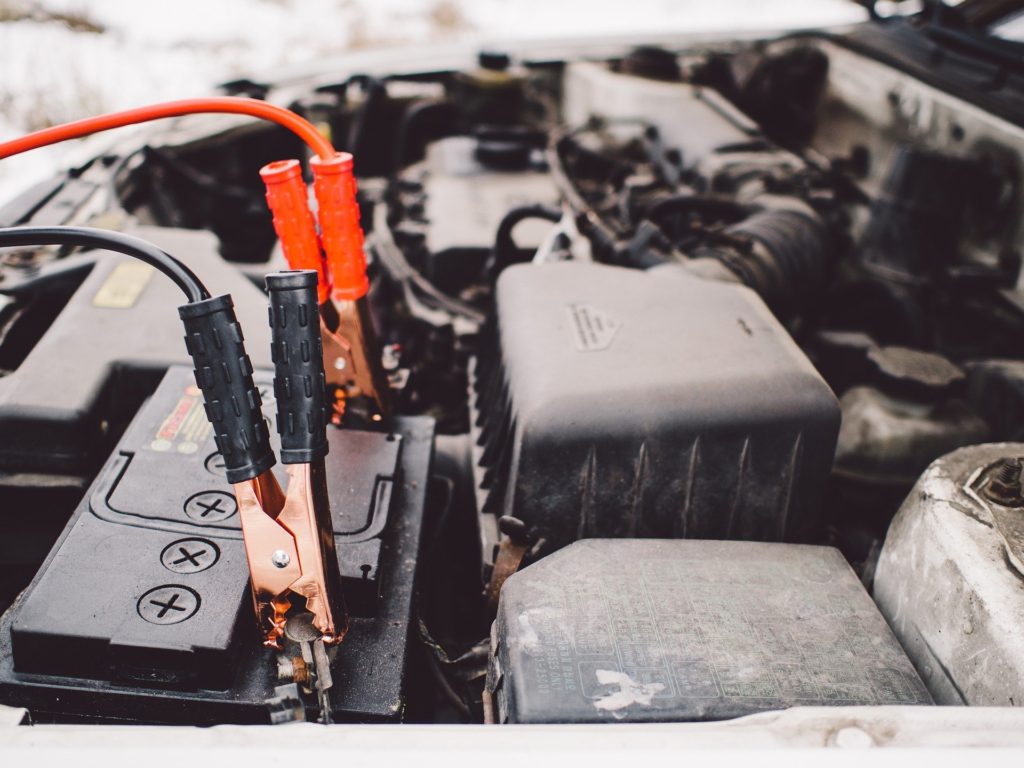
Top Tip: It is ESSENTIAL to have the engine running while using this kit – a typical car battery only has approx 1KWh in it… and is really designed for delivering a very short burst of high current at 12V so will not last long trying to power things without it. (And then you’ll be stranded… maybe miles from assistance… with a dead battery and a vehicle that won’t start)
Most small-medium sized cars will happily output up to 1KW without too much trouble – Larger engines at higher revs can potentially do more – it really depends on your alternators maximum power output capacity – check you vehicle’s documentation for this info. (However I will say that I have run my car just ticking-over for hours on a 300W inverter and I couldn’t even see a difference in the fuel gauge afterwards)
So as the types of lighting fixtures available for use on set move further towards solid-state LED… the power requirements for certain jobs are dropping… fast! For example, what once could only be achieved with multiple lights rated at 1KW… can now be done with lights using only around 100W each. With the right equipment you can turn a normal car into a very useful stand-in for a generator truck.
For more info on the types of light sources and their power requirements, check out this article. <coming soon>
